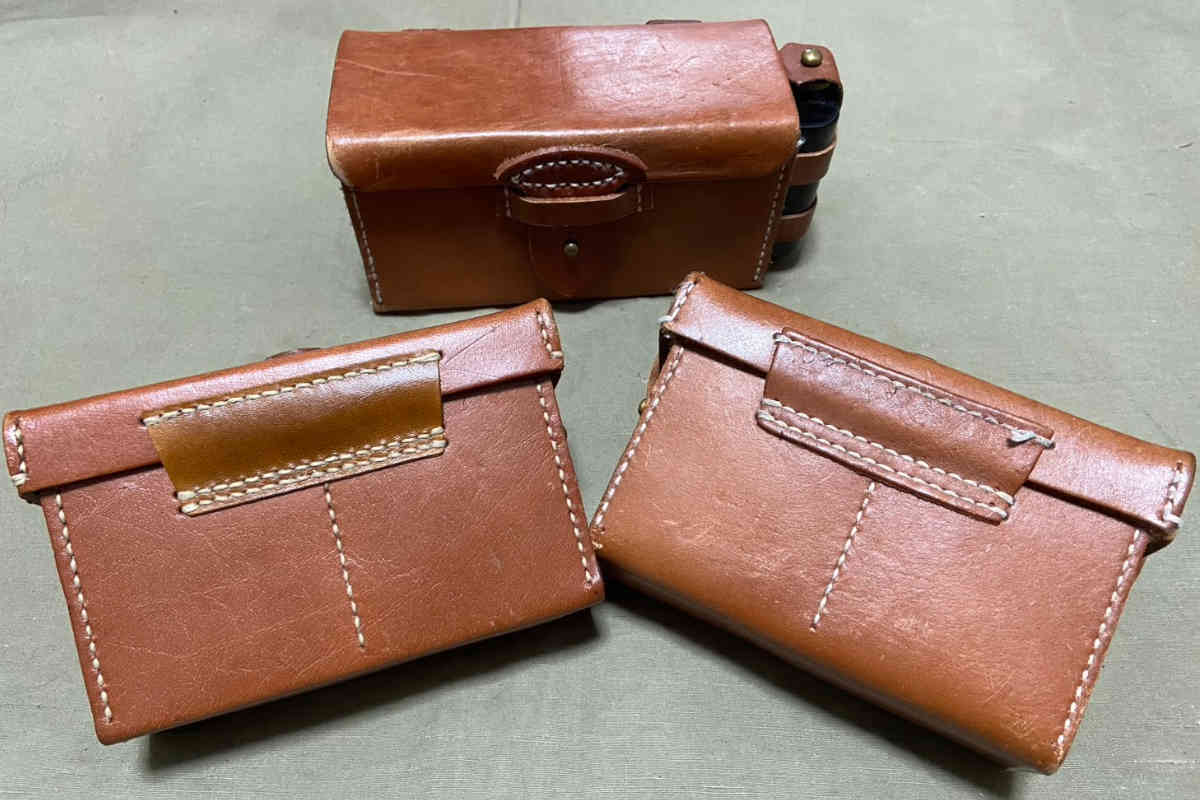
This time, I’d like to introduce an ammunition pouch made by S&Graf and discuss its restoration. The restoration process may be somewhat challenging, but being able to handle such work can be helpful when repairing damaged authentic items.
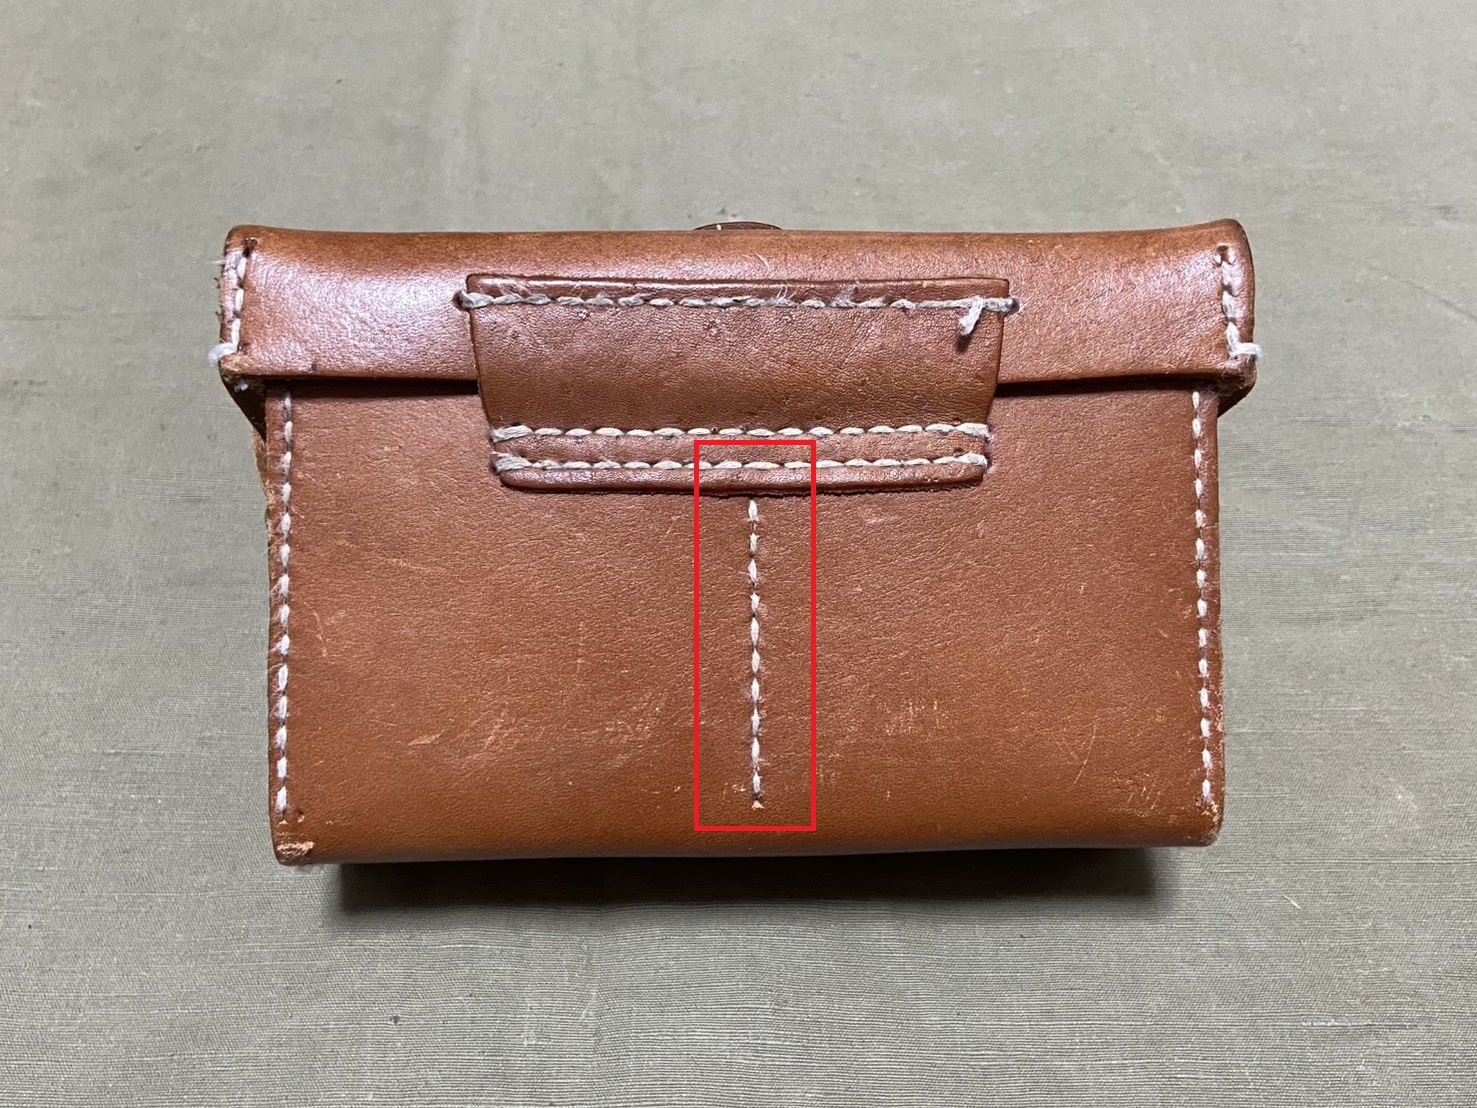
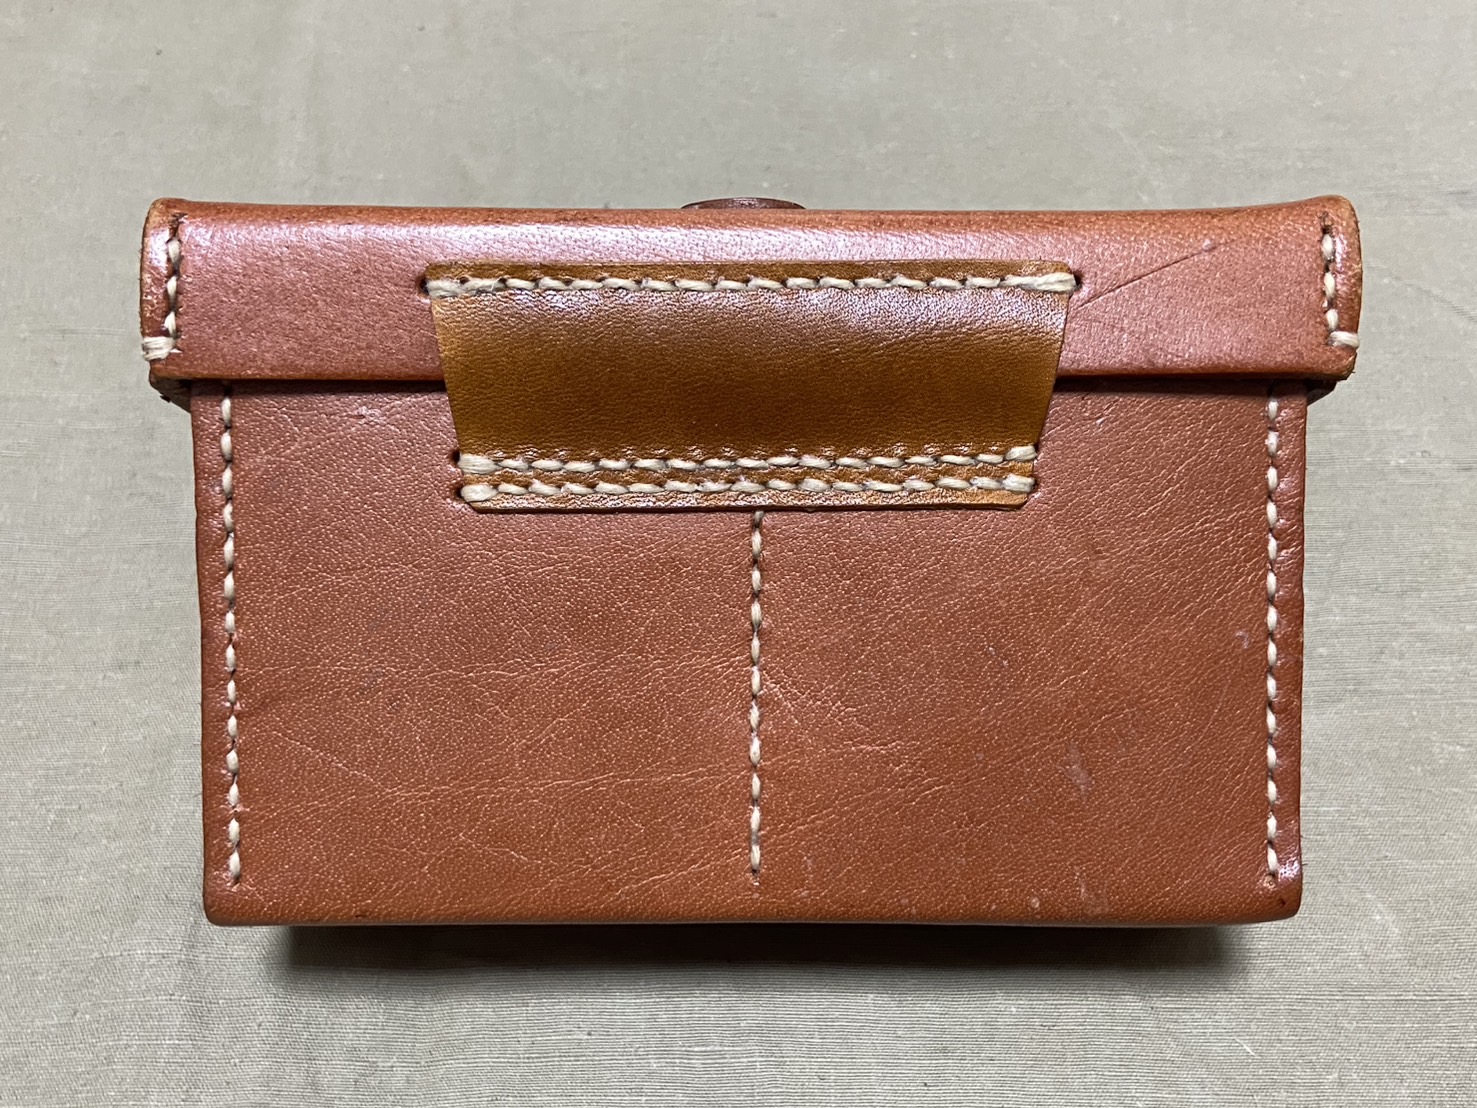
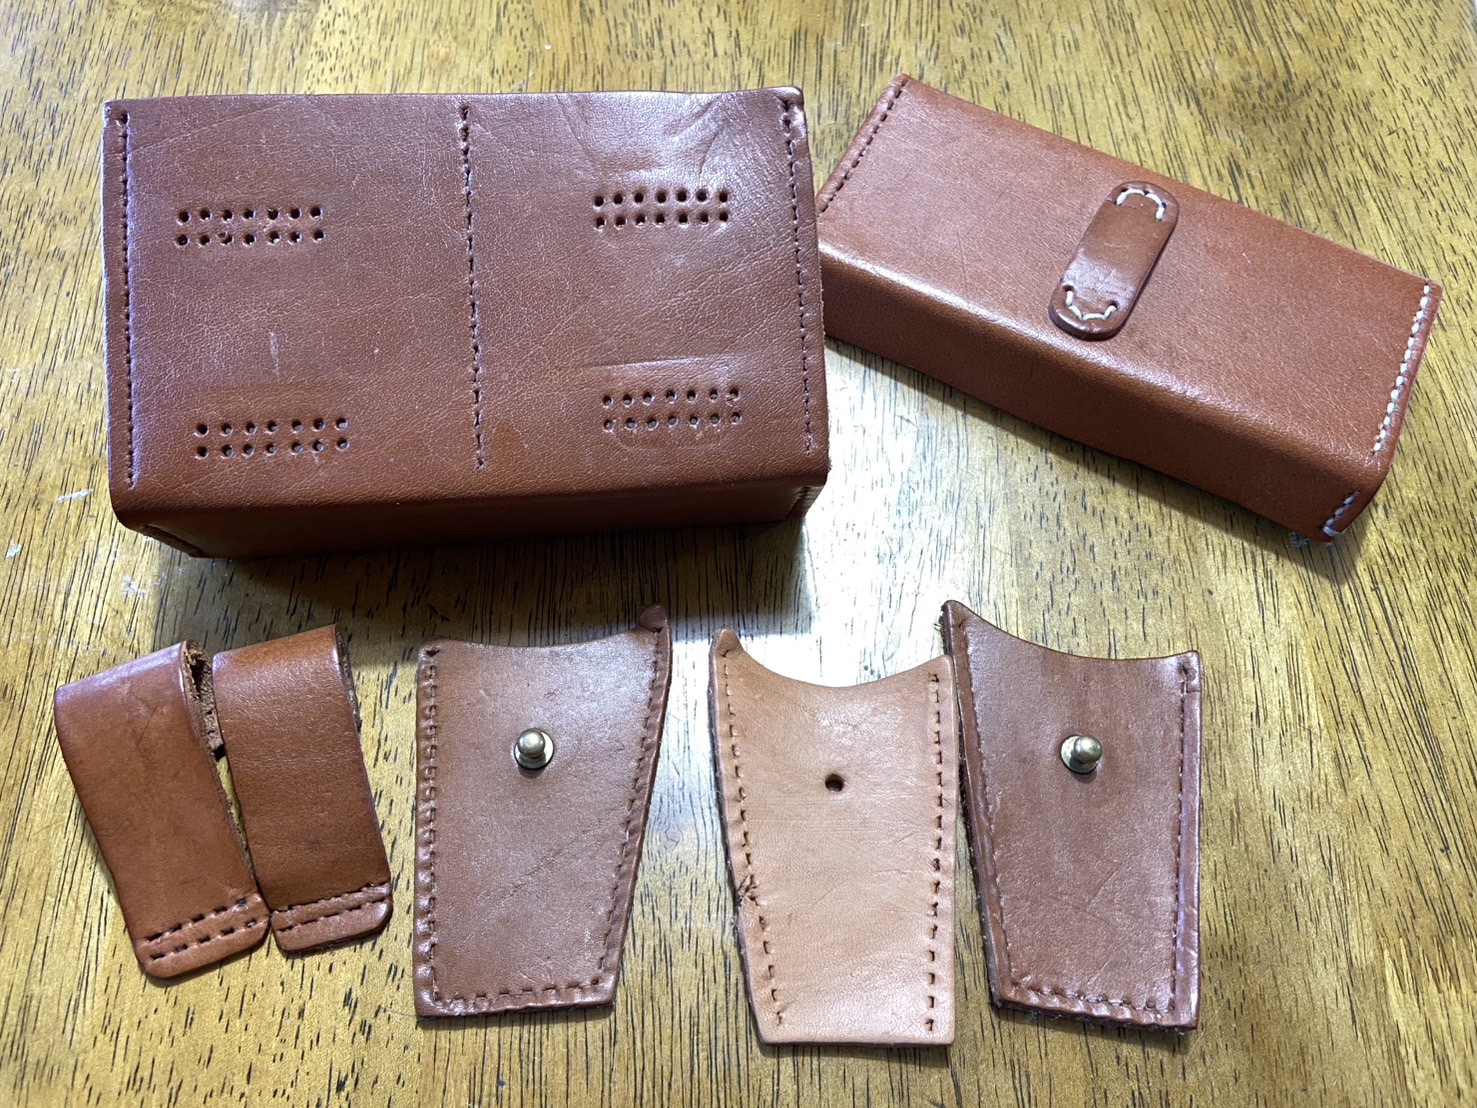
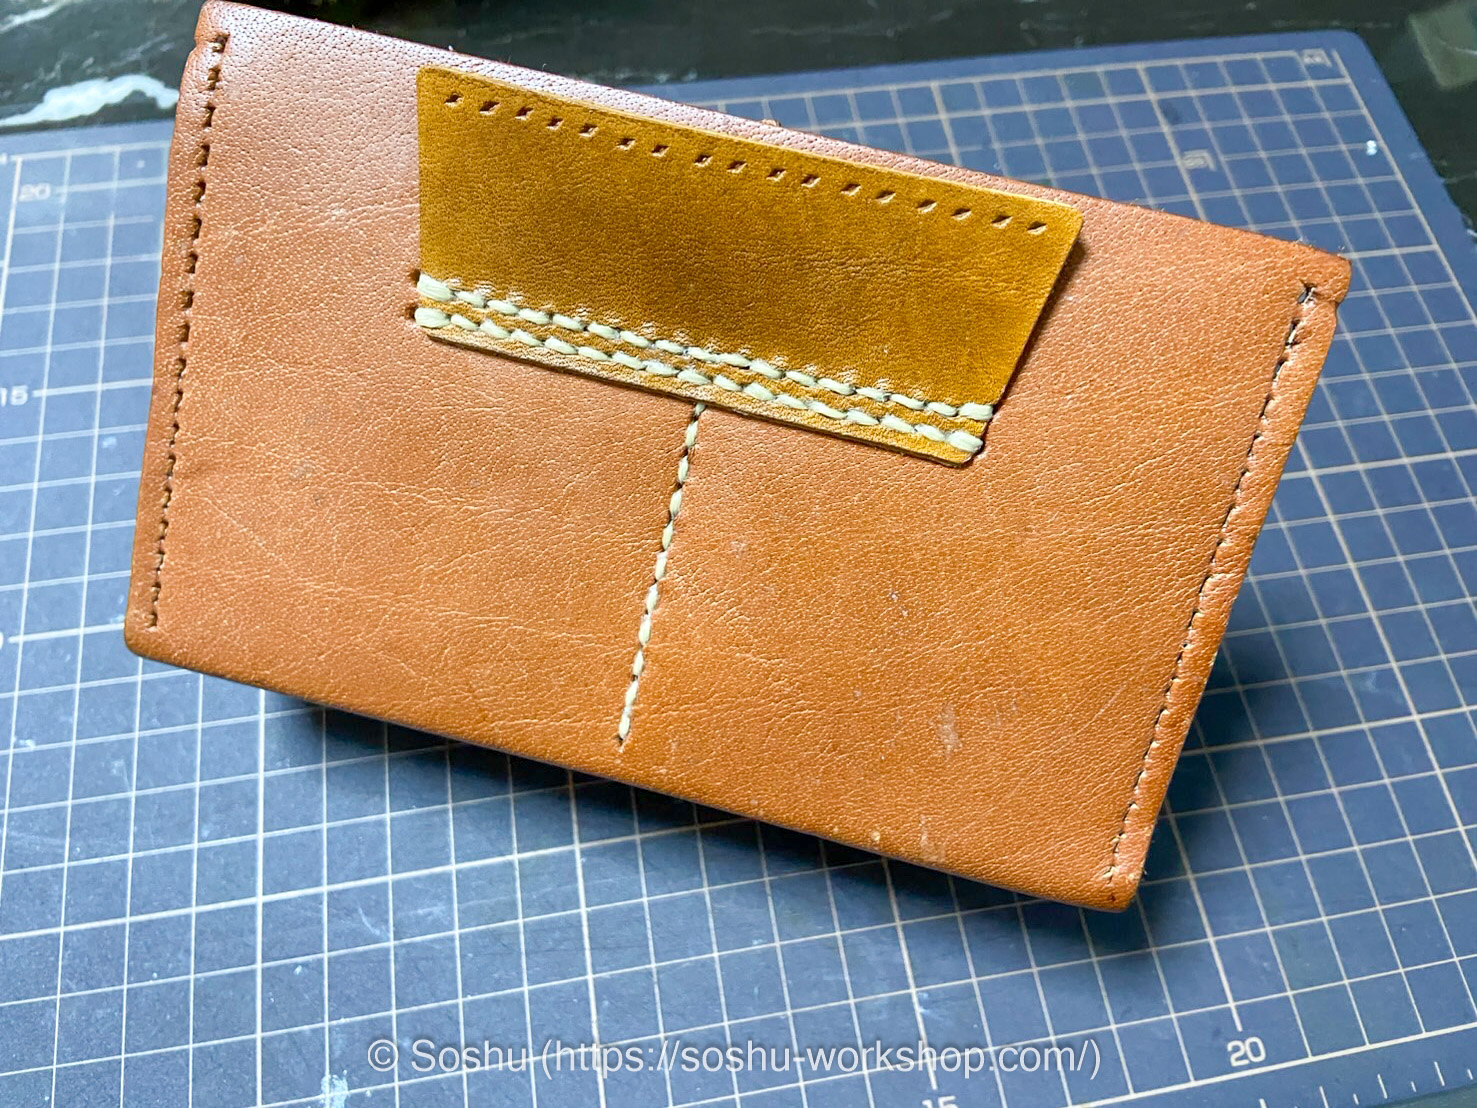
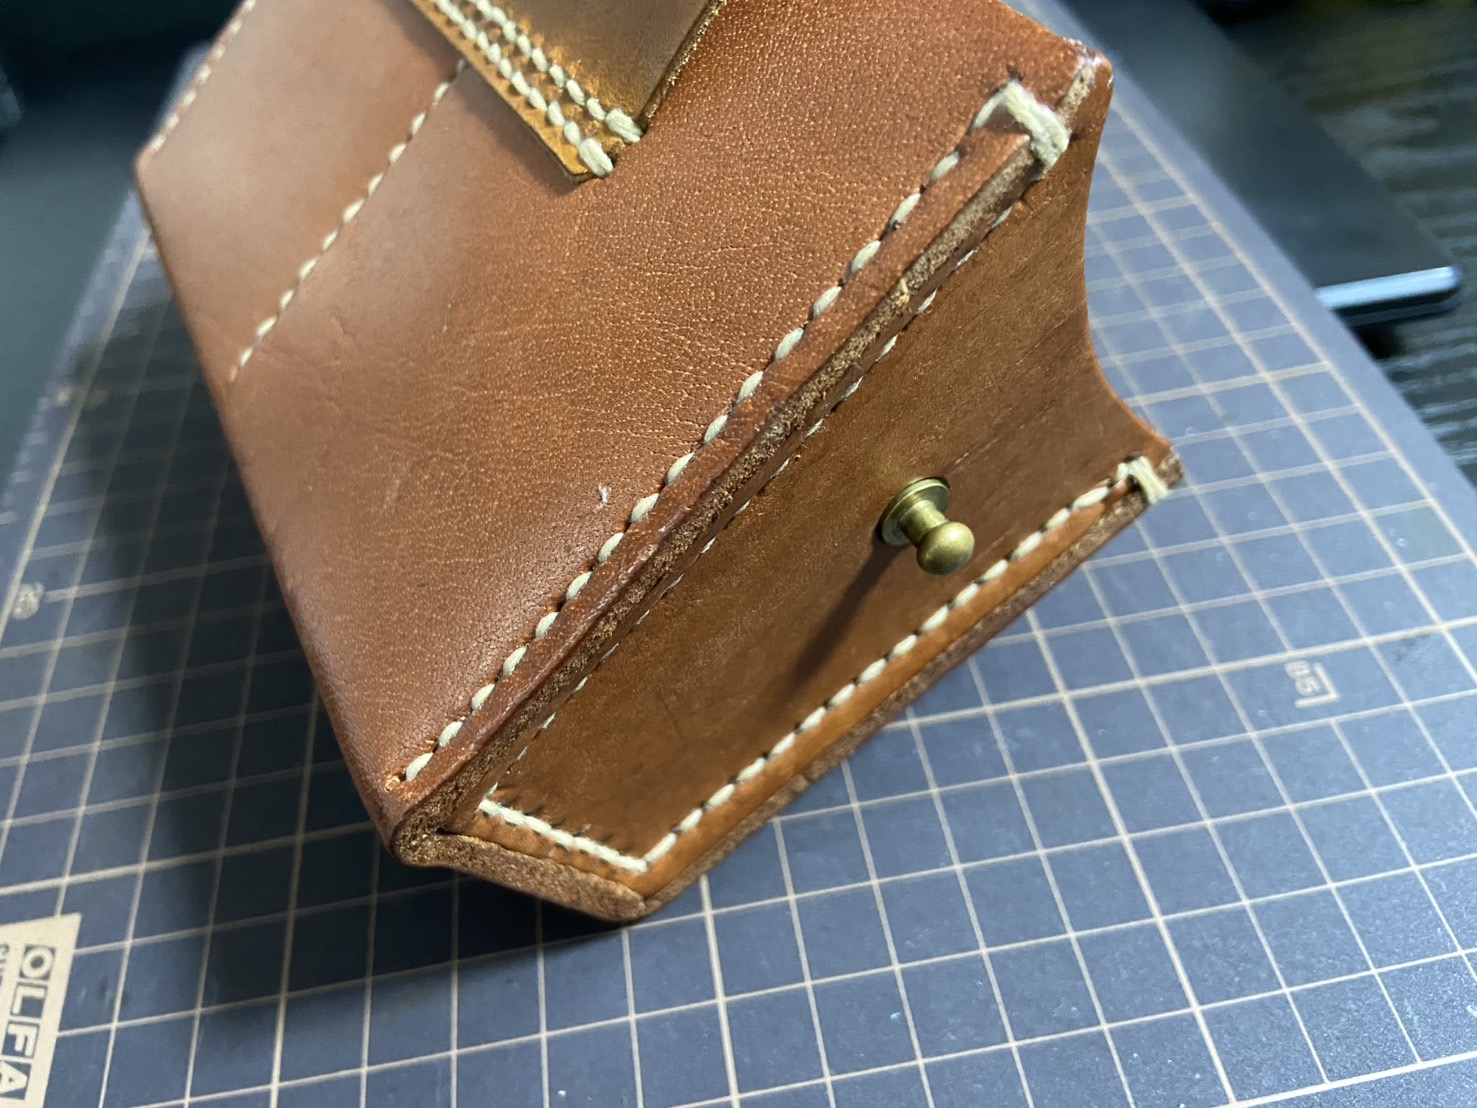
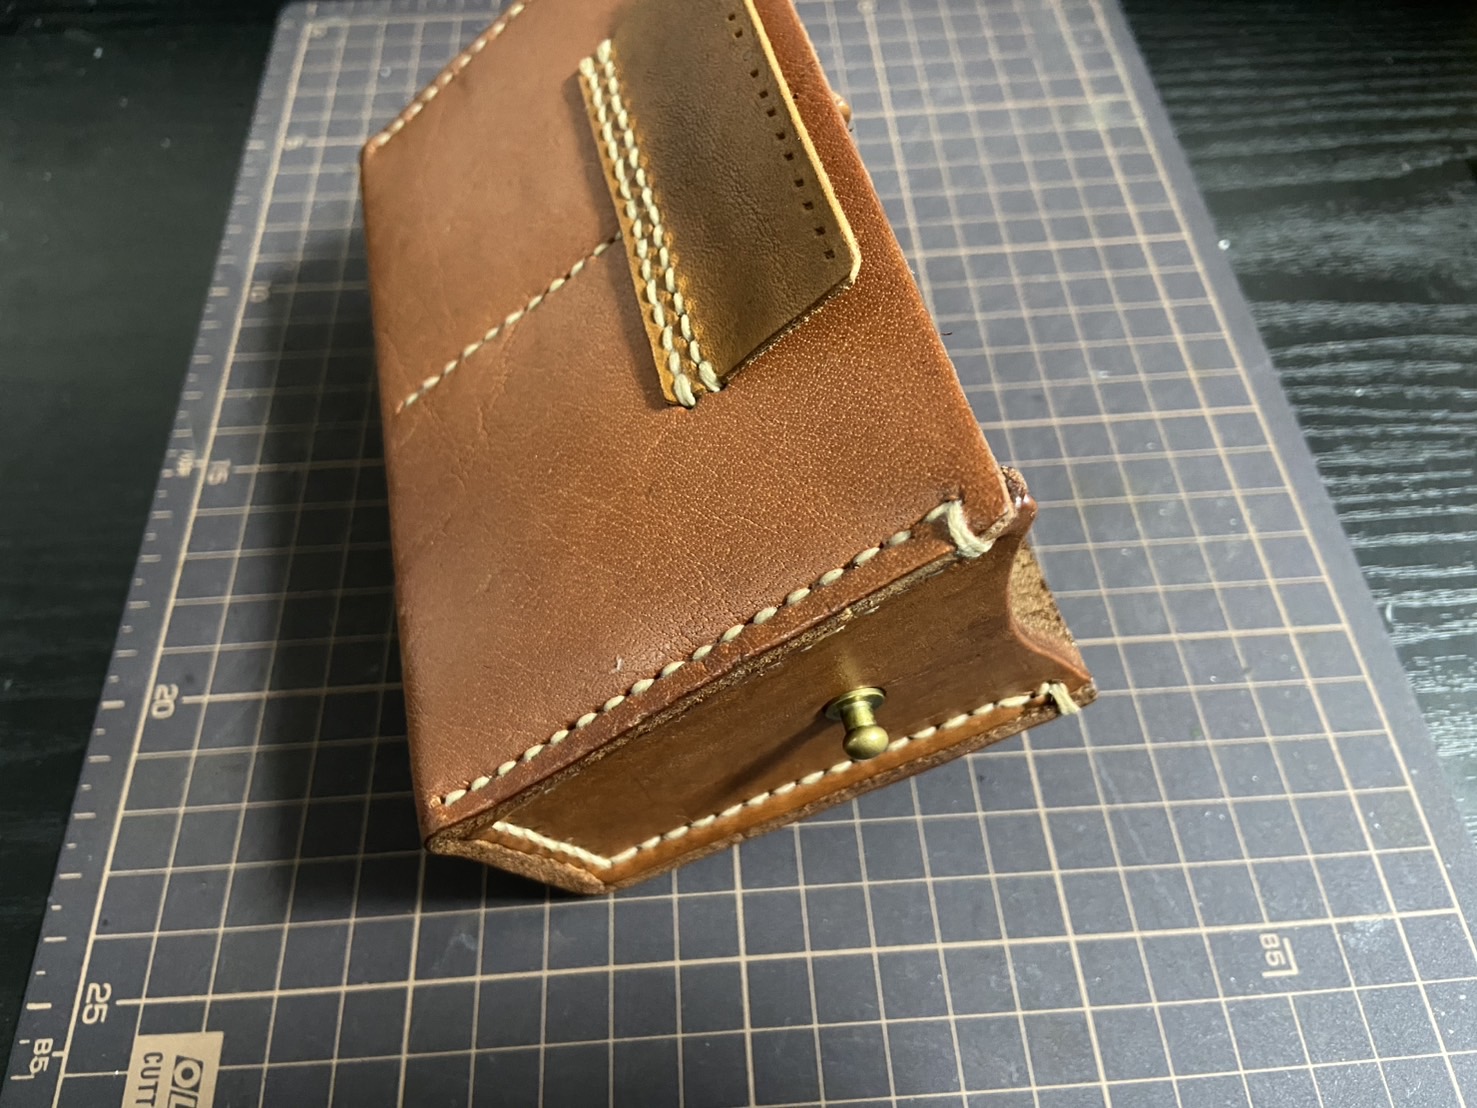
Here is the item sold by S&Graf as an early model Type 30 Ammunition Pouch. This particular pouch has a unique feature: as shown in the second photo, there is only one stitch line in the center of the front pouch. This stitch line secures the internal divider of the ammunition pouch.
Pouches with only one stitch line like this are said to have been used for training at schools and similar institutions. In contrast, the ones actually used by soldiers had two stitch lines, with two pieces of leather used for the divider. Since the Type 30 pouch previously sold by Nakata Shoten was also a training-use type with only one stitch line, it seems likely that S&Graf used Nakata Shoten’s product as a reference when creating theirs
The pouch from HIKISHOP, on the other hand, has two stitch lines, so if you’re looking to purchase an early model Type 30 Ammunition Pouch, I would recommend the one from HIKISHOP. I bought the S&Graf version back when I wasn’t very familiar with the details, and since I haven’t been doing infantry rifleman impressions much lately, I haven’t gotten around to replacing it.
Normally, this would be the end of the introduction, but that would be a bit dull—so I’ve decided to use the S&Graf ammunition pouch as material to practice some restoration work.
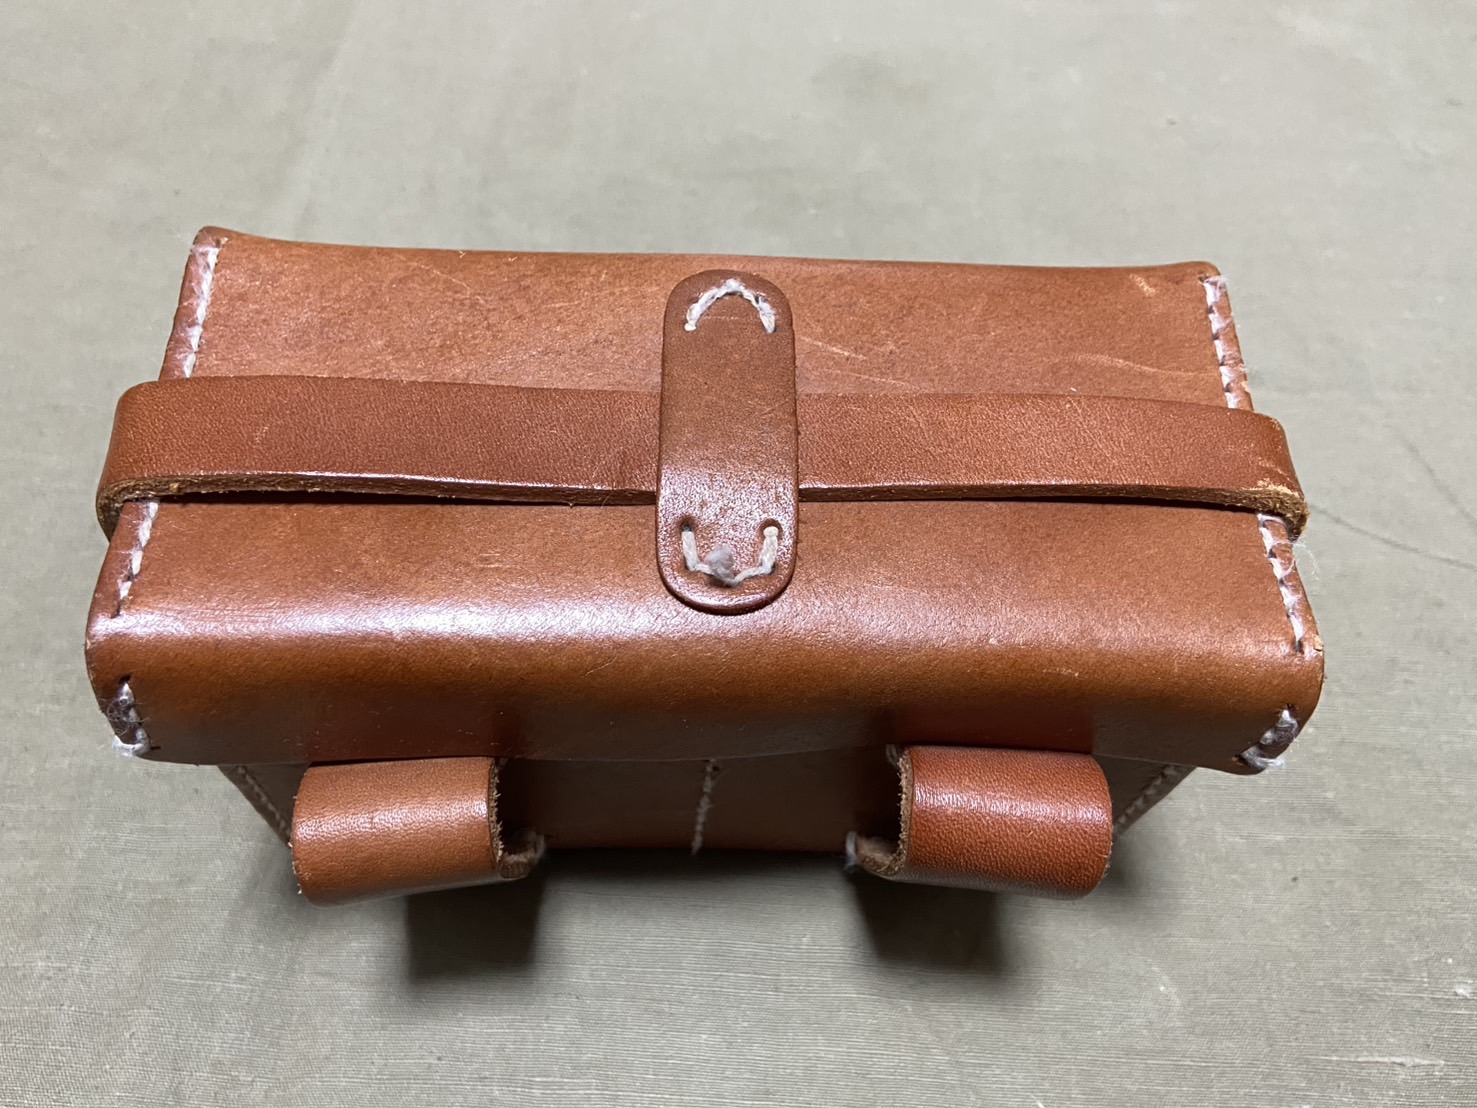
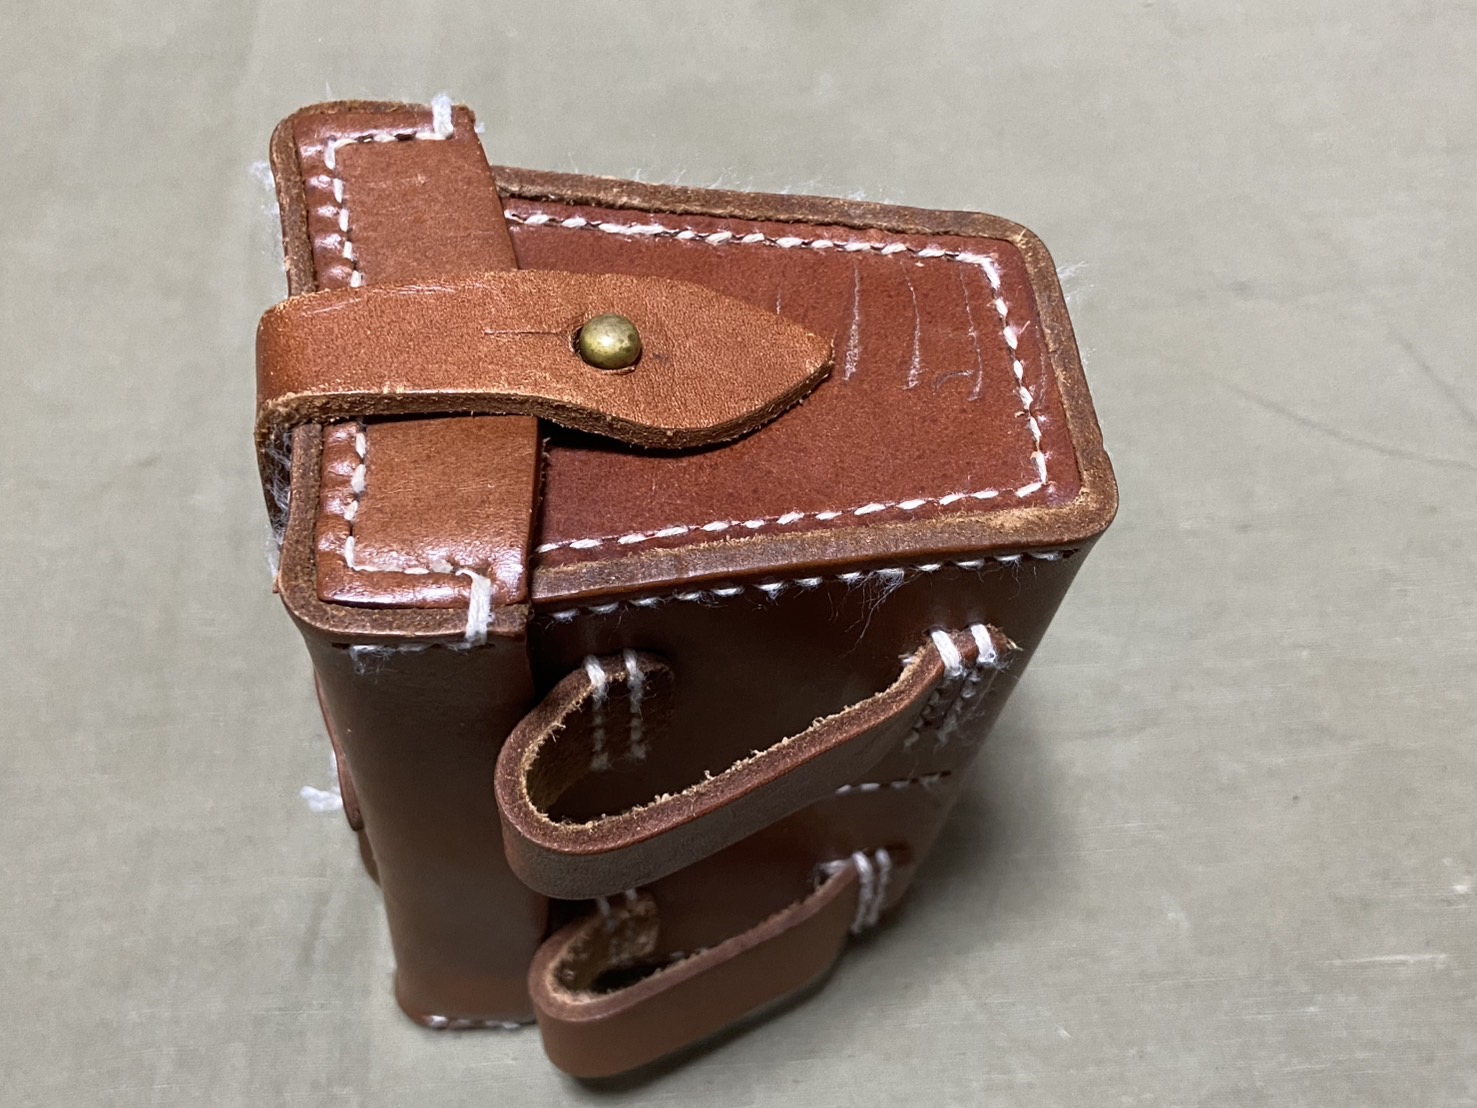
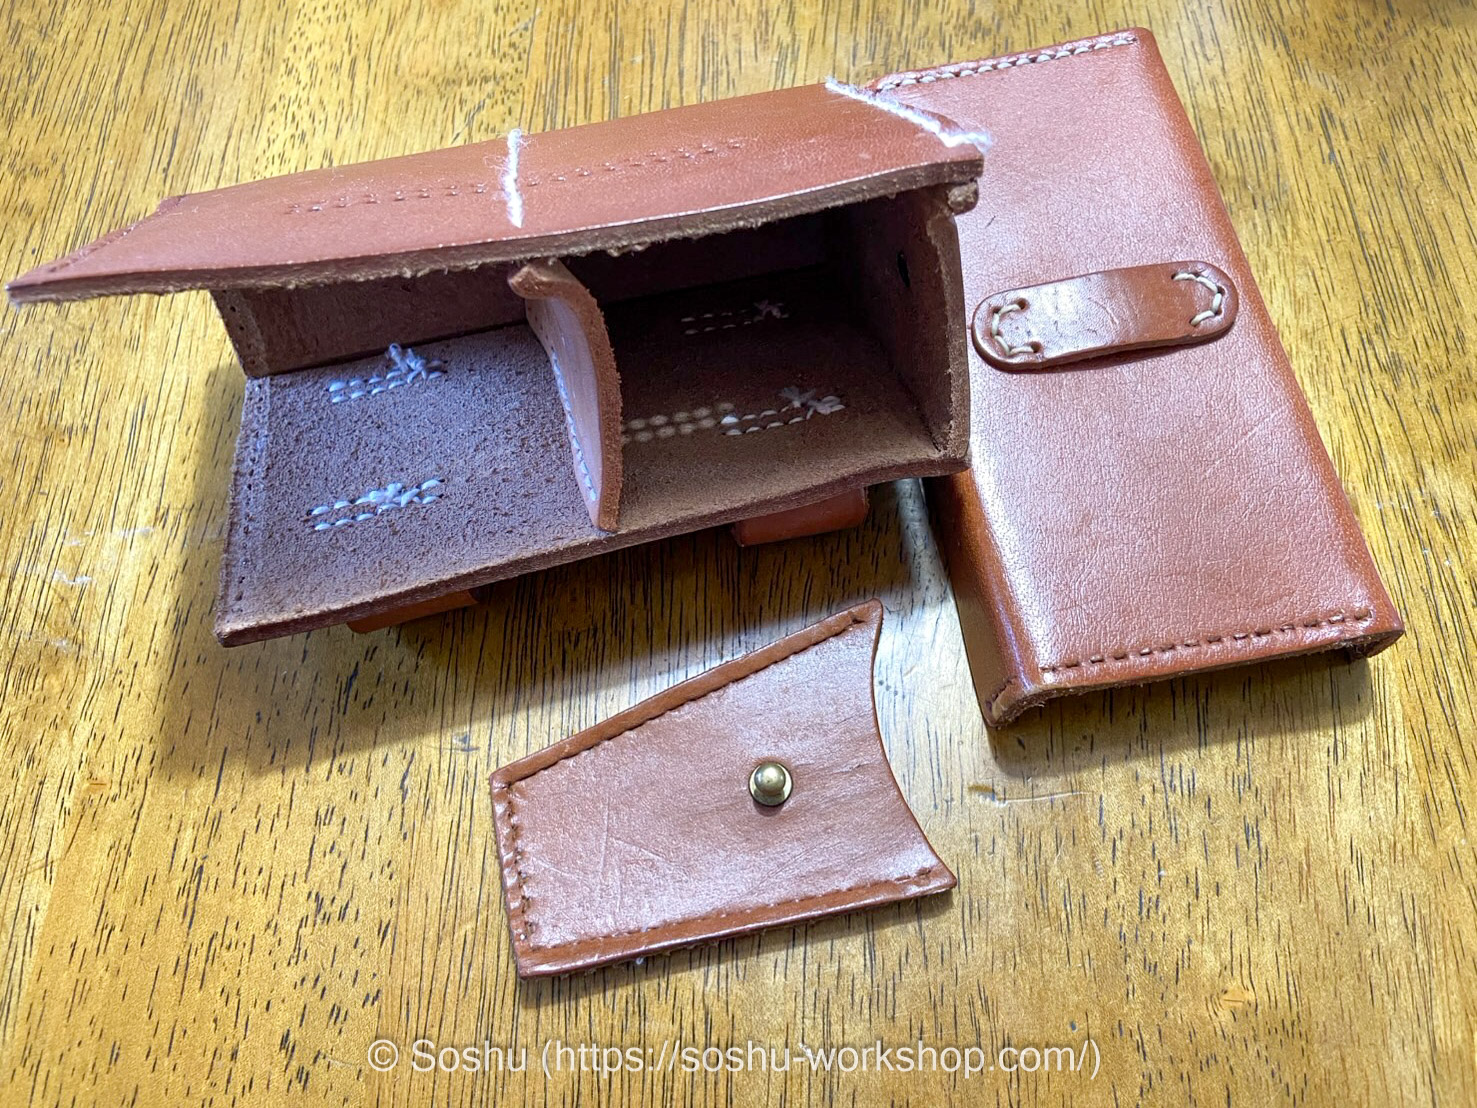
As you can see, the stitching on my S&Graf pouch has started to fray and become fuzzy. With leather goods, waxed thread—coated with wax—is typically used for sewing, but this product uses ordinary thread. Also, although I forgot to take a photo, the leather hinge connecting the lid to the main body had torn, making repairs necessary.
Rather than just re-stitching a single section—which would make the color of the new thread stand out and look unsightly—I decided to go all in, take the entire pouch apart, and re-stitch it from scratch. I figured it would be a good opportunity to practice sewing box-shaped leather items.
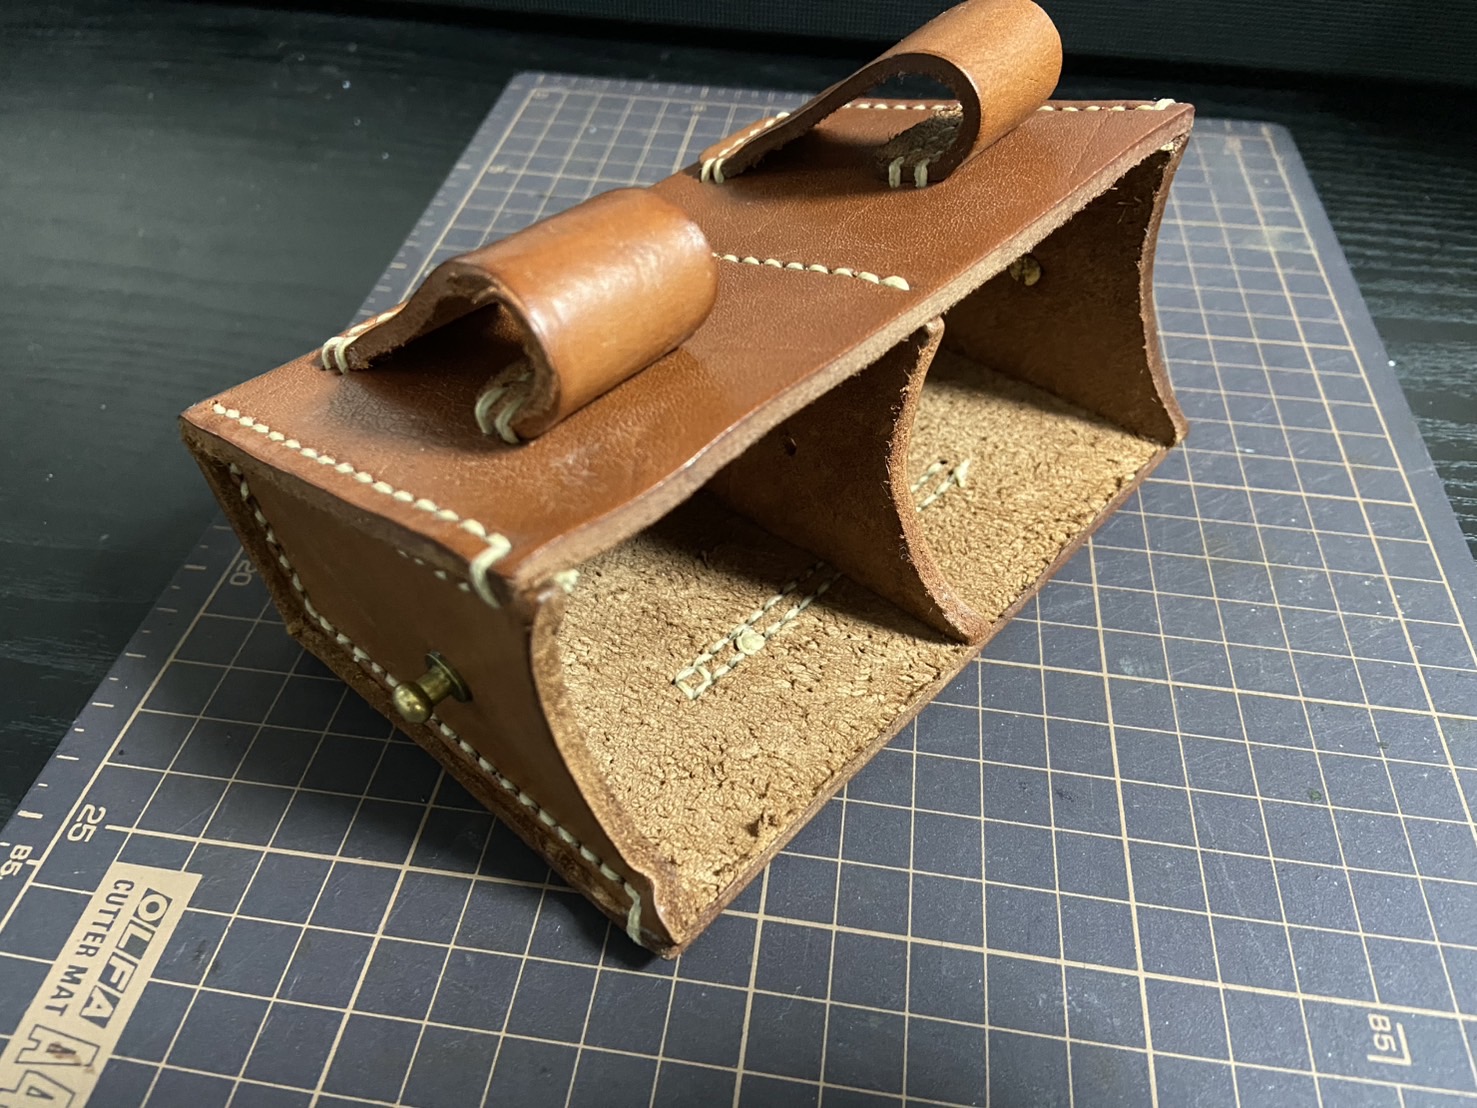
First, I began by taking the pouch apart. Since no glue was used, it came apart easily just by cutting the threads.
The leather on both sides and the internal divider was significantly warped, so I moistened it with water and straightened it out. Leather can be bent or stretched more easily when wet.

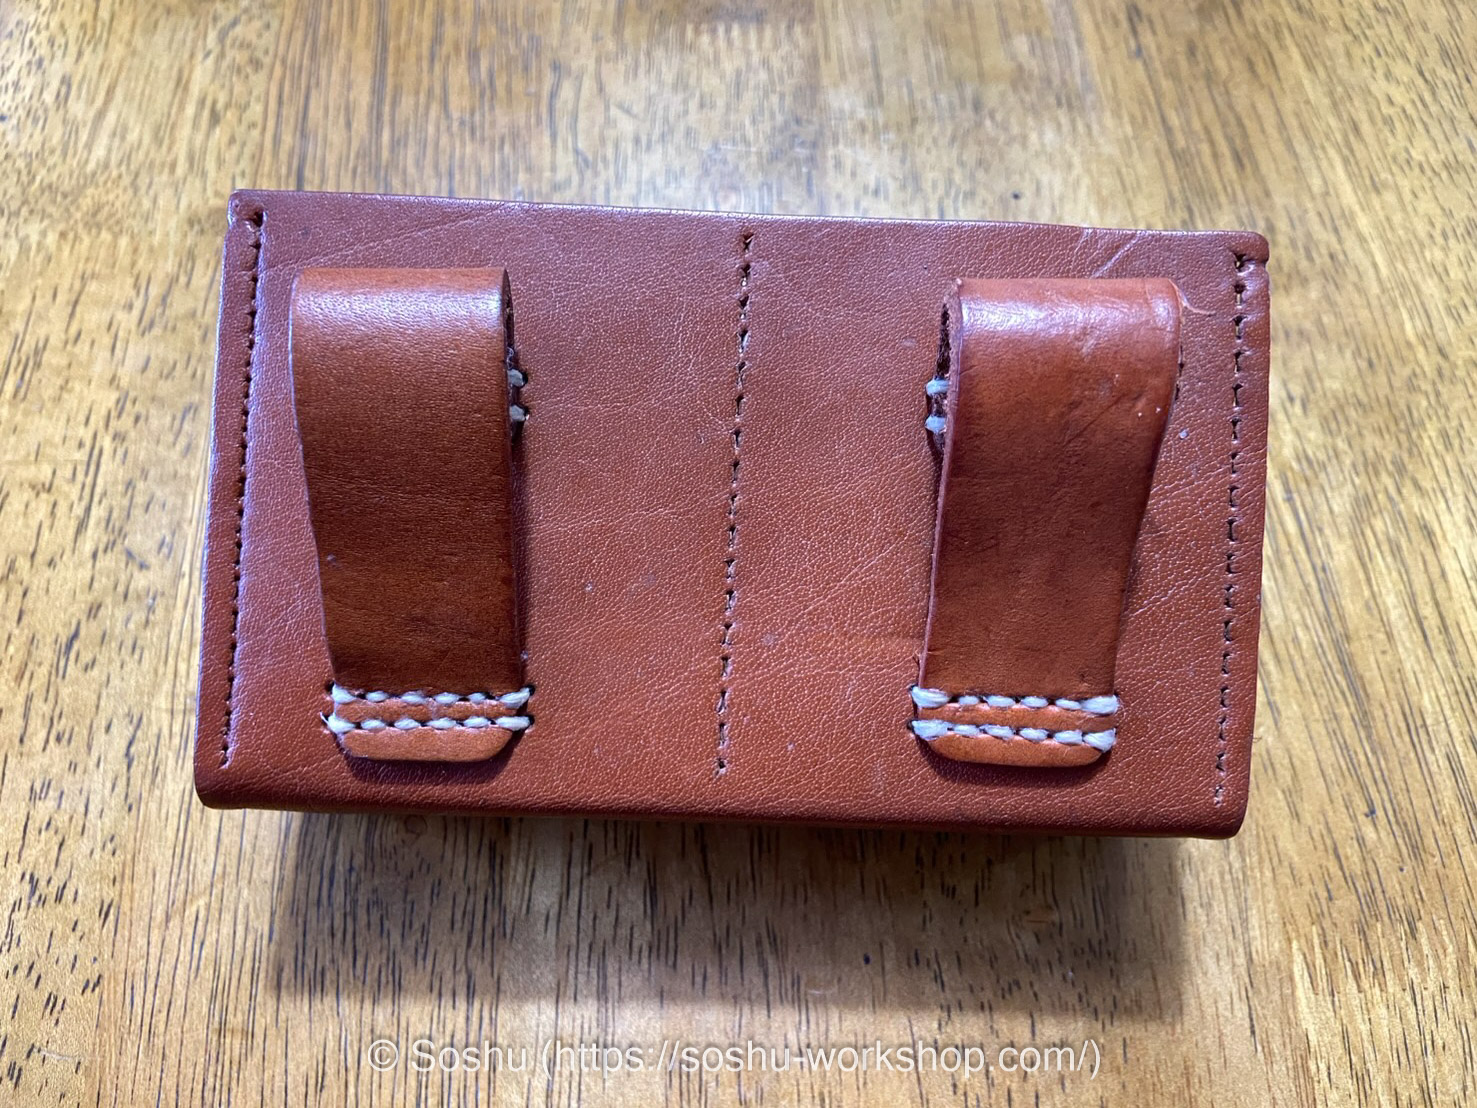
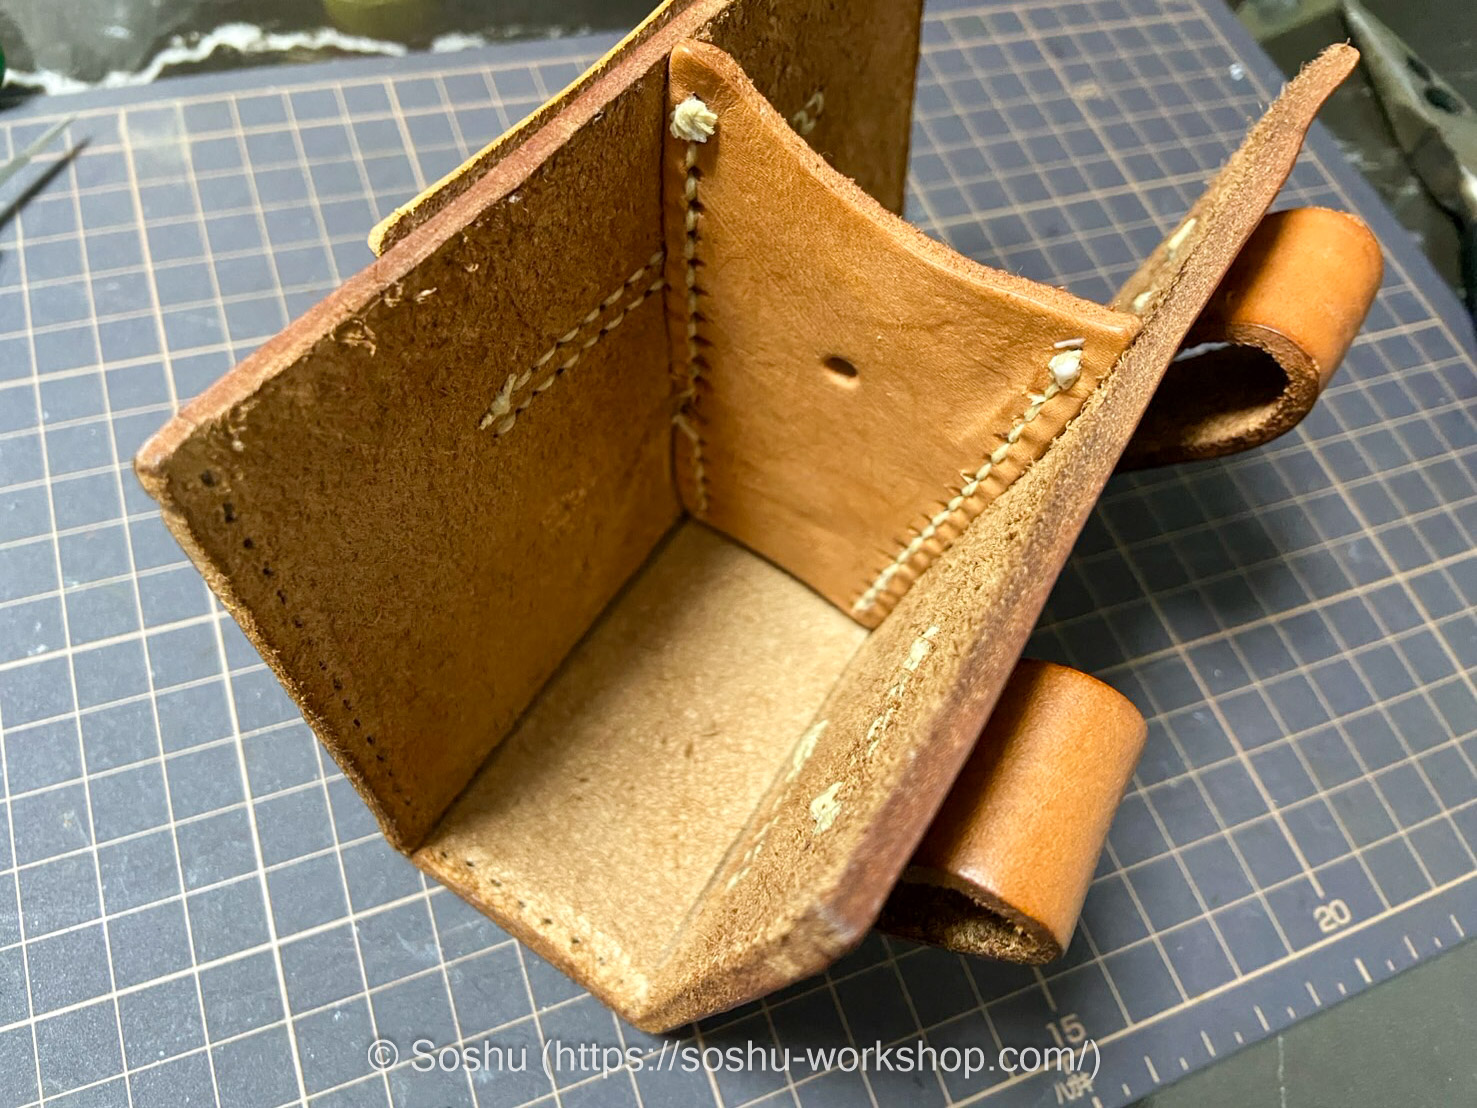
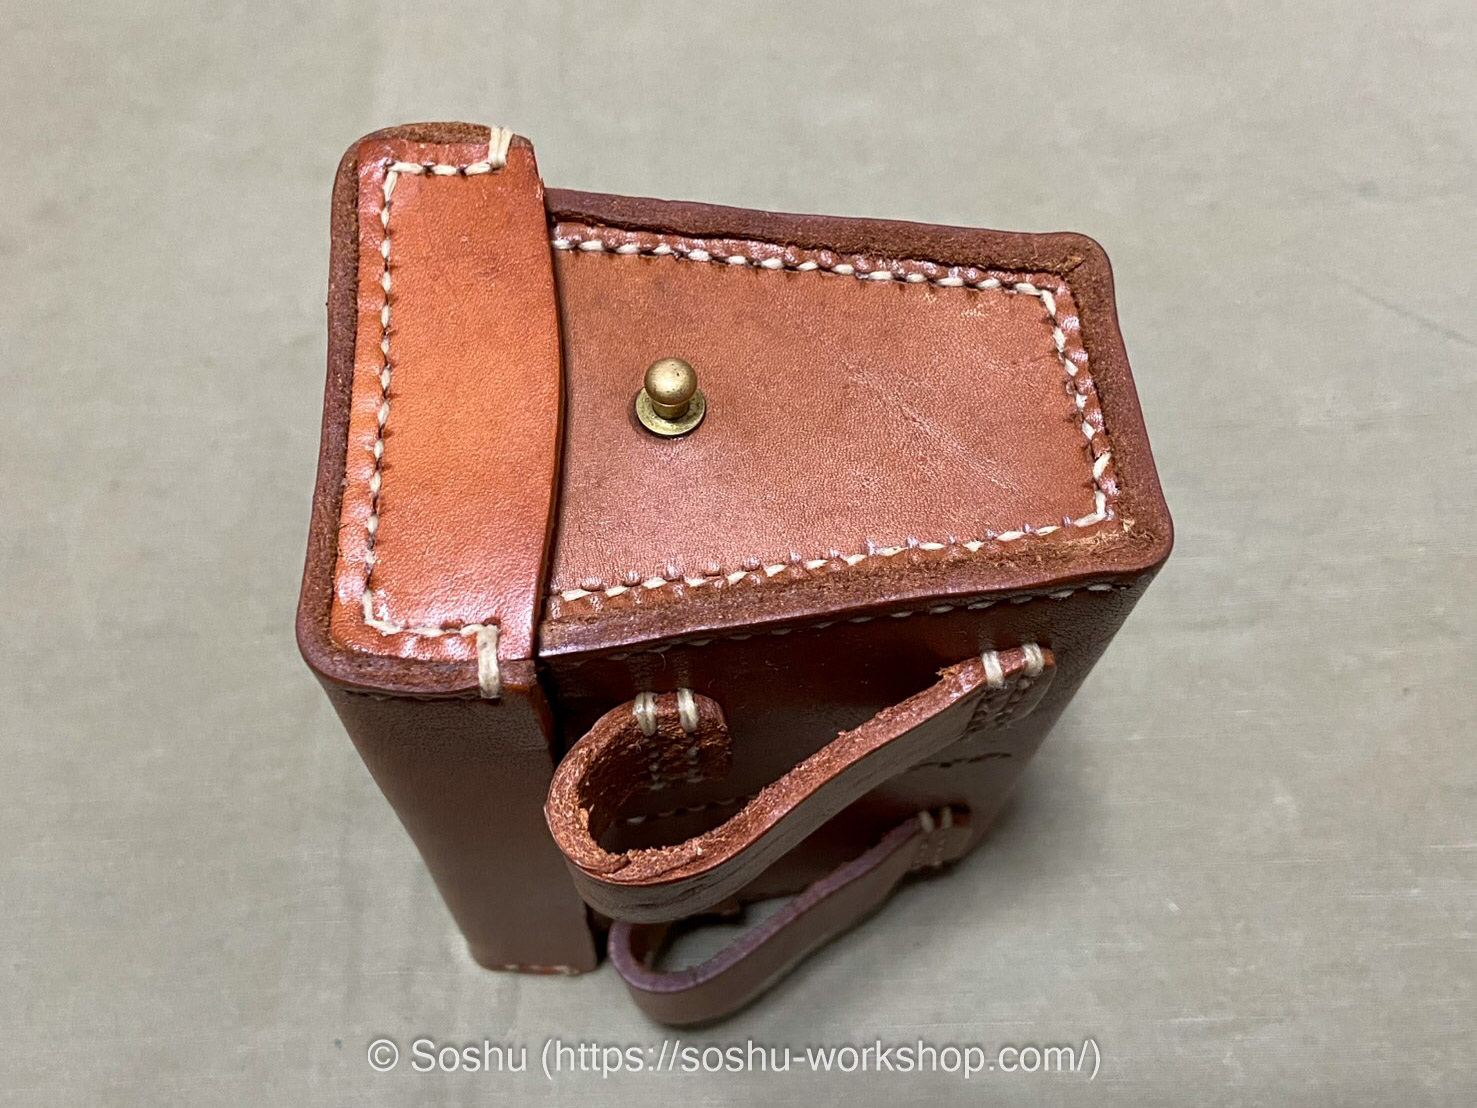
First, I sewed on the loops that allow the pouch to be attached to the belt. Since this is a relatively small box, you have to carefully consider the order of assembly—otherwise, the pieces can get in the way of each other, making it impossible to put it all together.
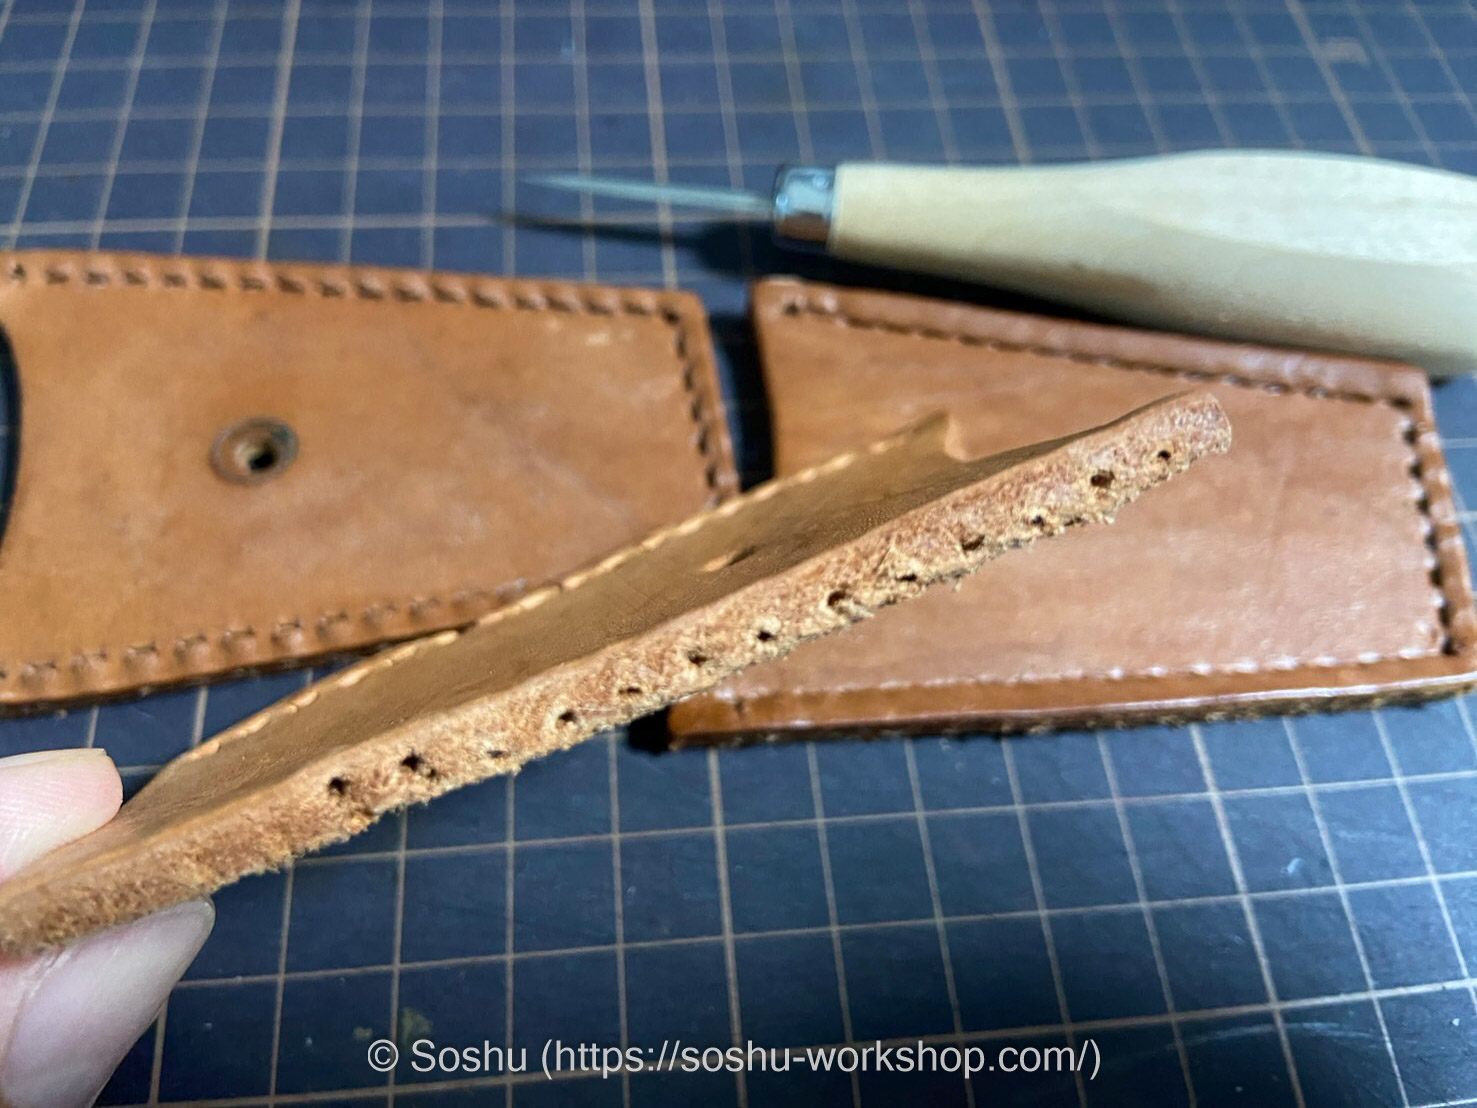
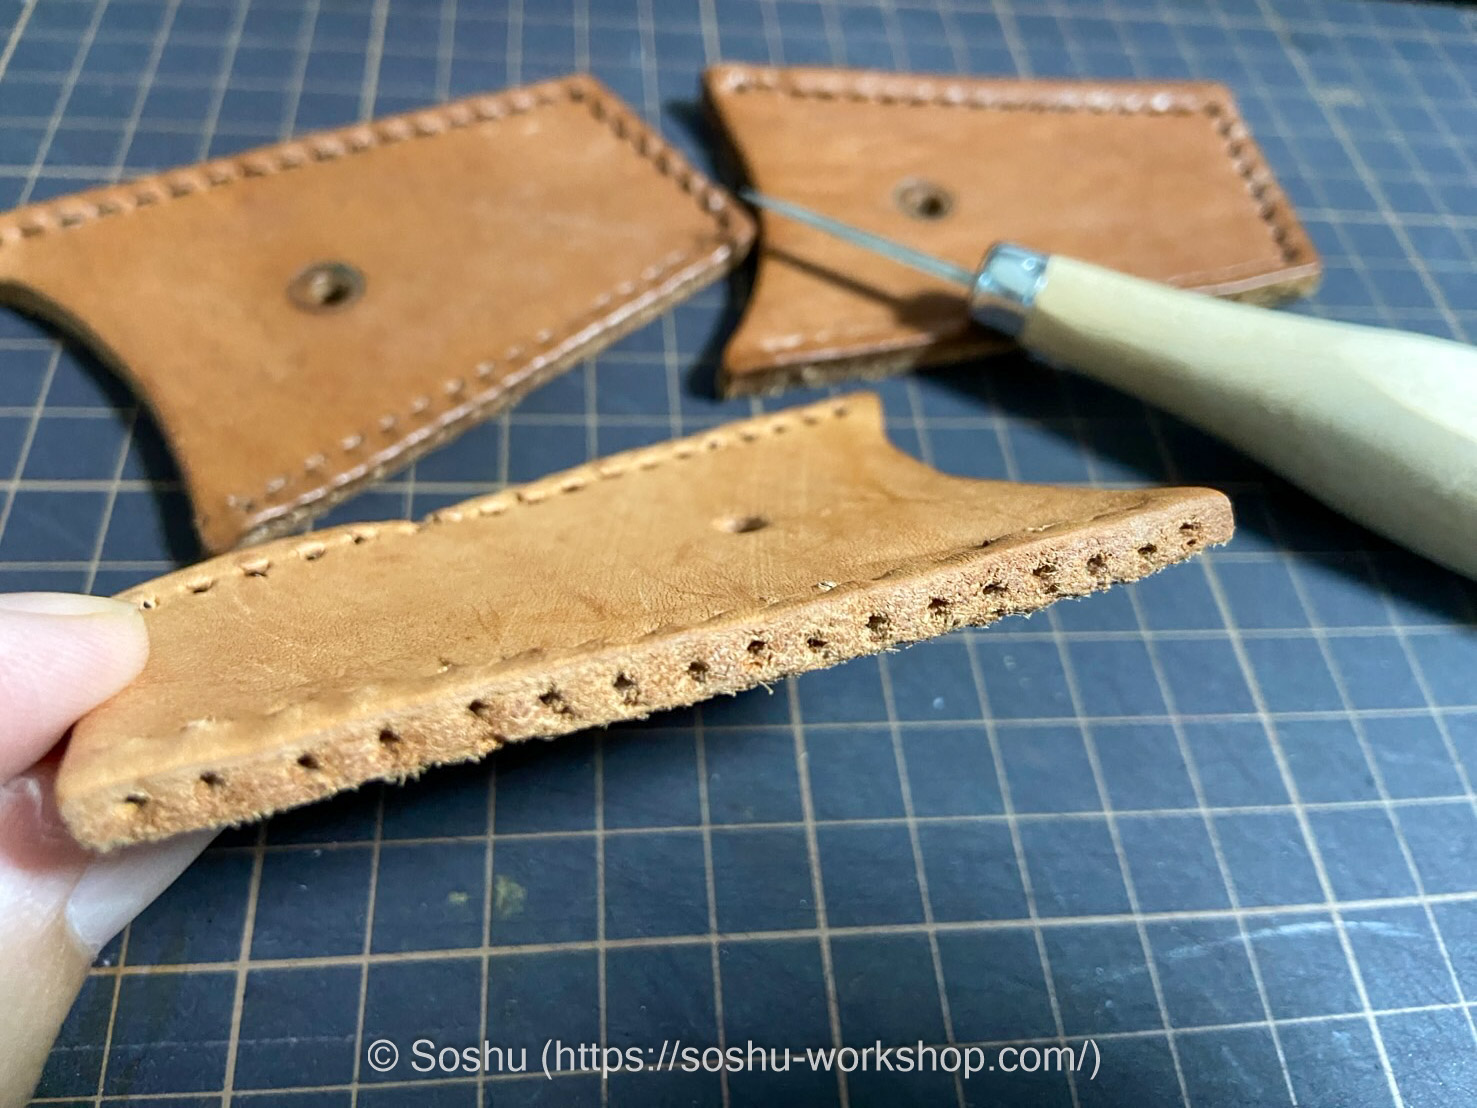
I corrected the stitching holes on the divider. The left shows the piece before the work, and the right shows it after. The original work was quite sloppy, and there were no holes near the bottom.
I started by sewing only the front side of the central divider (the side opposite the loops).
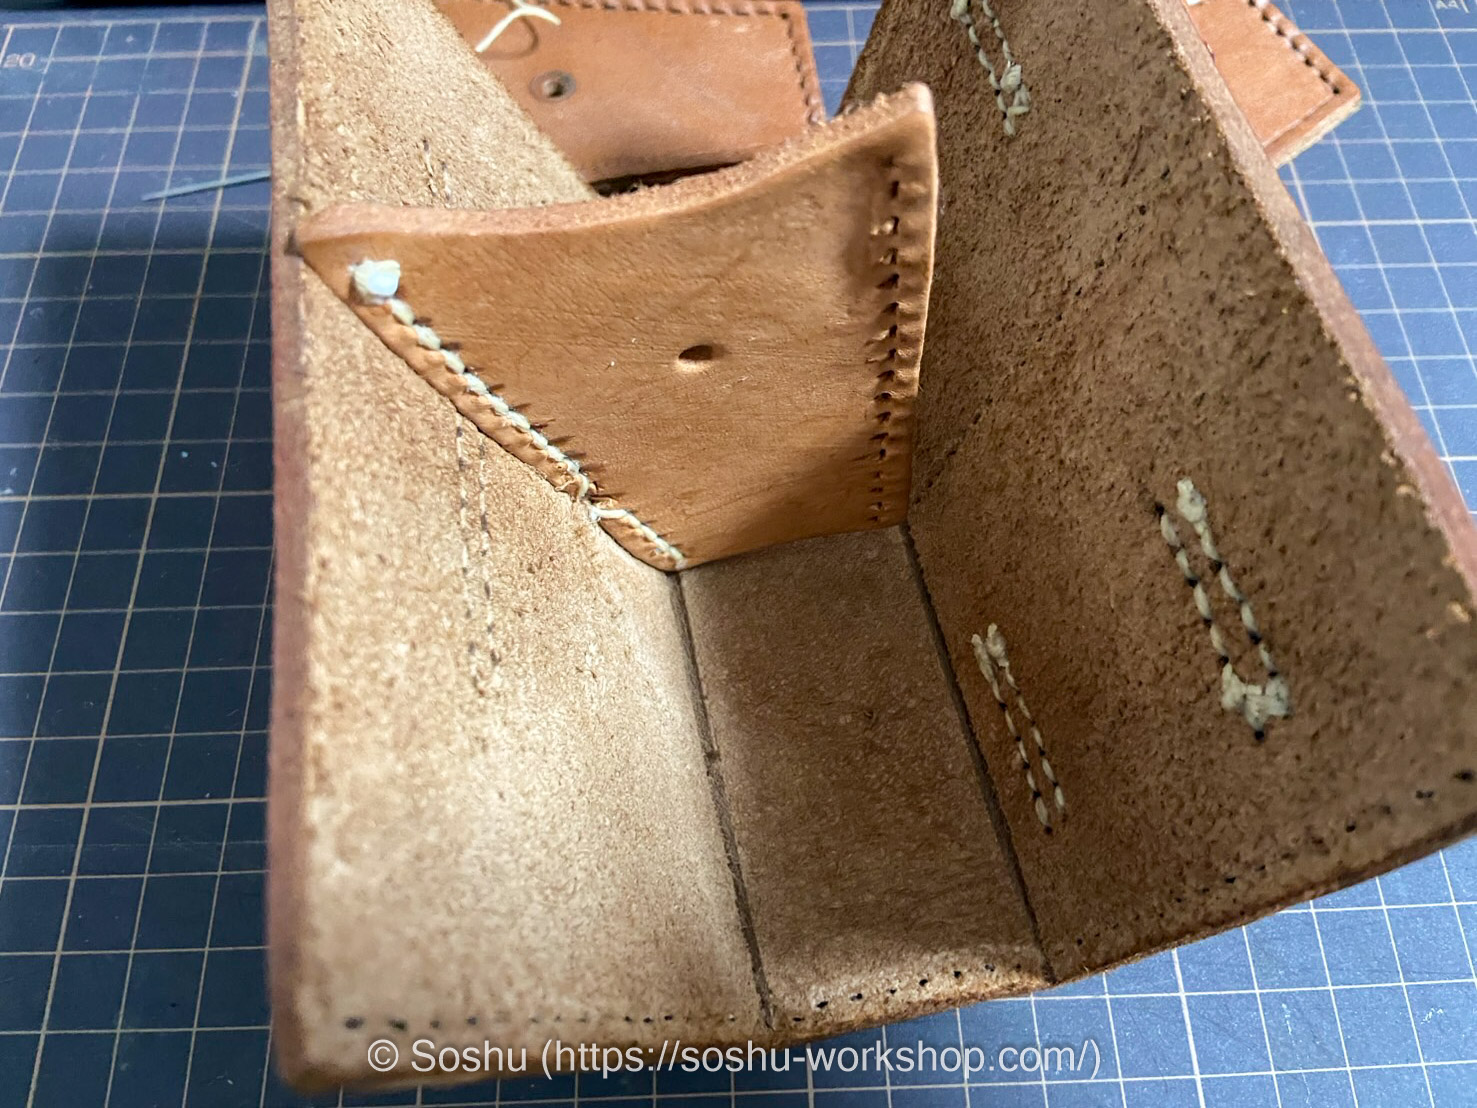
Next, I sewed on the leather piece that connects the lid to the main body. This part has to be attached at this stage, or it won’t be possible to sew it on later.
I then sewed the back side of the divider. It’s quite difficult unless you use a short needle. Once this divider is in place, the rest of the assembly is relatively easy.
The sides are relatively easy to sew, as you just follow the existing holes.
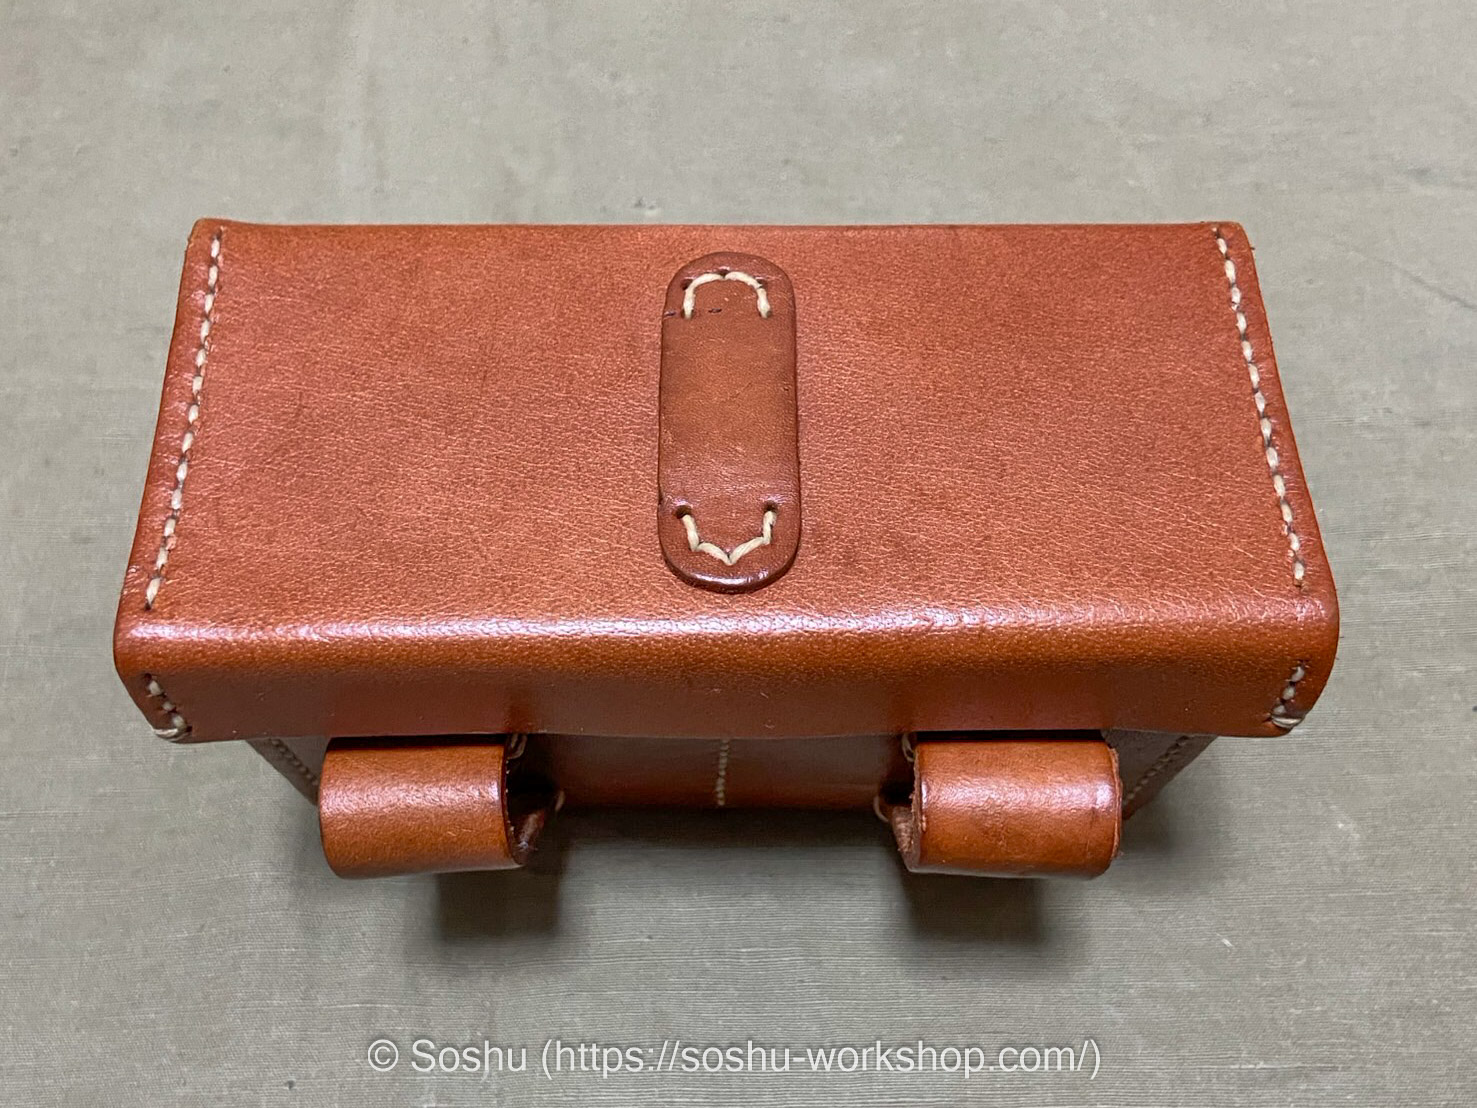
Once the lid was sewn on, the restoration was complete. It might not look drastically different, but I think it now has a sharper, cleaner appearance.
I forgot to take photos, but I also fully disassembled and re-stitched the lid in the same way. The lid has a simple structure and is easy to sew, so I think it’s a good place to start if you’re looking to practice.
That concludes my introduction and restoration of the S&Graf Type 30 Ammunition Pouch.
While the S&Graf pouch is modeled after the training-use variant, it’s relatively budget-friendly. For those who want to casually enjoy Japanese soldier impressions, such as for airsoft games, it’s not a bad option.