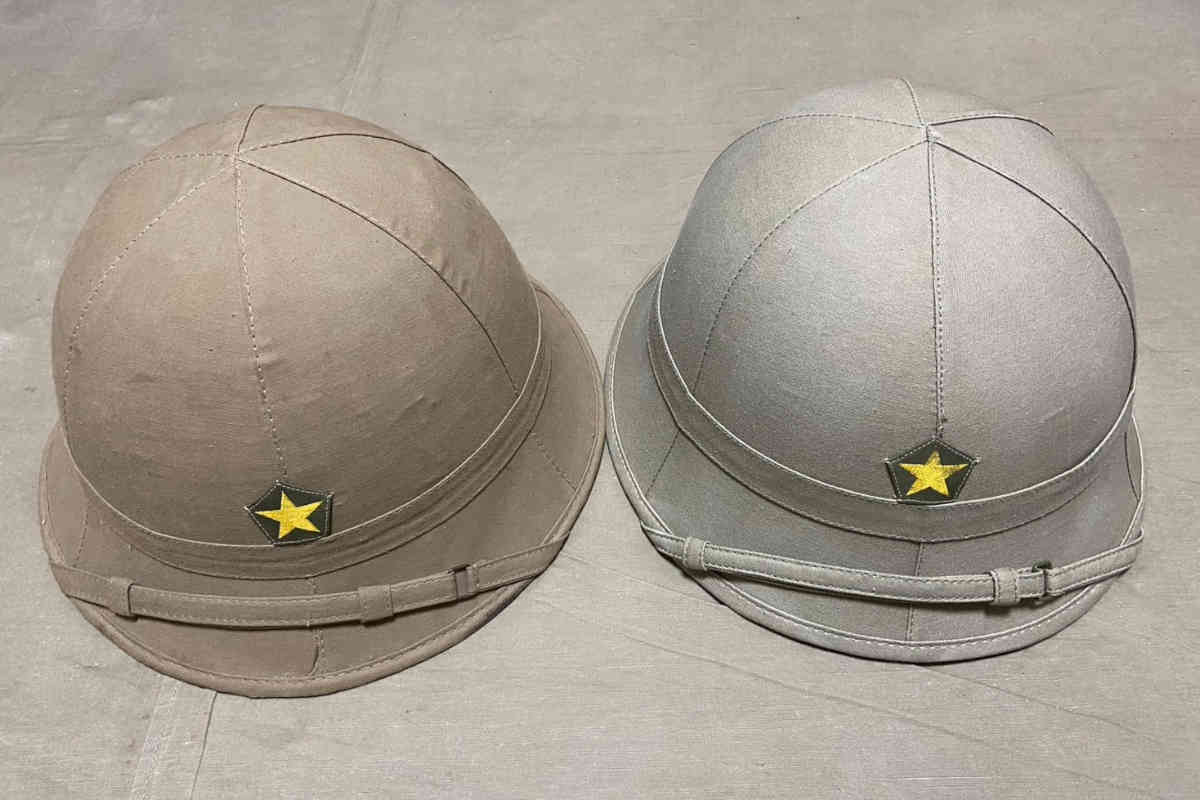
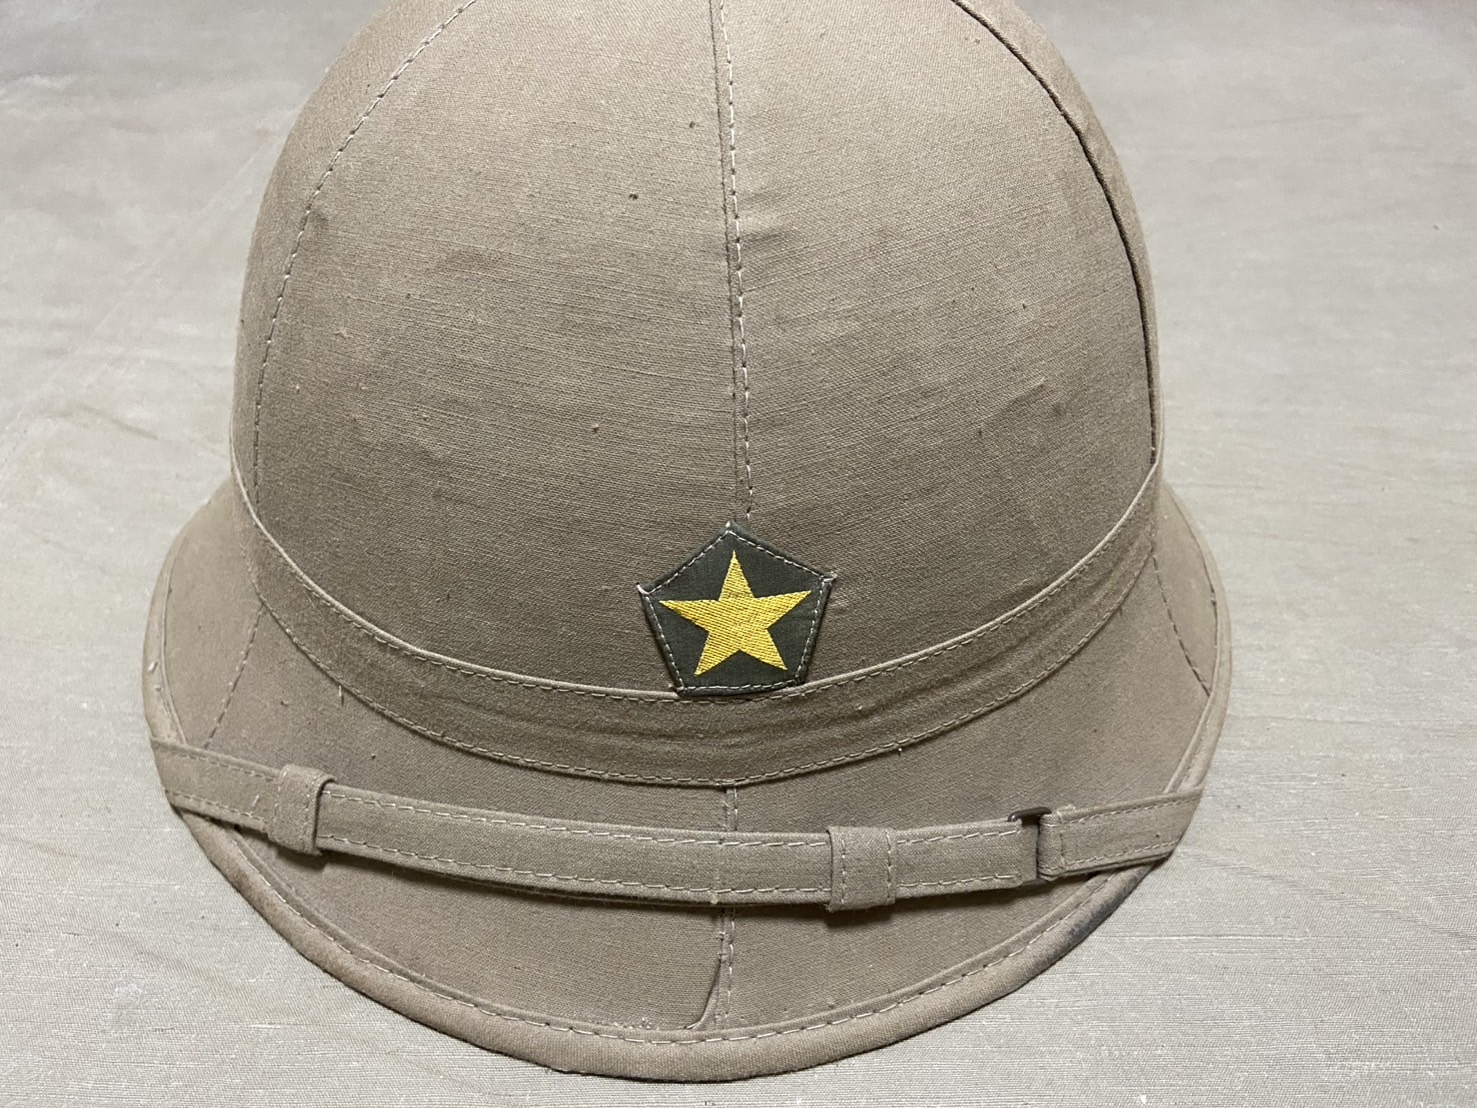
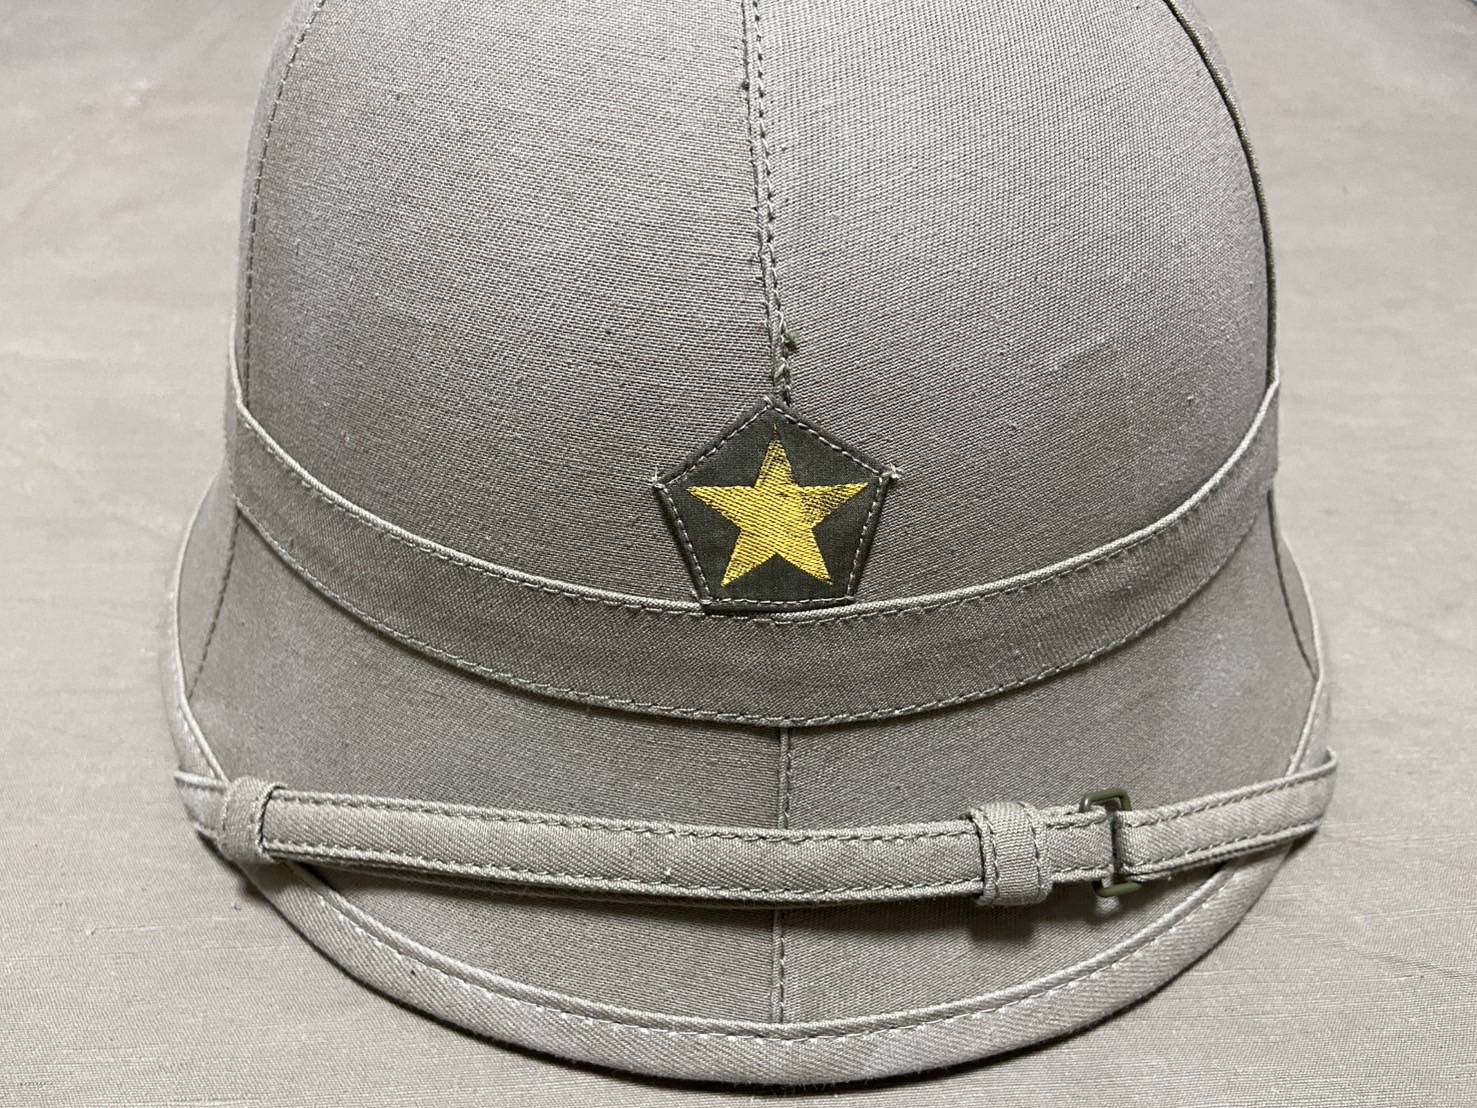
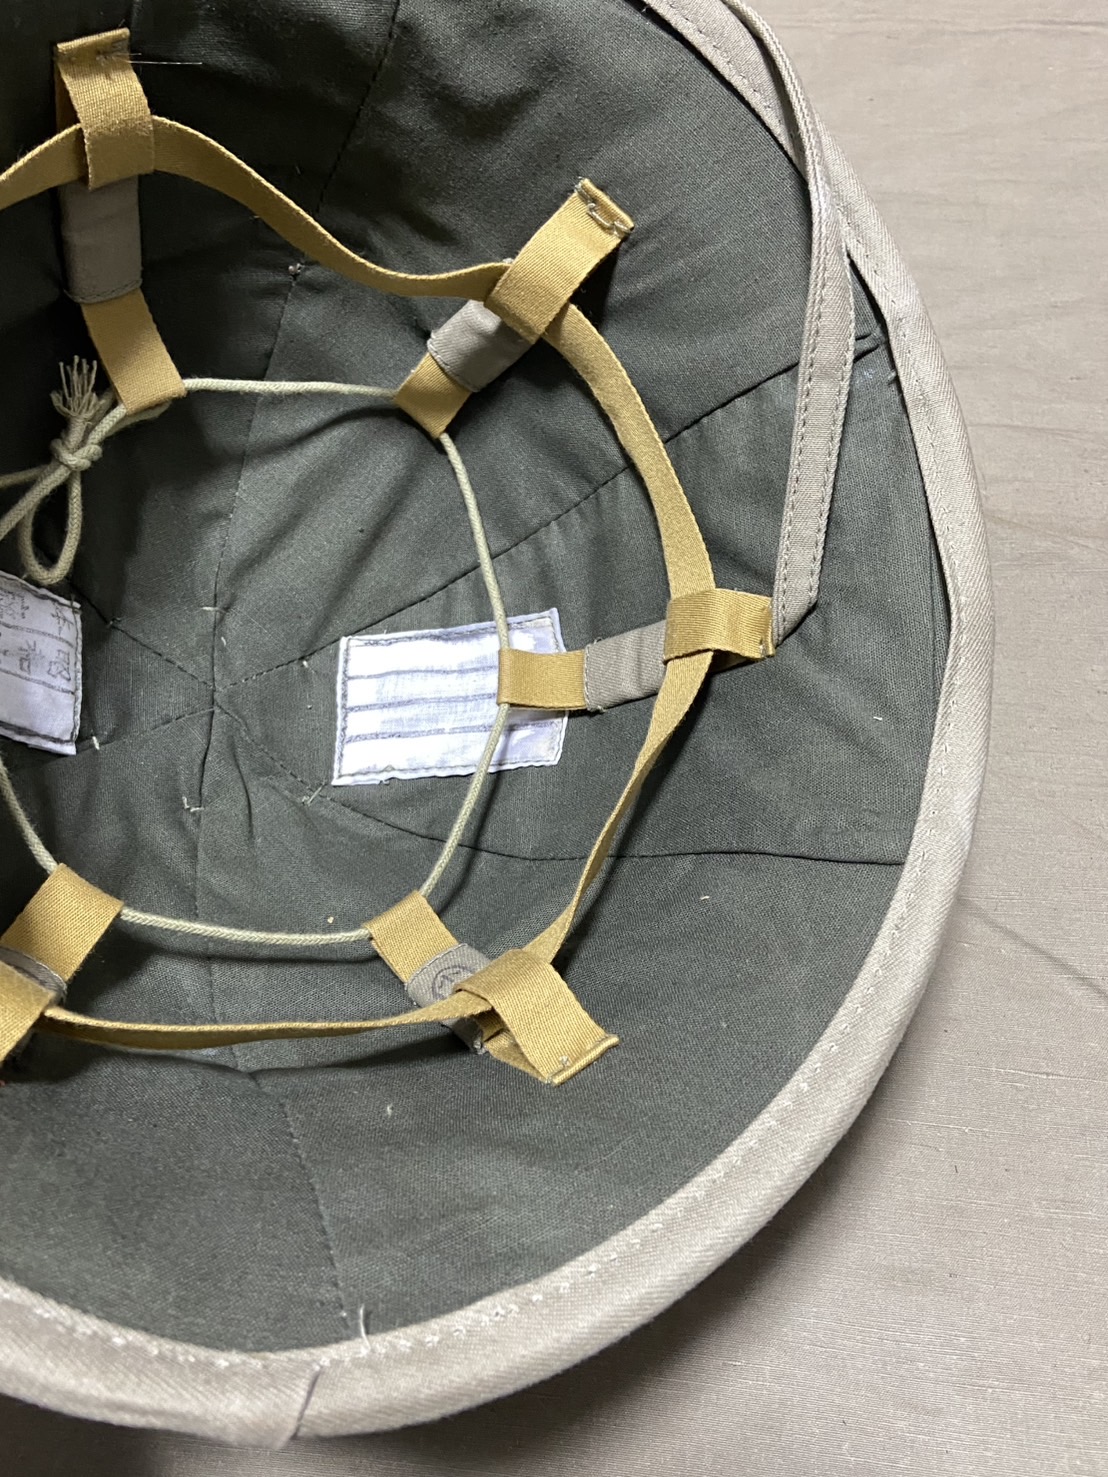
I added authentic woven star insignia to both the authentic Type 98 sun hat and the HIKISHOP replica that I introduced in my recent article. While I was at it, I also made some detailing enhancements to the HIKISHOP replica
Processing the Woven Star Insignia
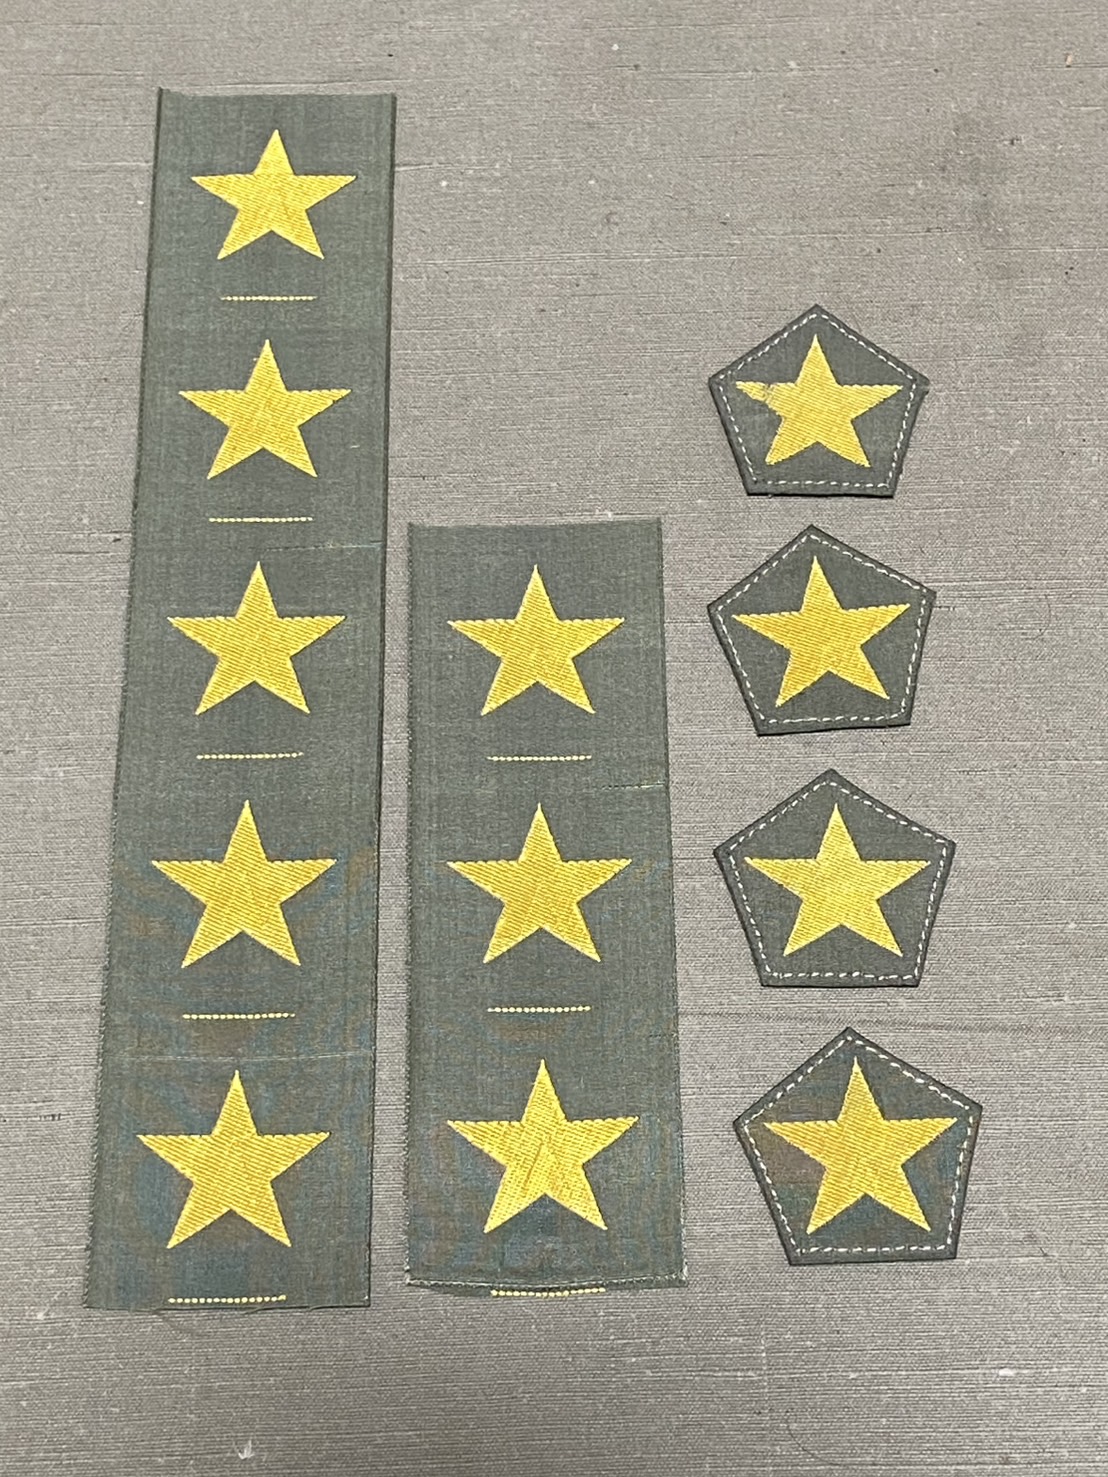
Here is the authentic woven star insignia that I used. In my case, I happened to find it listed with an incorrect title on Yahoo Auctions, allowing me to acquire it at a low price. If you try to buy it online, each star generally costs around 3,000 to 4,000 yen.
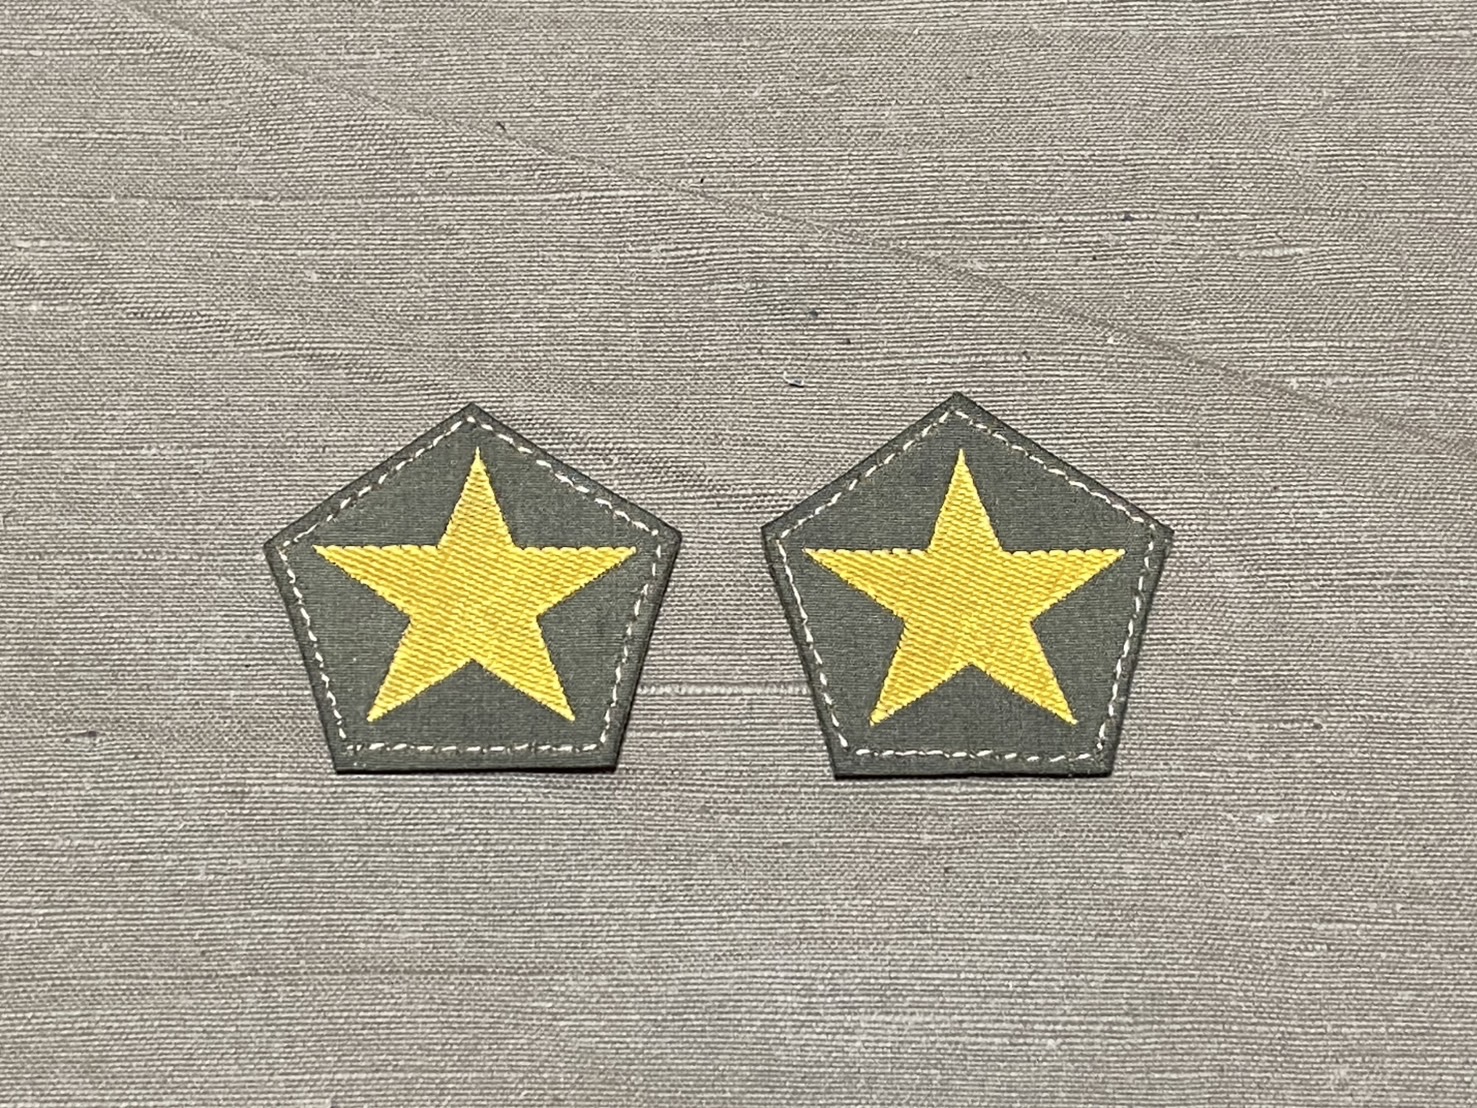
I fold this star insignia into a pentagon shape and sew around it with a sewing machine. To get a properly shaped pentagon, I bought a drafting compass to create a template. As expected, it’s difficult to draw a perfect pentagon with a cheap compass.
The woven star insignia itself was made from a very thin fabric, which made it difficult to work with, so I created a pentagonal base out of canvas to add strength. This completes the star insignia.
Adding the Star Insignia
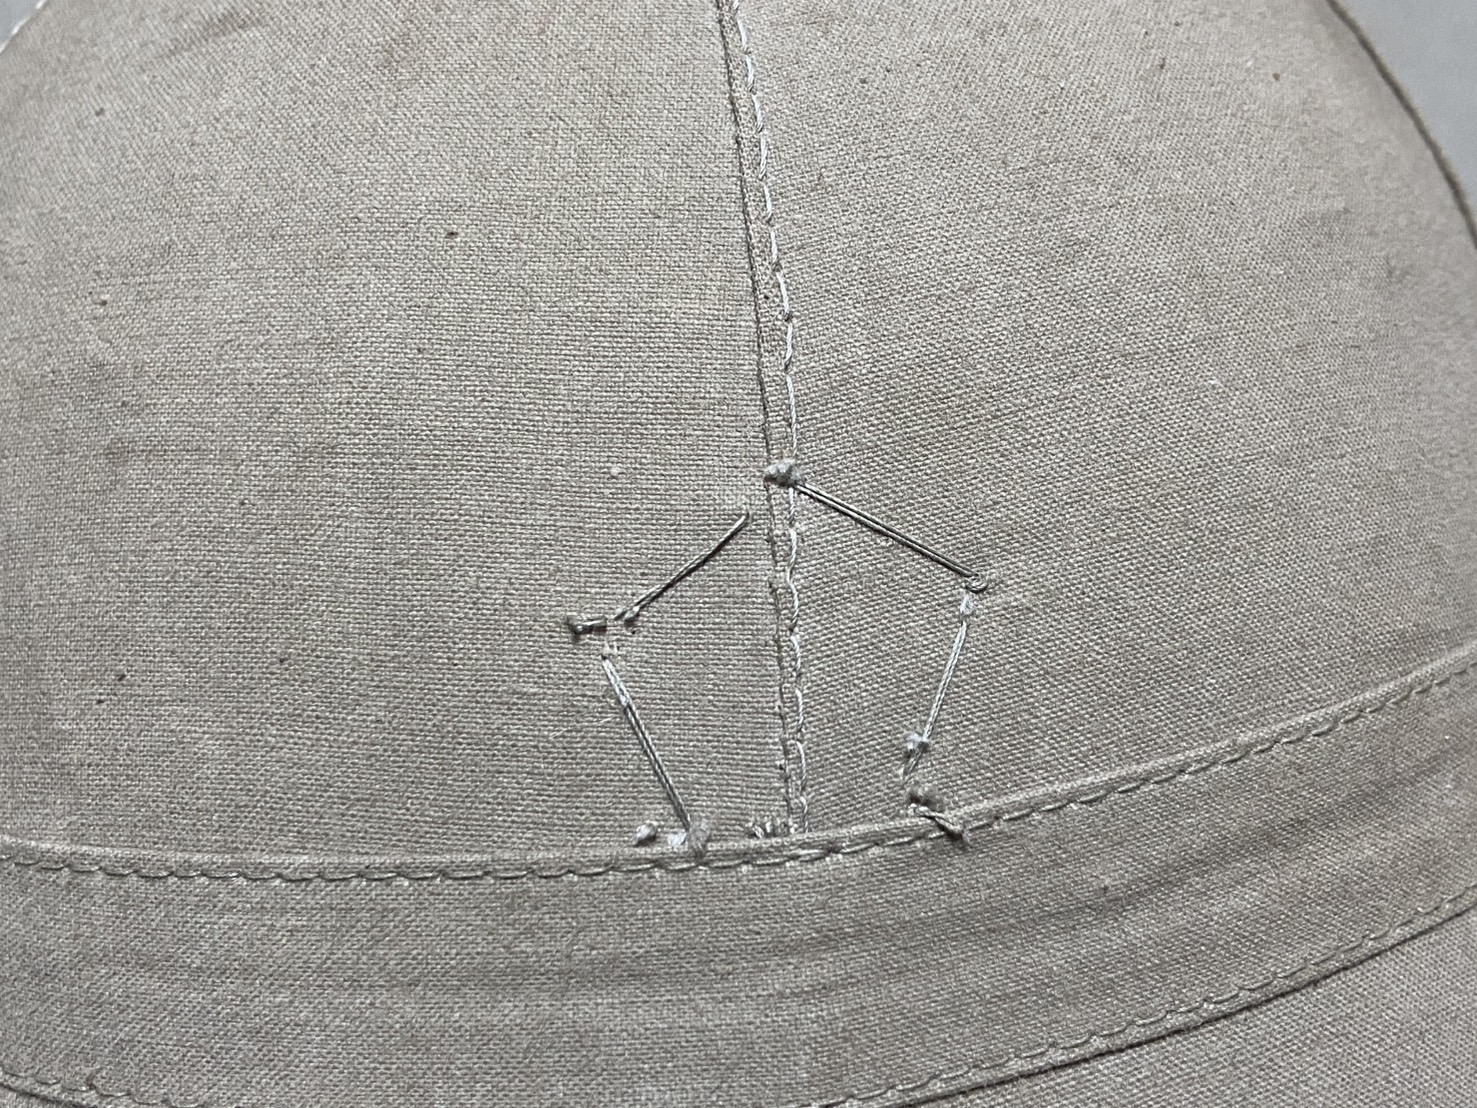
The five-pointed star insignia I created is attached to the hat body by sewing only at the vertices. Below is a photo of my authentic Type 98 Sun Hat. The star insignia had been removed, but the original threads remain intact, providing a clear example of how it was originally attached.
It seems that the star insignia was often removed when the war ended, so Sun Hats that still have their original star insignia attached are considered highly valuable.
Here is the star insignia after being attached. Initially, the entire star was in a pristine yellow, but during attachment, parts of the color faded slightly. Given that this is over 80 years old, the embroidery threads may have weakened. Even slight friction can cause the star to lose color, so it requires careful handling.
Adjustment of the Loop for Securing to the Steel Helmet.
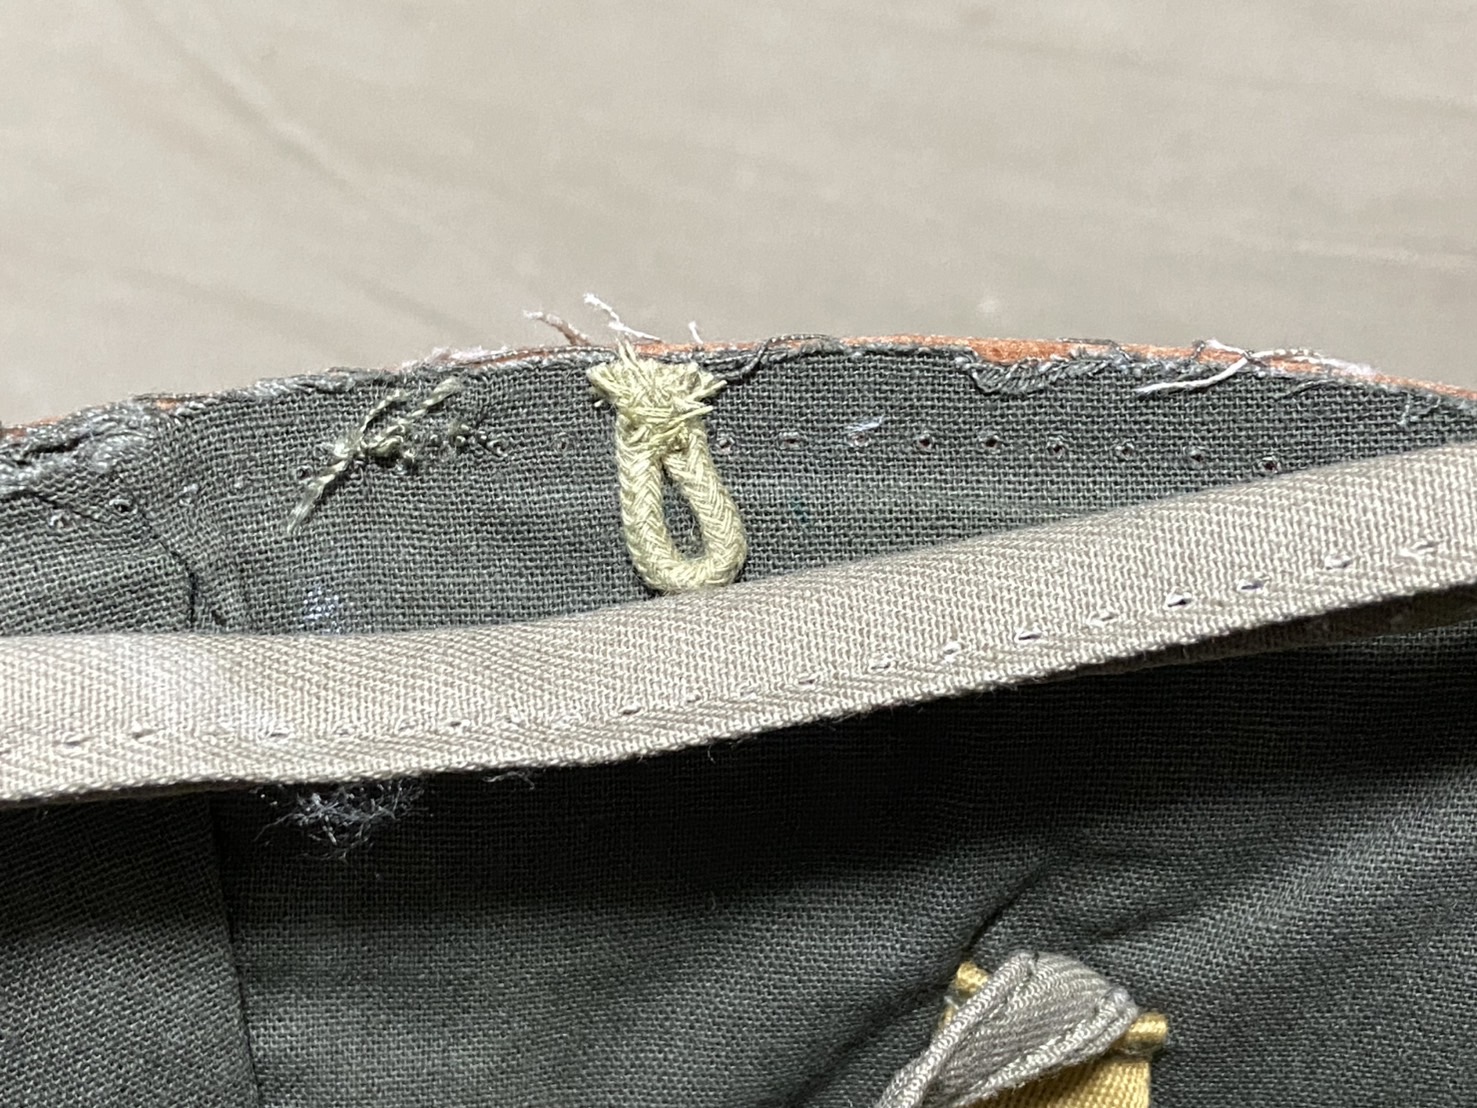
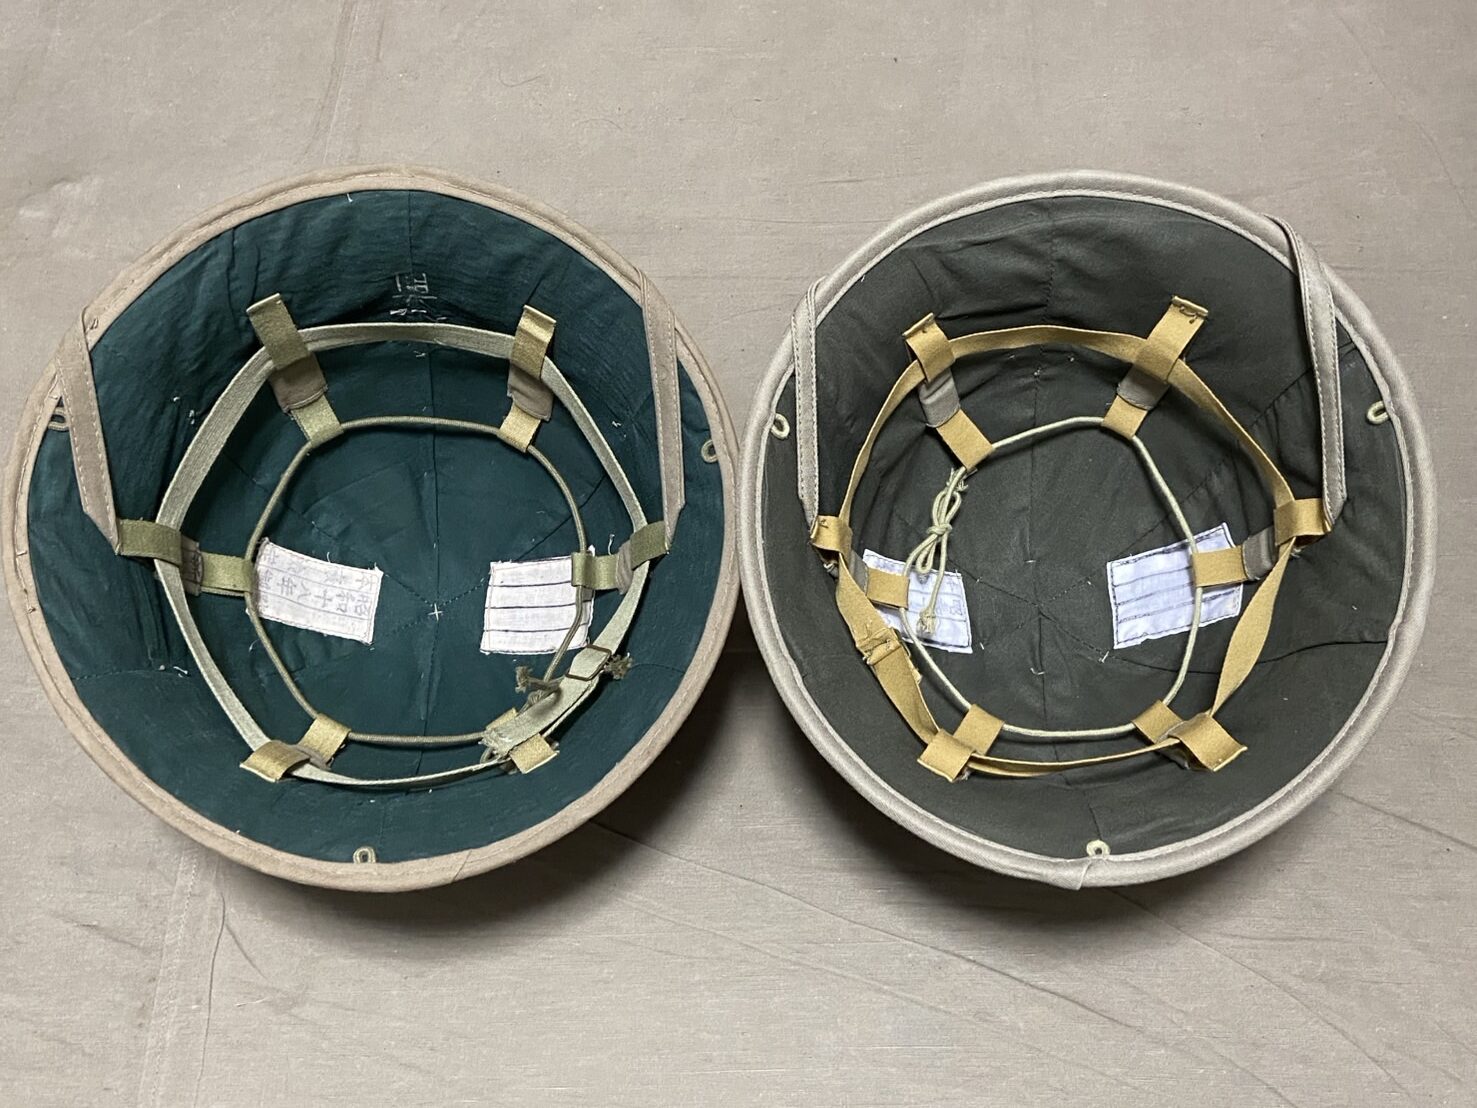
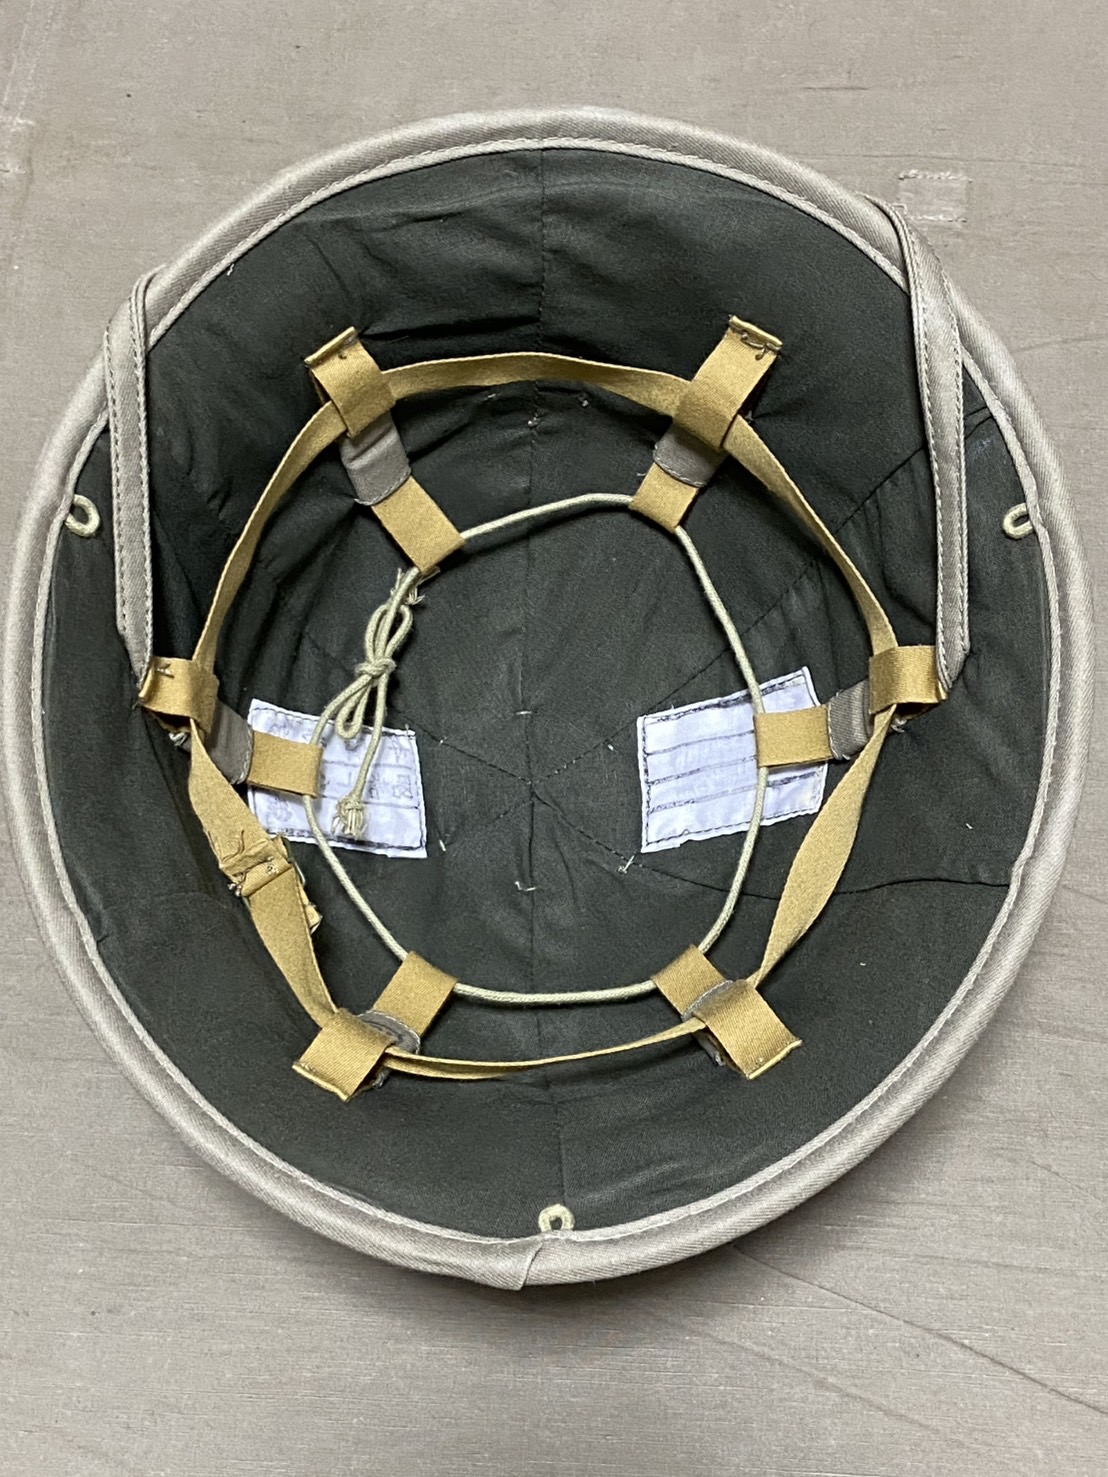
In the previous article, I identified the loop for securing to the steel helmet, but on the HIKISHOP replica, it was attached in a misaligned position with rather sloppy workmanship. Therefore, I made adjustments to correct this loop.
The task was straightforward. First, I unraveled all the threads securing the edge of the sun hat. Then, I reduced the size of the loop and repositioned it correctly in the proper place.
Since regular needles won’t pass through the hat body, it’s necessary to carefully reuse the pre-existing holes for re-stitching. The stitching method is similar to leathercraft: by attaching a needle to both ends of the thread and crossing them as you sew, you can replicate a machine-like stitch by hand.
On the left is the original, and on the right is the replica. Since the shape of the hat body differs slightly between the original and the replica, the loop couldn’t be placed in exactly the same spot. However, I was able to reposition the loop generally in the correct location.
Summary
With that, the detail upgrade for the Type 98 Summer Hat is now complete. I’ve been wanting to replace the star insignia with an original one for some time, and I’m glad to have finally finished the task.
The loop for attaching to the steel helmet on the replica had been poorly placed, and it had been bothering me for a while, but I was able to fix it along with the other adjustments.
