This time, I’d like to review how to fold the Shelter Half when it is tied to the backpack.
Before that, I recently acquired two additional authentic Shelter Halves, so I’ll show you some photos first.
Both newly acquired examples have steel grommets at the four corners and aluminum grommets elsewhere. Therefore, I will refer to them as Early Wartime Model 2 and Early Wartime Model 3. The inspection stamps on both are faded and illegible.1
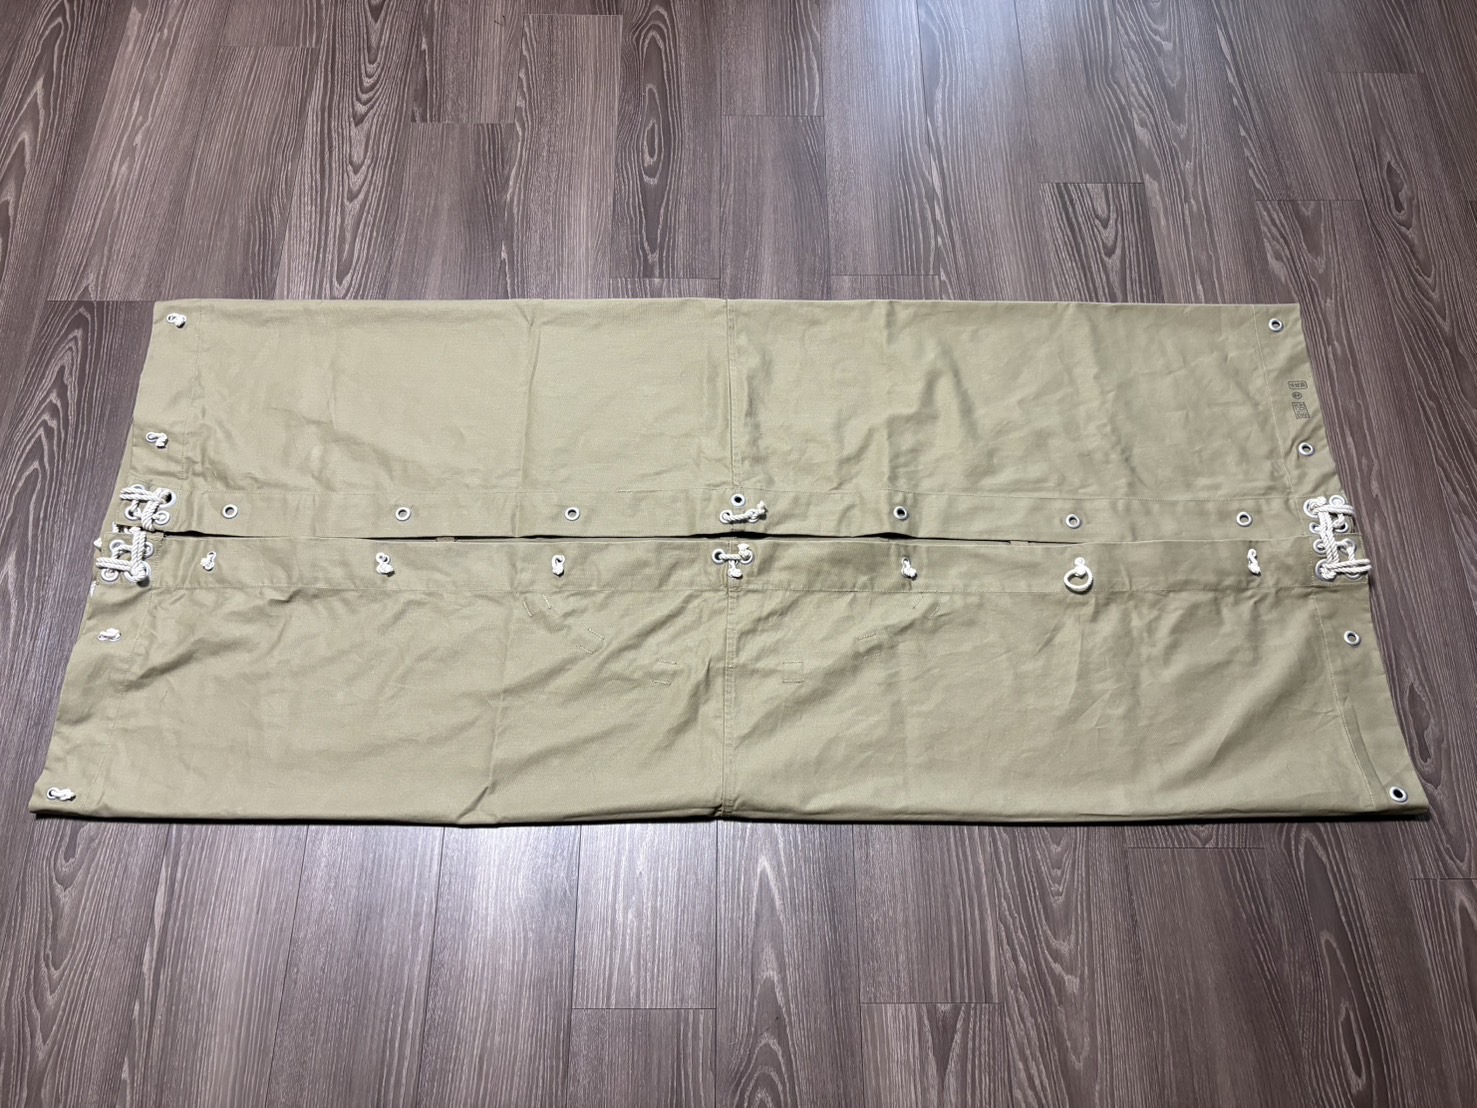
Let’s take another look and compare all four Shelter Halves.
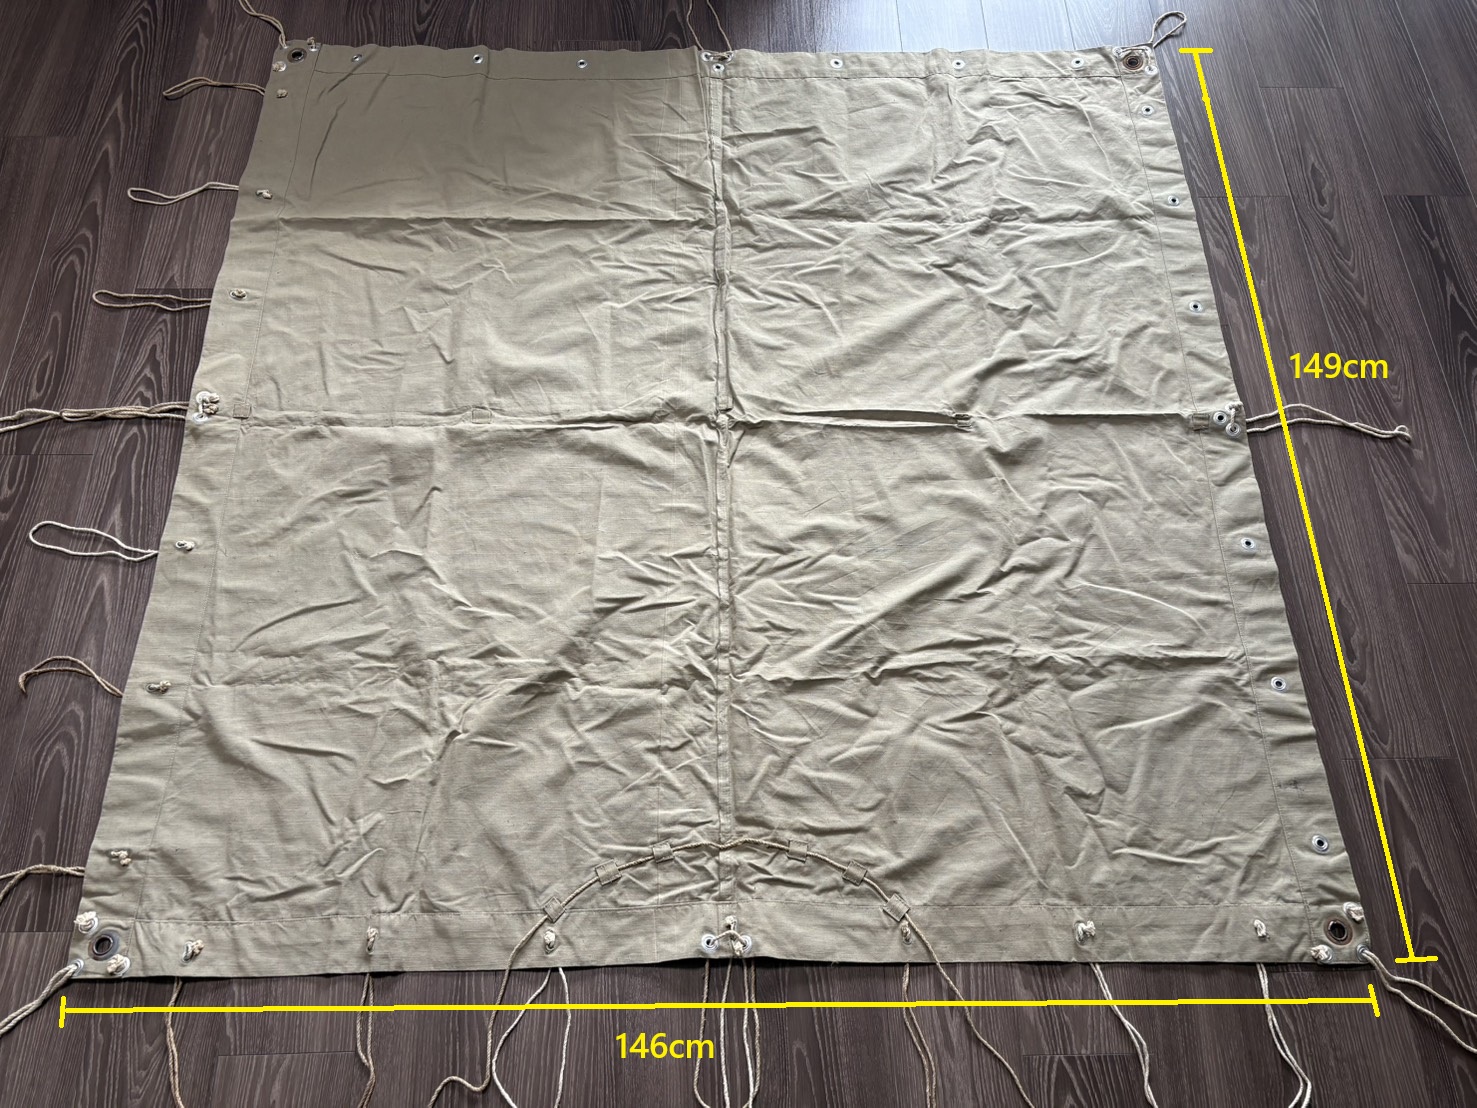
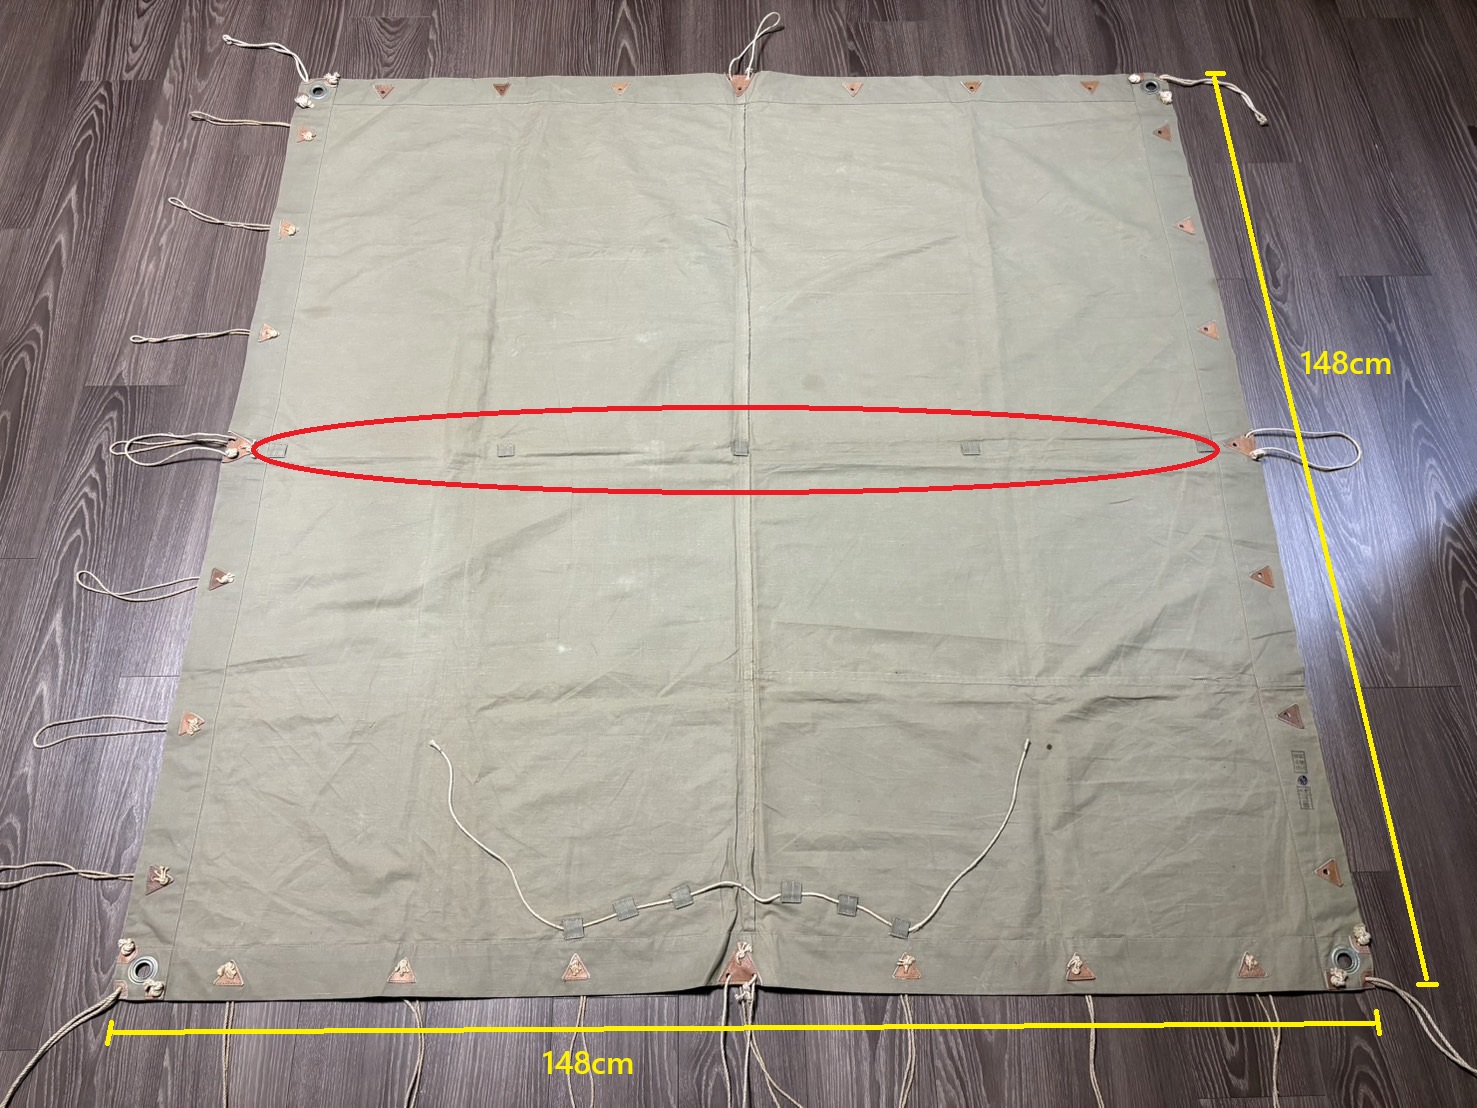
The actual measurements of each side are as follows. As expected, the dimensions are quite inconsistent.
- Early Wartime Model 1: 141 cm × 149 cm
- Early Wartime Model 2: 147 cm × 147 cm
- Early Wartime Model 3: 141 cm × 149 cm
- Late Wartime Model: 146 cm × 149 cm


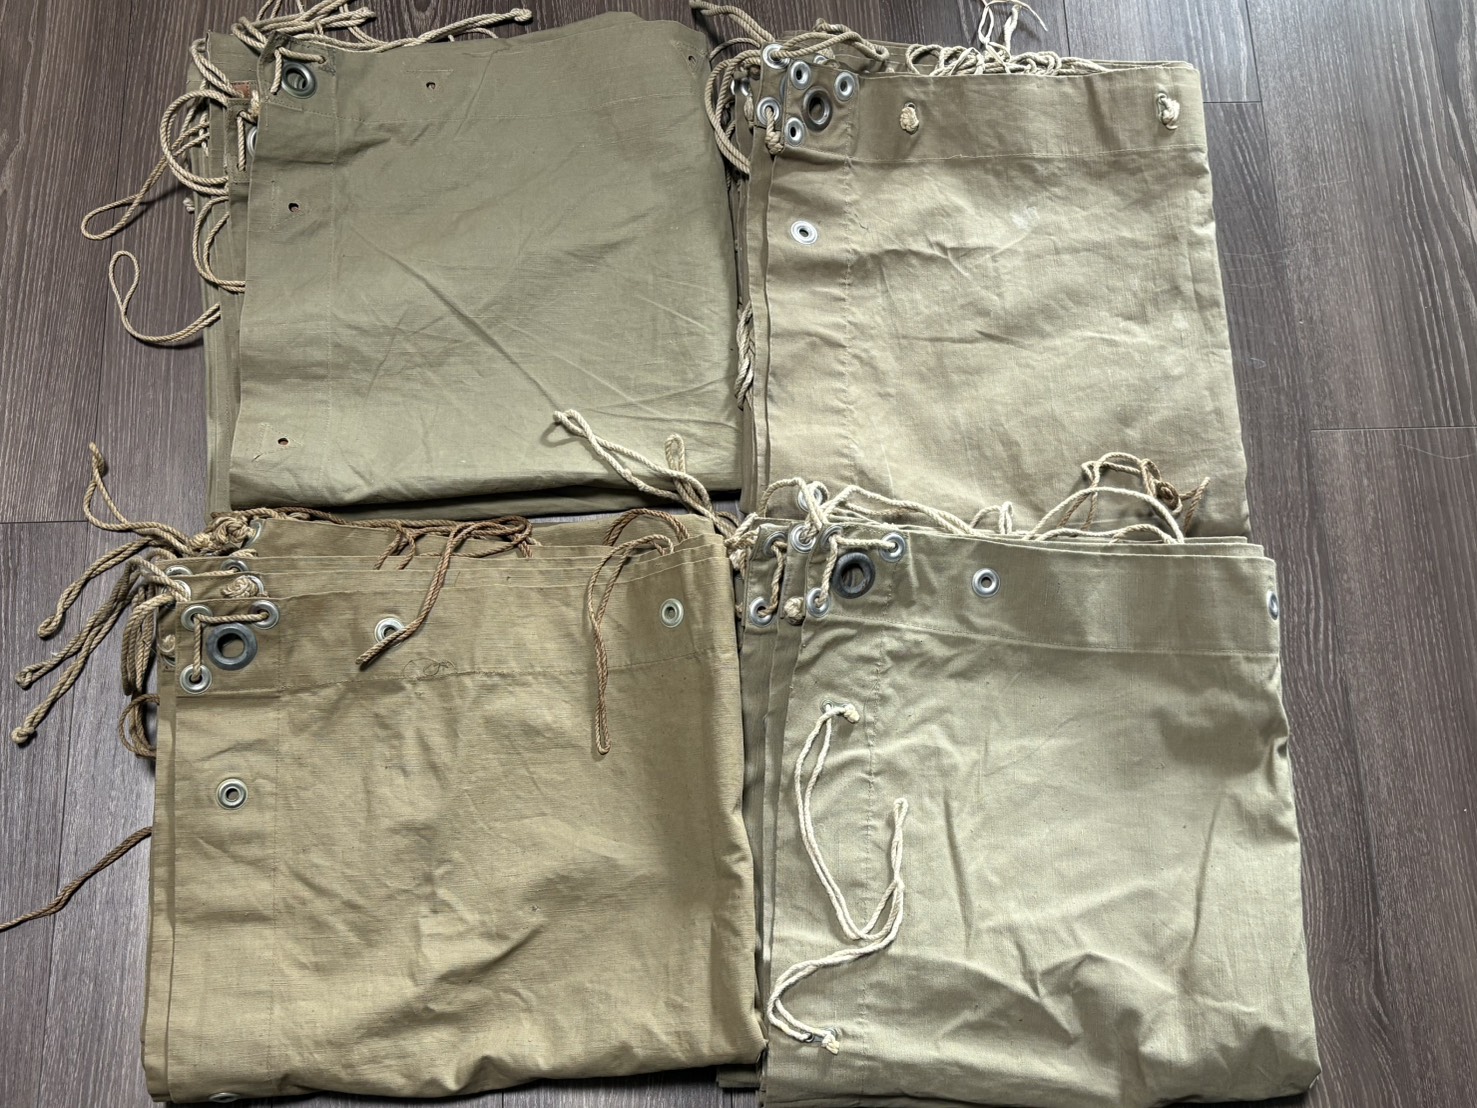
I arranged them side by side to compare the color tones.
The upper left is the Late Wartime Model 1, the upper right is the Early Wartime Model 1, the lower left is the Early Wartime Model 2, and the lower right is the Early Wartime Model 3.
Only the Early Wartime Model 2 (lower left) has a slightly reddish tint, while the others are generally similar in color.
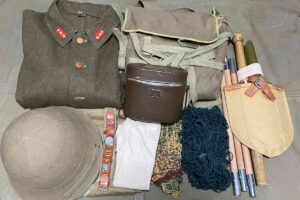
Tent Poles and Tent Pegs
When folding the Shelter Half, the tent poles and tent pegs are placed inside.
The tent poles are replicas made by Akagi-Heidan, the tent pegs are authentic, and the ridge codes are replicas I made myself.
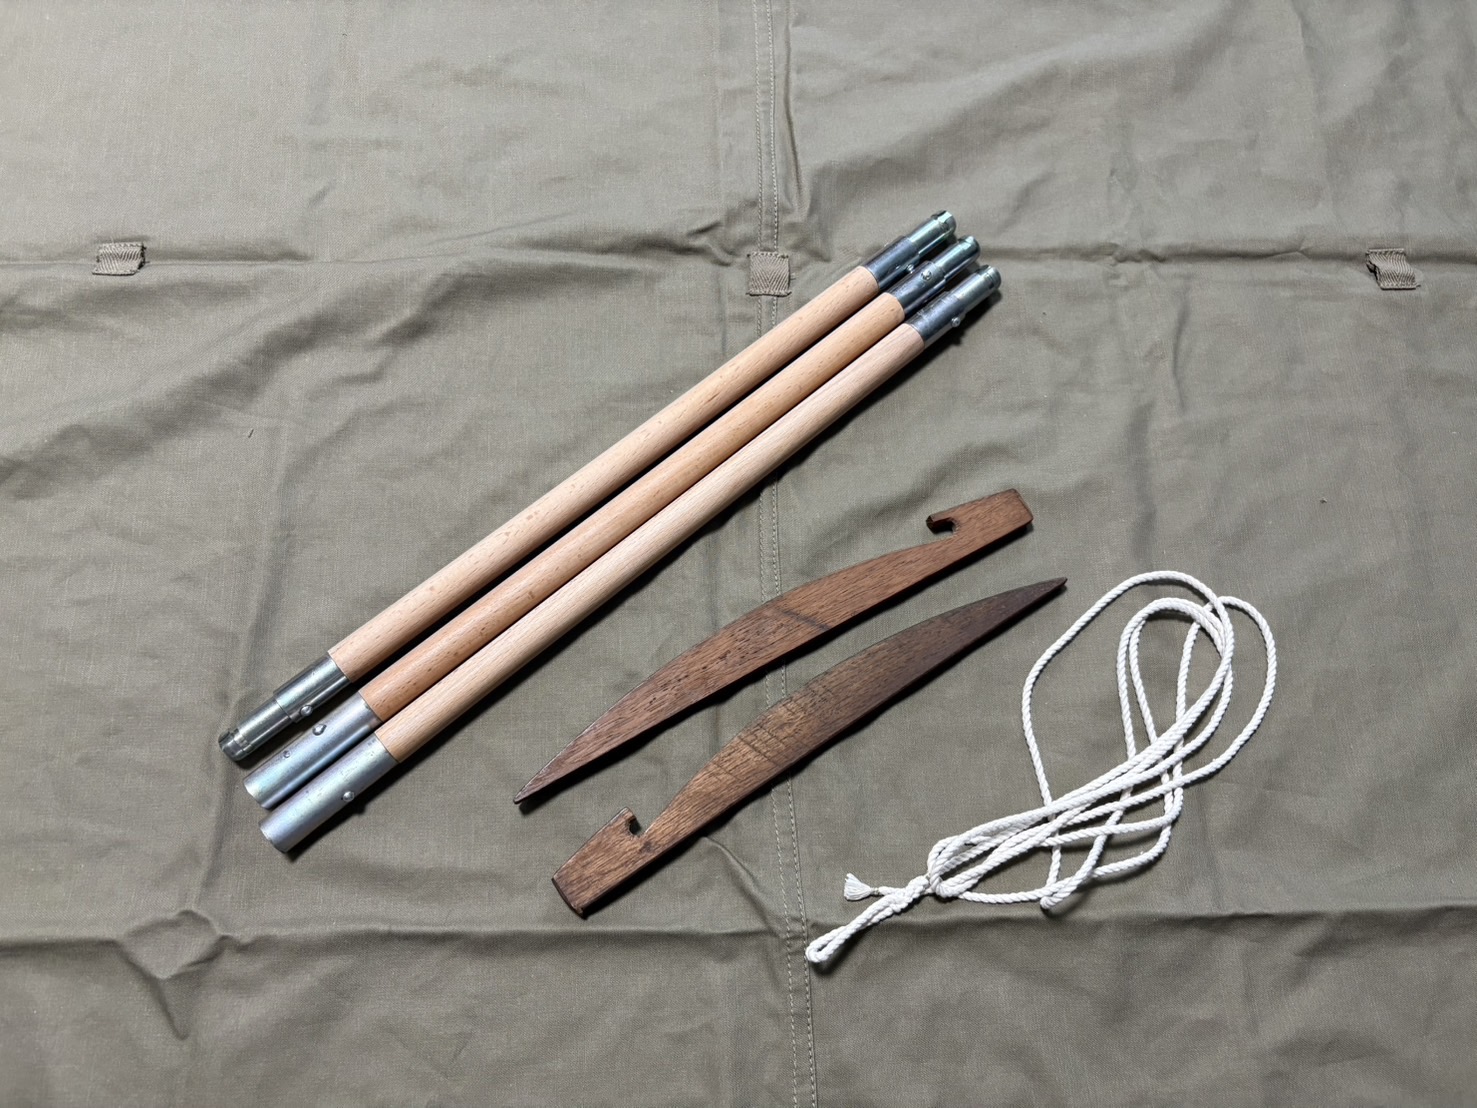
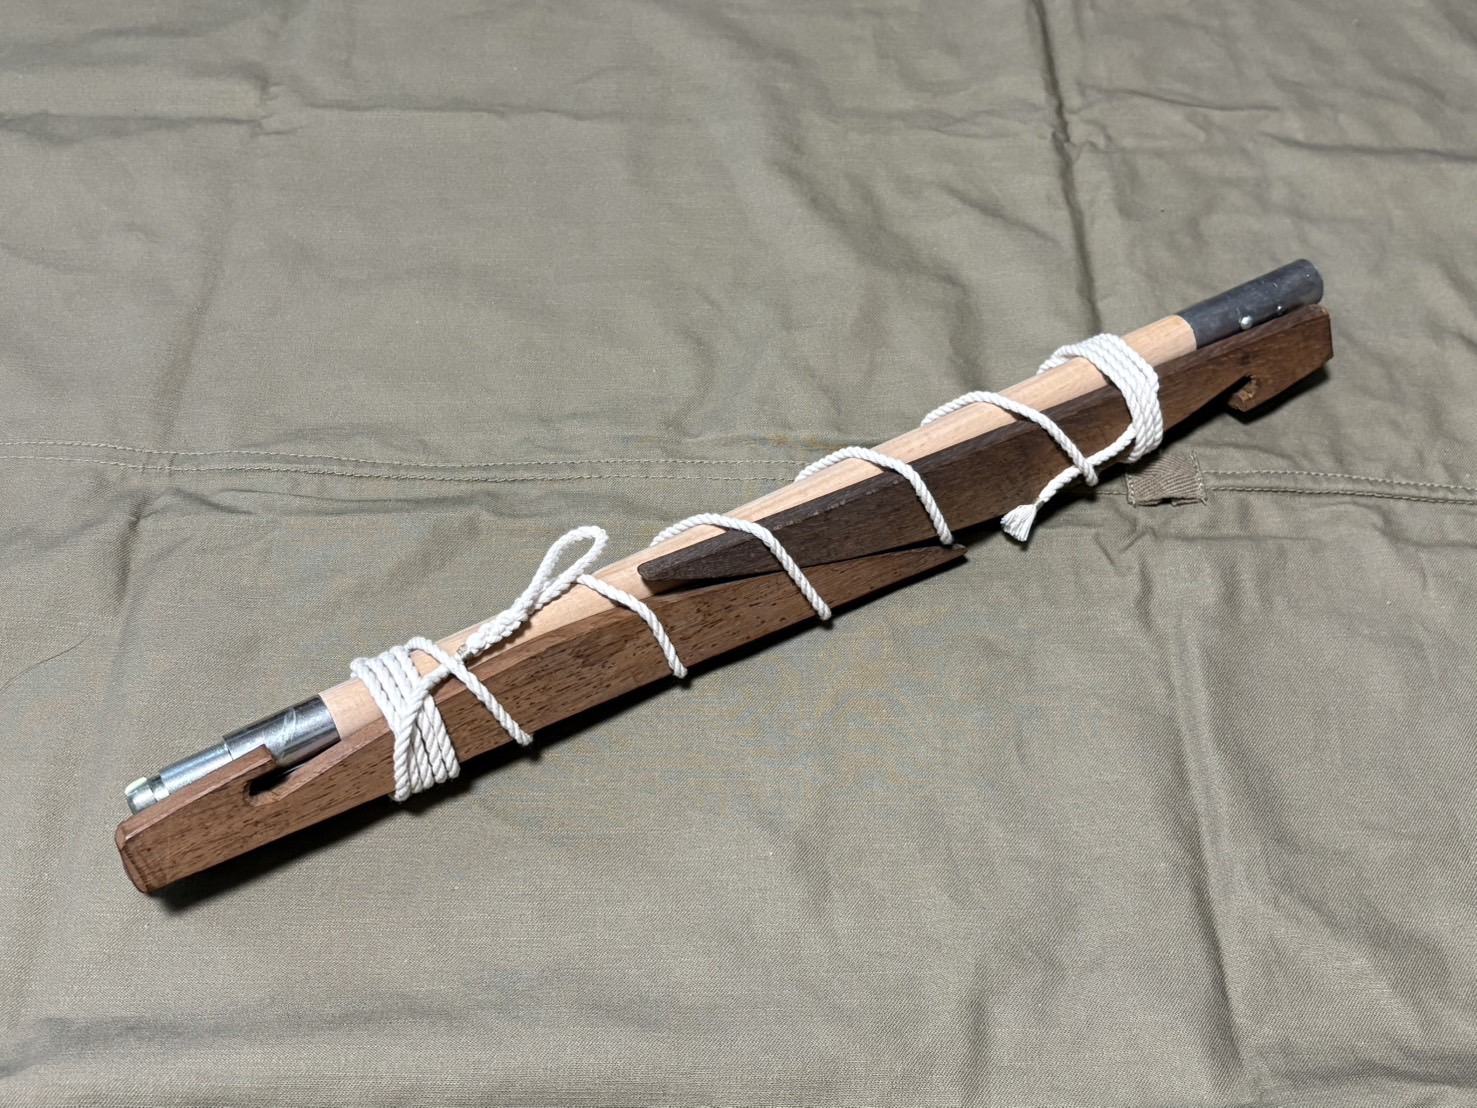
Two tent poles and two tent pegs are bundled together as shown below and tied with the ridge code.
Although three poles are connected when in use, they were carried in pairs, with each soldier responsible for two poles, so they are tied together in sets of two for transport.
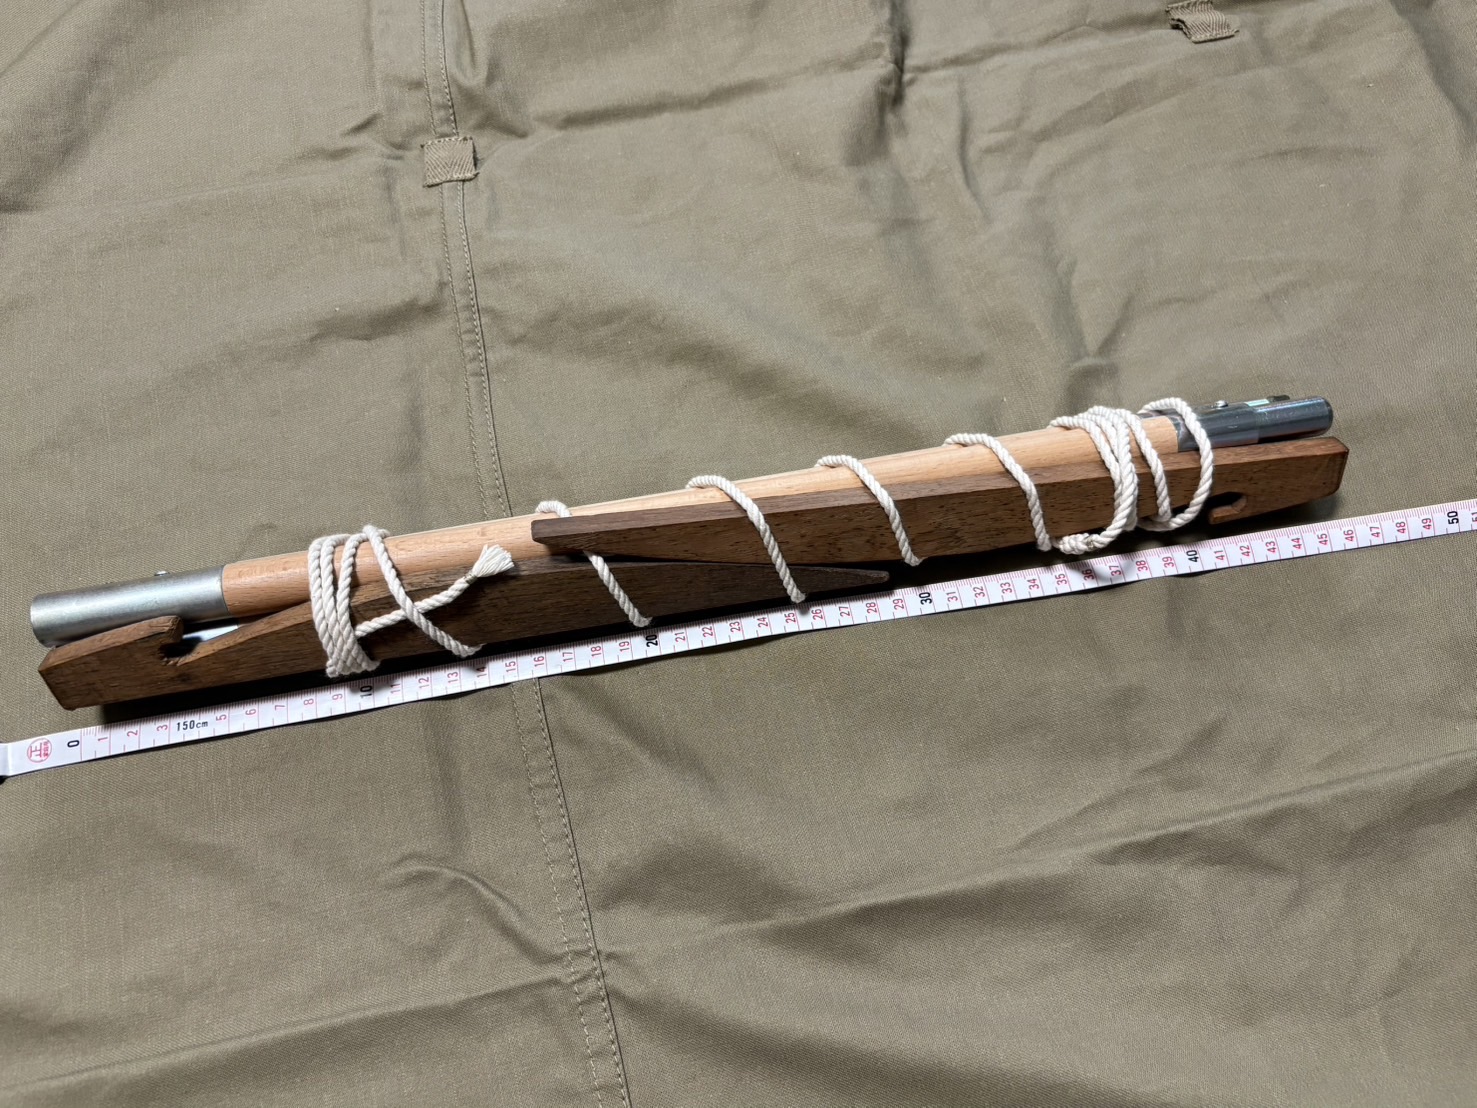
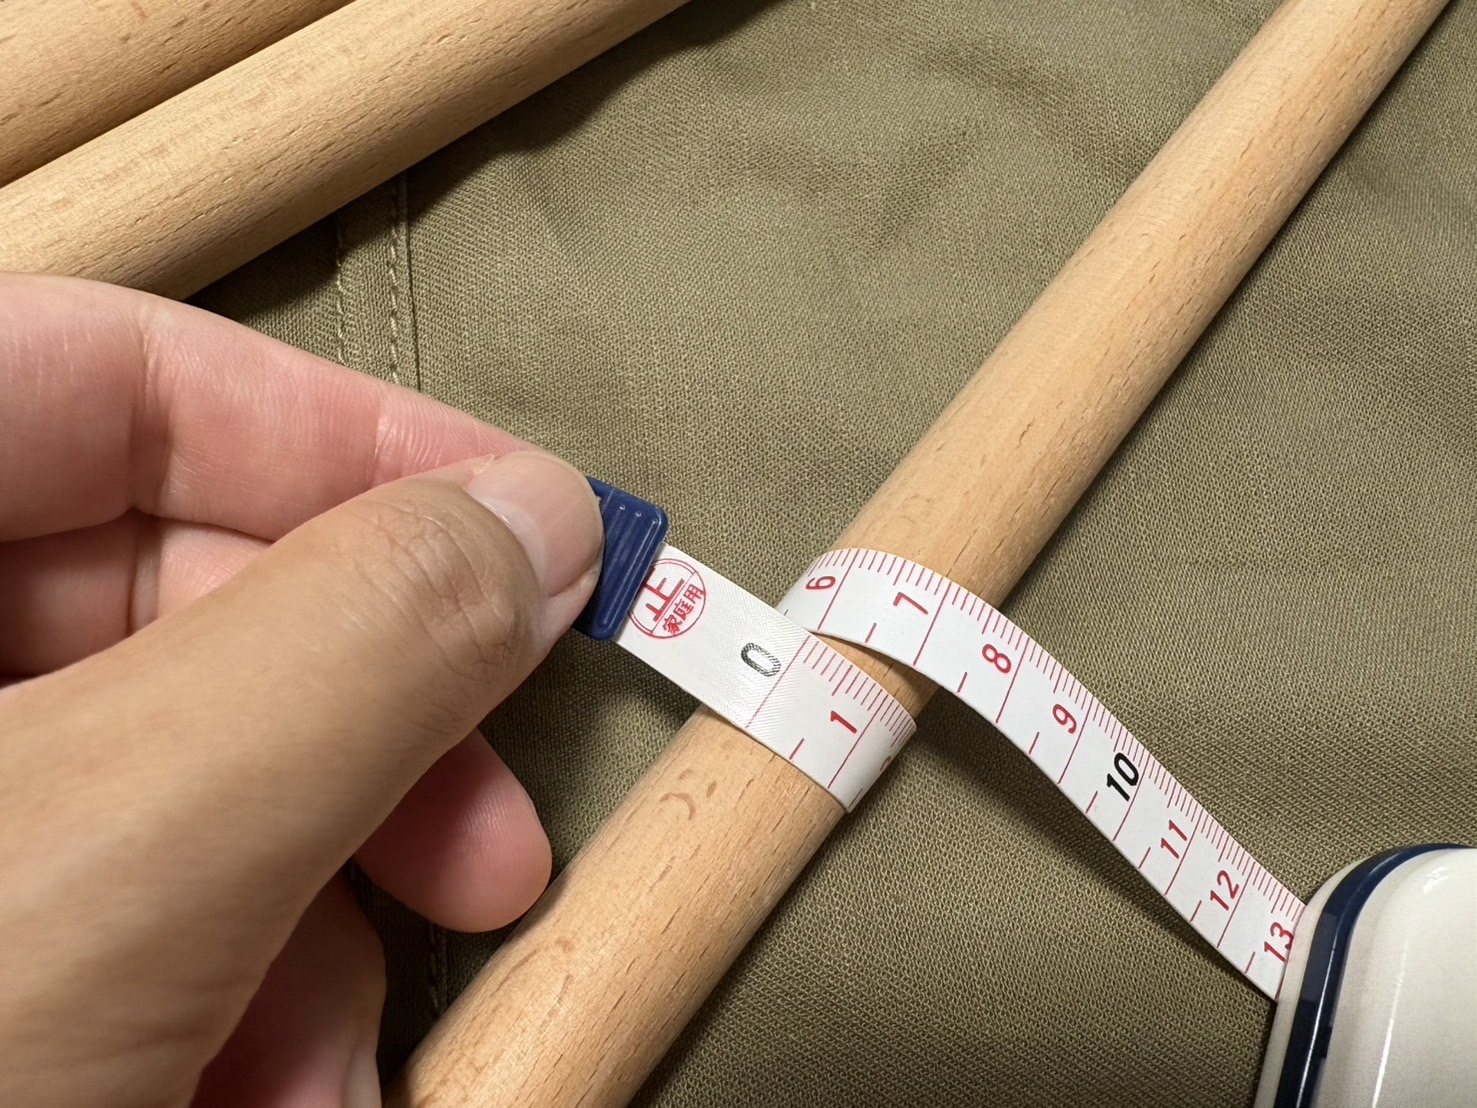
Since authentic tent poles and pegs are usually difficult to obtain, it’s fine to substitute items such as tension rods or wooden dowels. The tent poles are approximately 45 cm long and 2 cm in diameter.
If you bundle three rods of this size together, the thickness will be close to that of two tent poles and two tent pegs tied together.
Folding the Shelter Half
Now, let’s finally move on to the main topic.
It seems that there were no clear regulations on how to fold the shelter half, so the method may have varied between units. The method I’ll introduce here is the one I was taught some time ago.
First, we’ll take care of the corner ridge codes and tie codes (connecting ropes). While it’s possible to simply fold the shelter half without doing anything to them, I decided to follow the method introduced by Mr. Tguti on X.
以前、天幕の畳み方をお聞きした時に縁紐の処理方法(制式なものかは不明。多分、部隊単位のものだと思われます)なんですが天幕を羽織る時にしていれば縁紐がぷらぷらせず、引っ掻けたり、踏んだりしないですんだかも知れない… https://t.co/izwLzfPX9D pic.twitter.com/jQQRBWdmJW
— Tguti (@Tguti2) September 26, 2024
Now, let’s actually begin folding it.
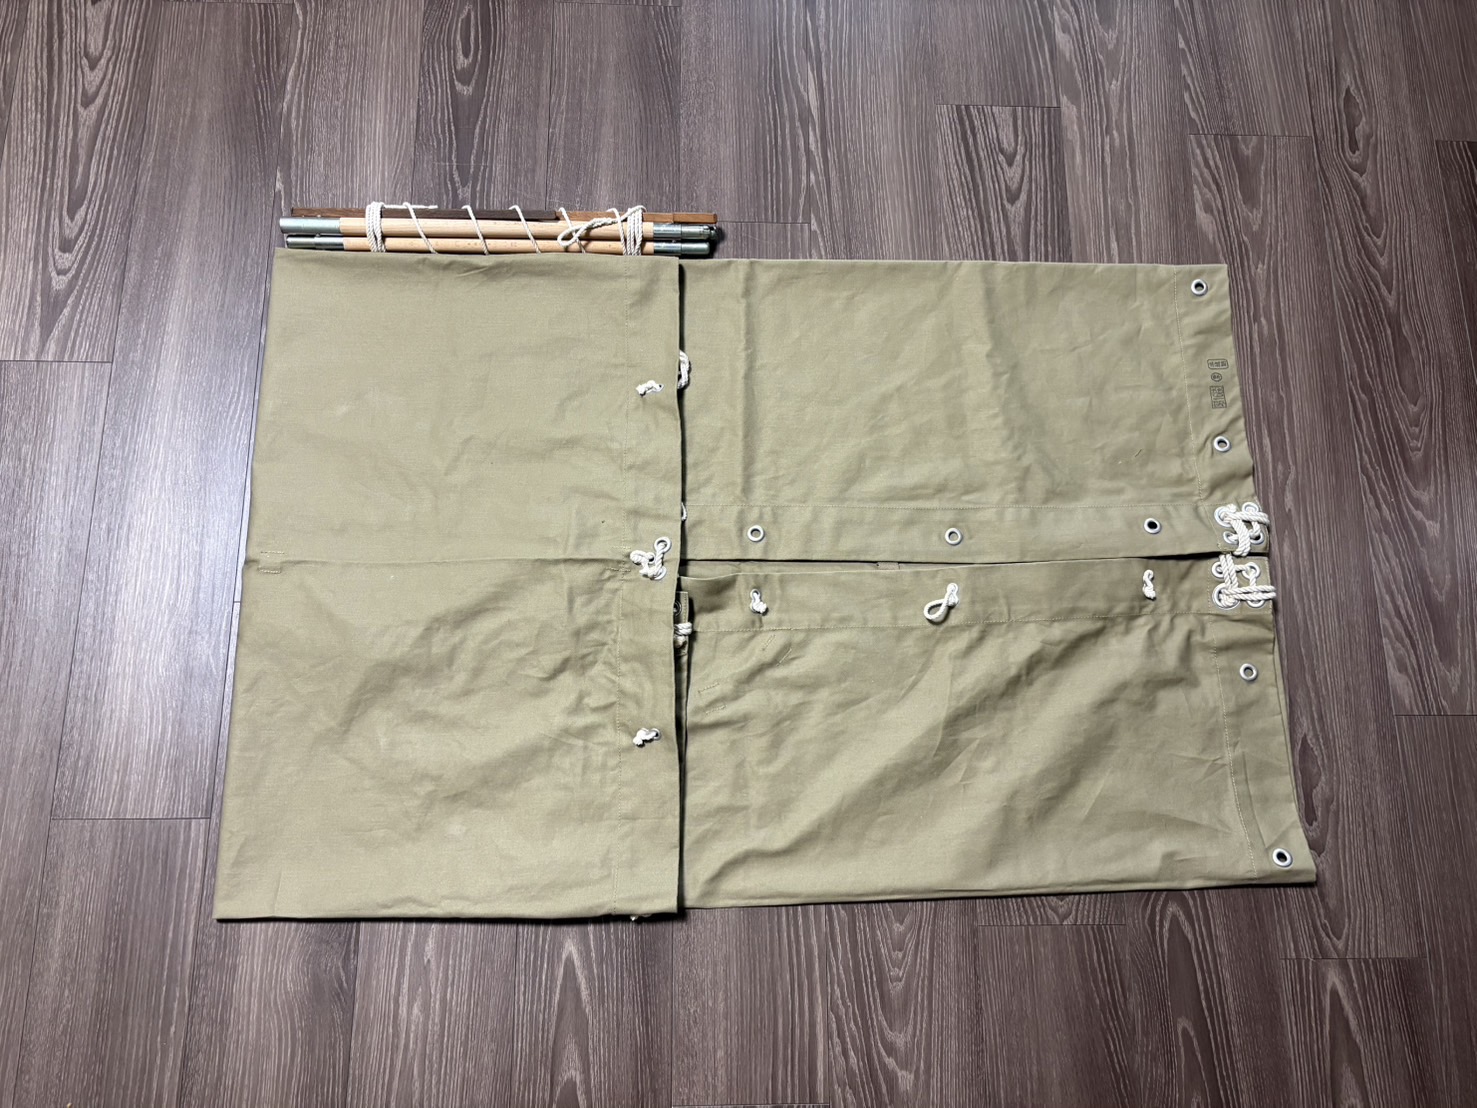
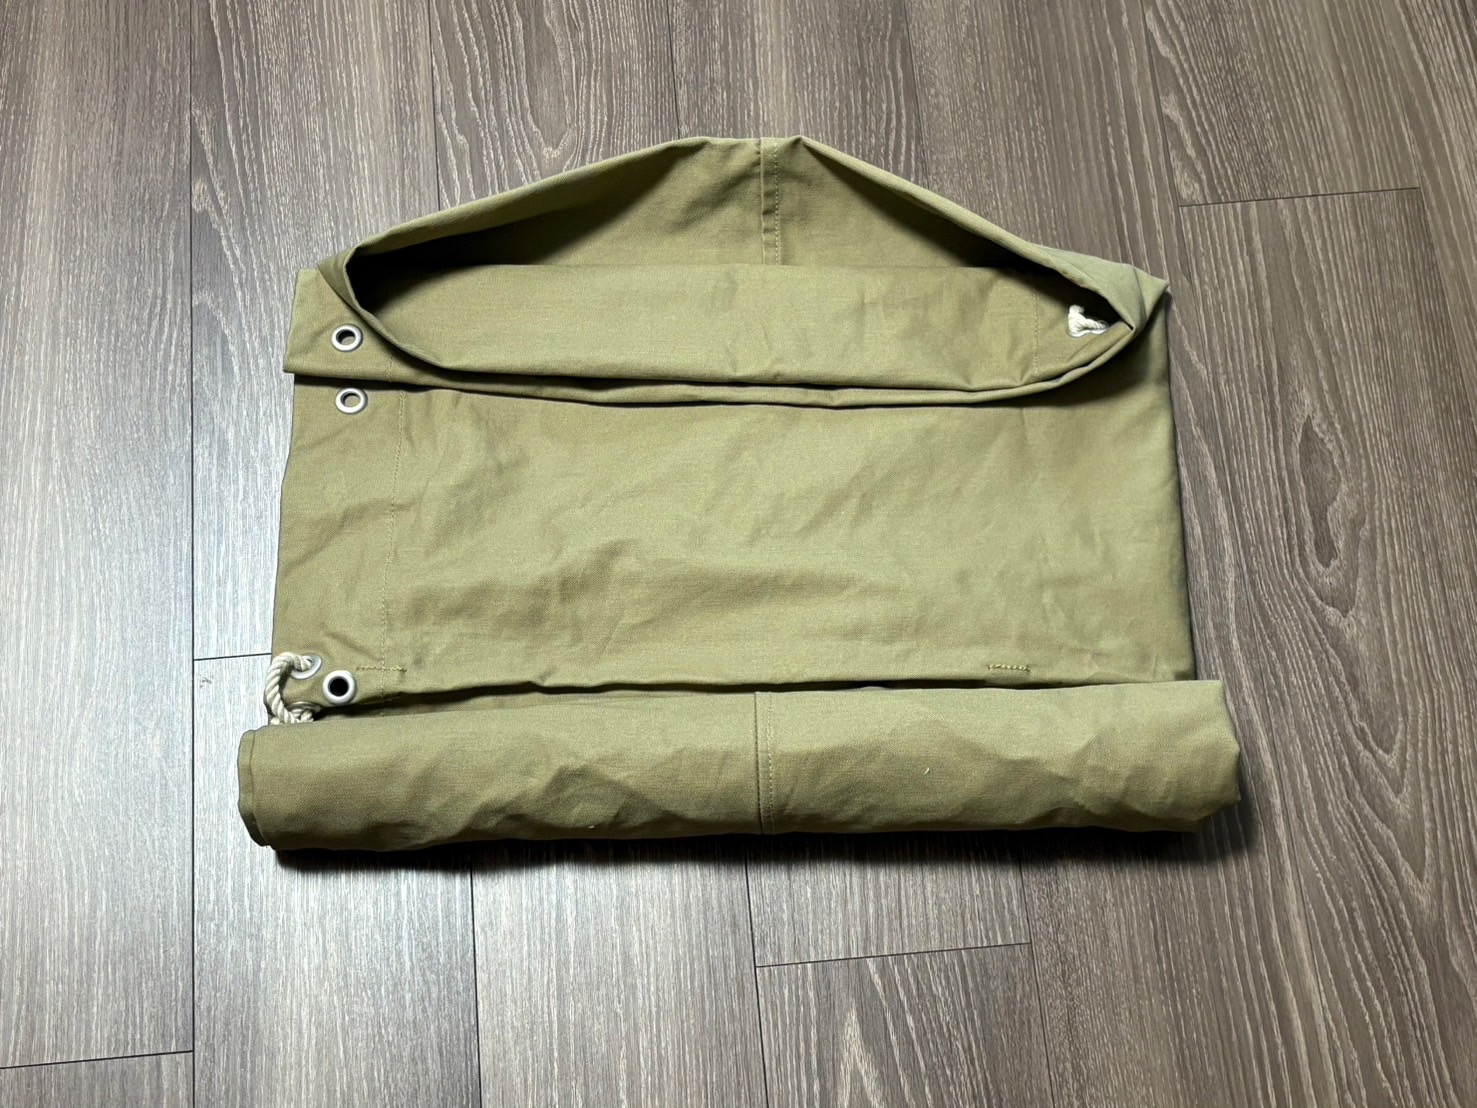
(1) Fold the top and bottom sections inward, one by one, along the center line.
(2) Fold one side inward toward the center line.
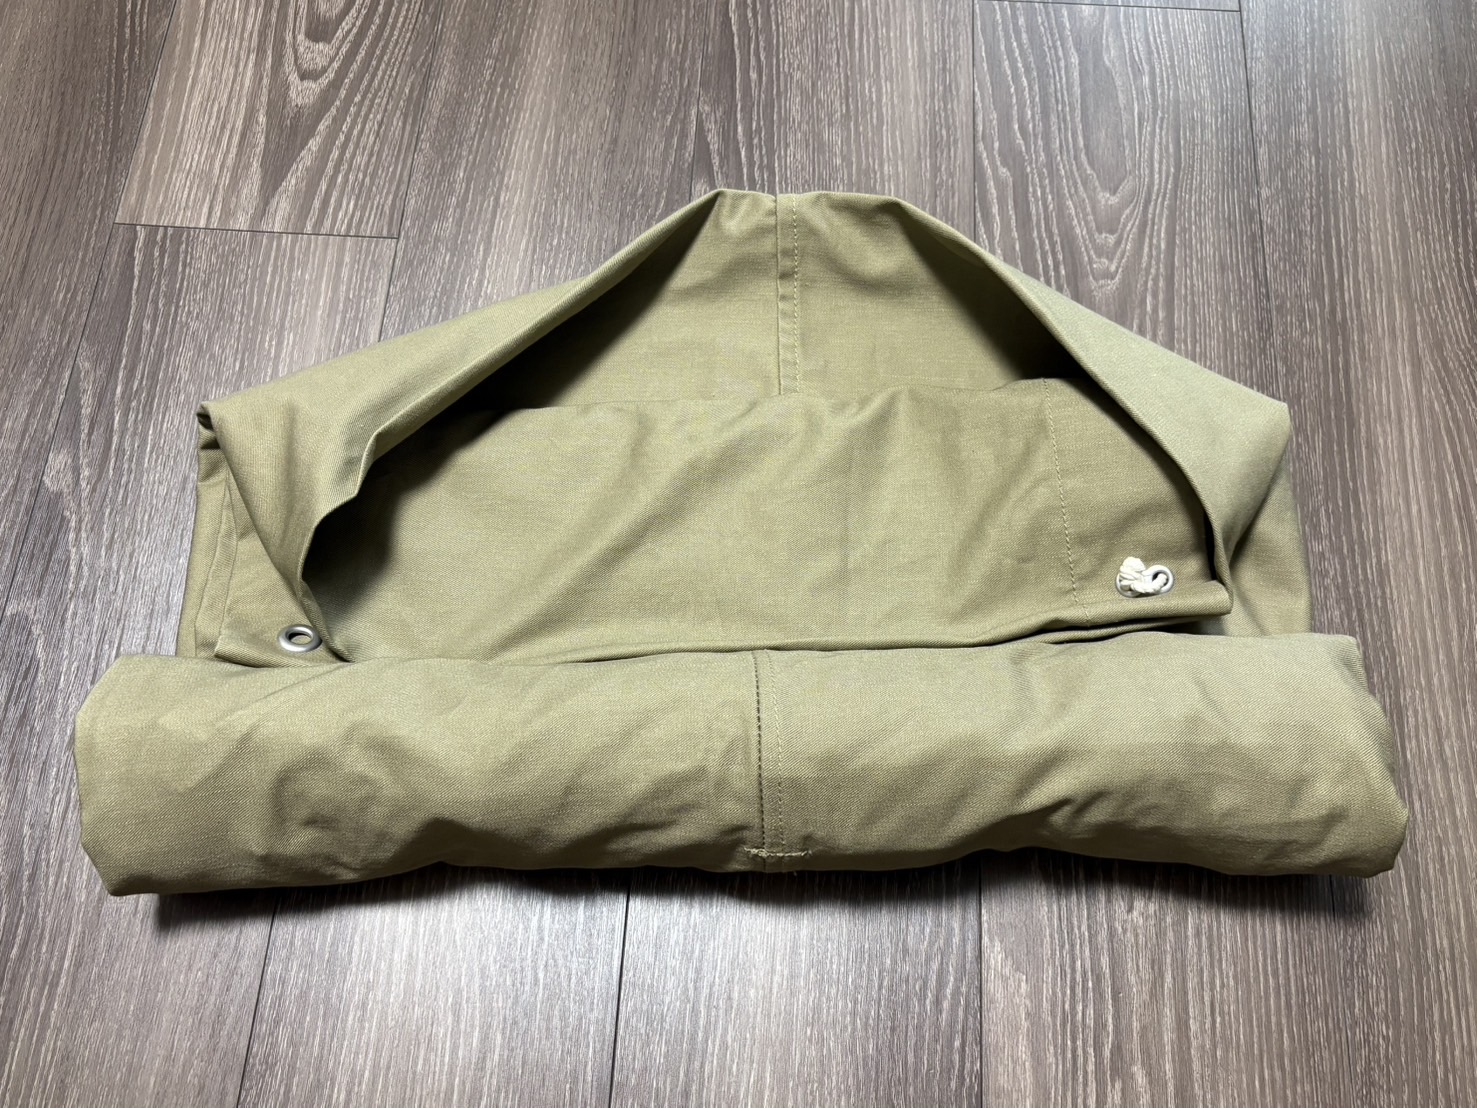
(3) Fold the other side to match the length of the tent pole.
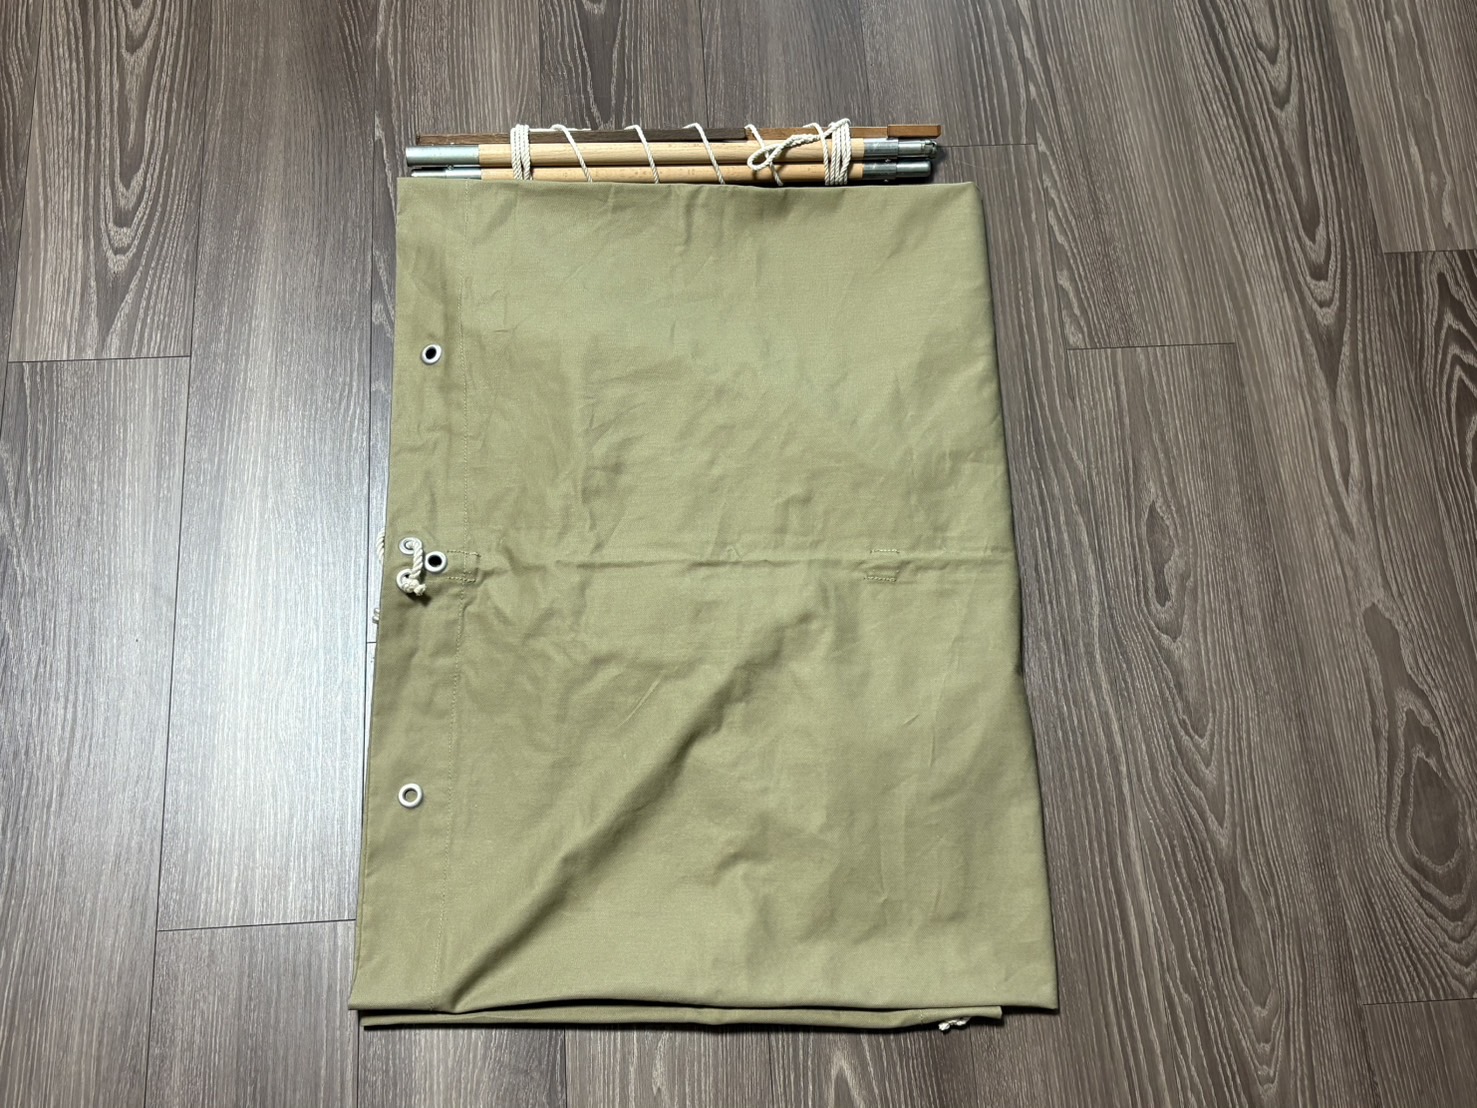
(4) Place the tent poles underneath. After rolling it up tightly, tuck them into the upper pocket.
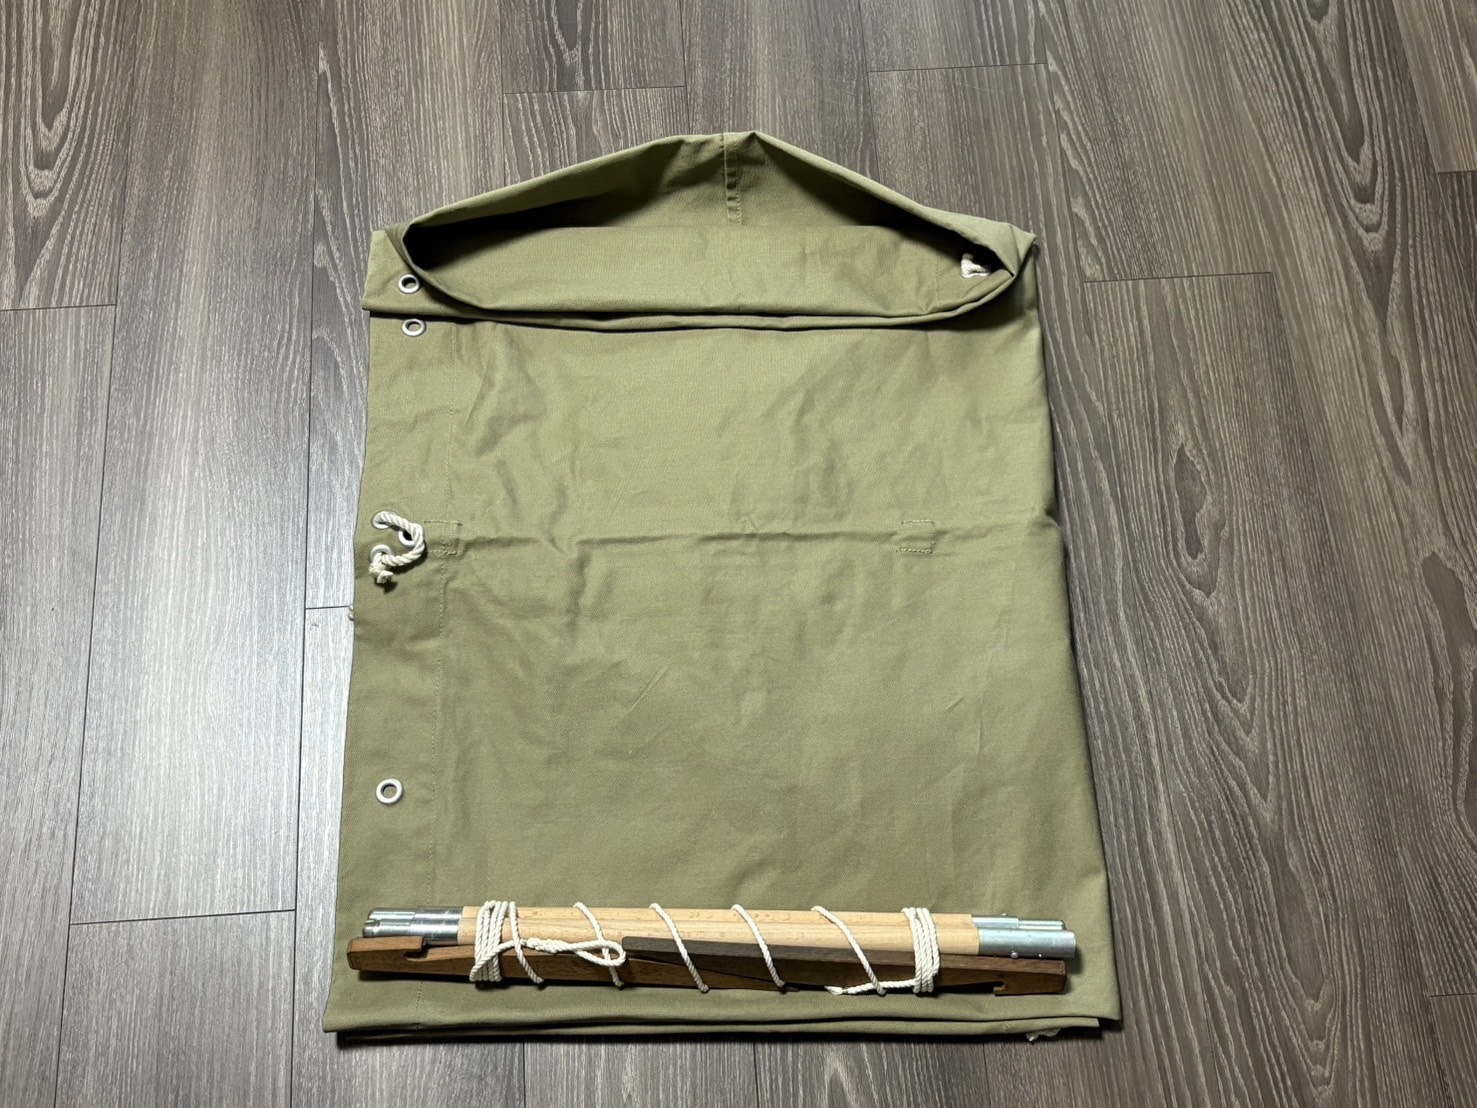
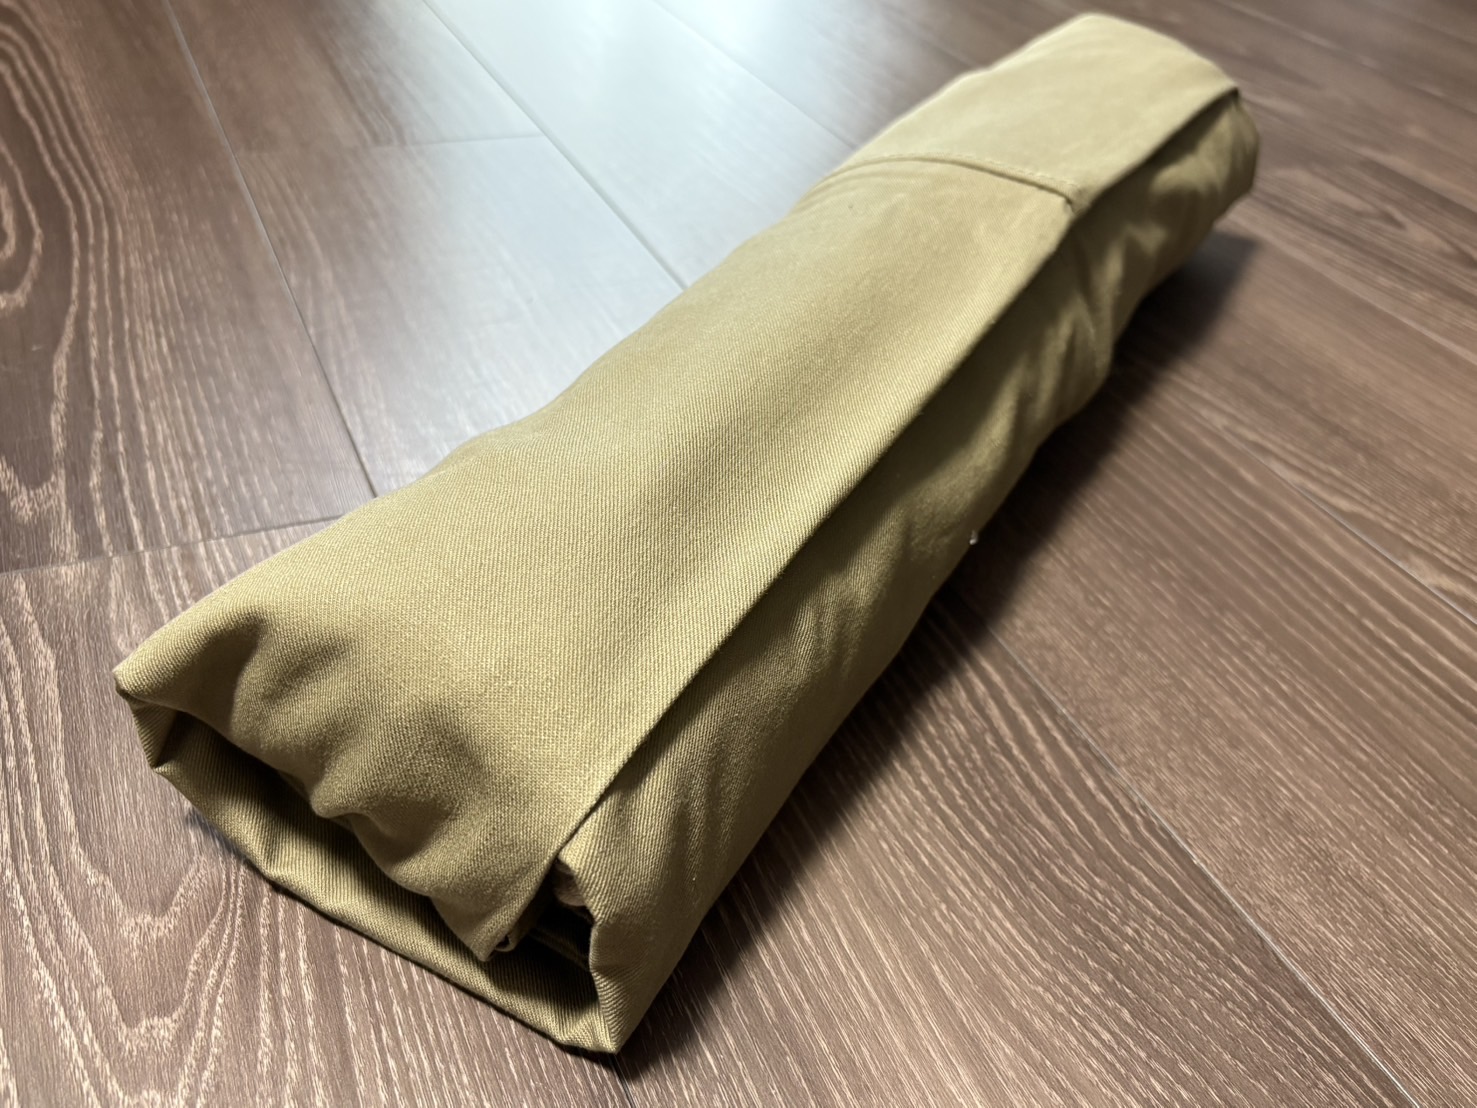
(5) Roll it up tightly…
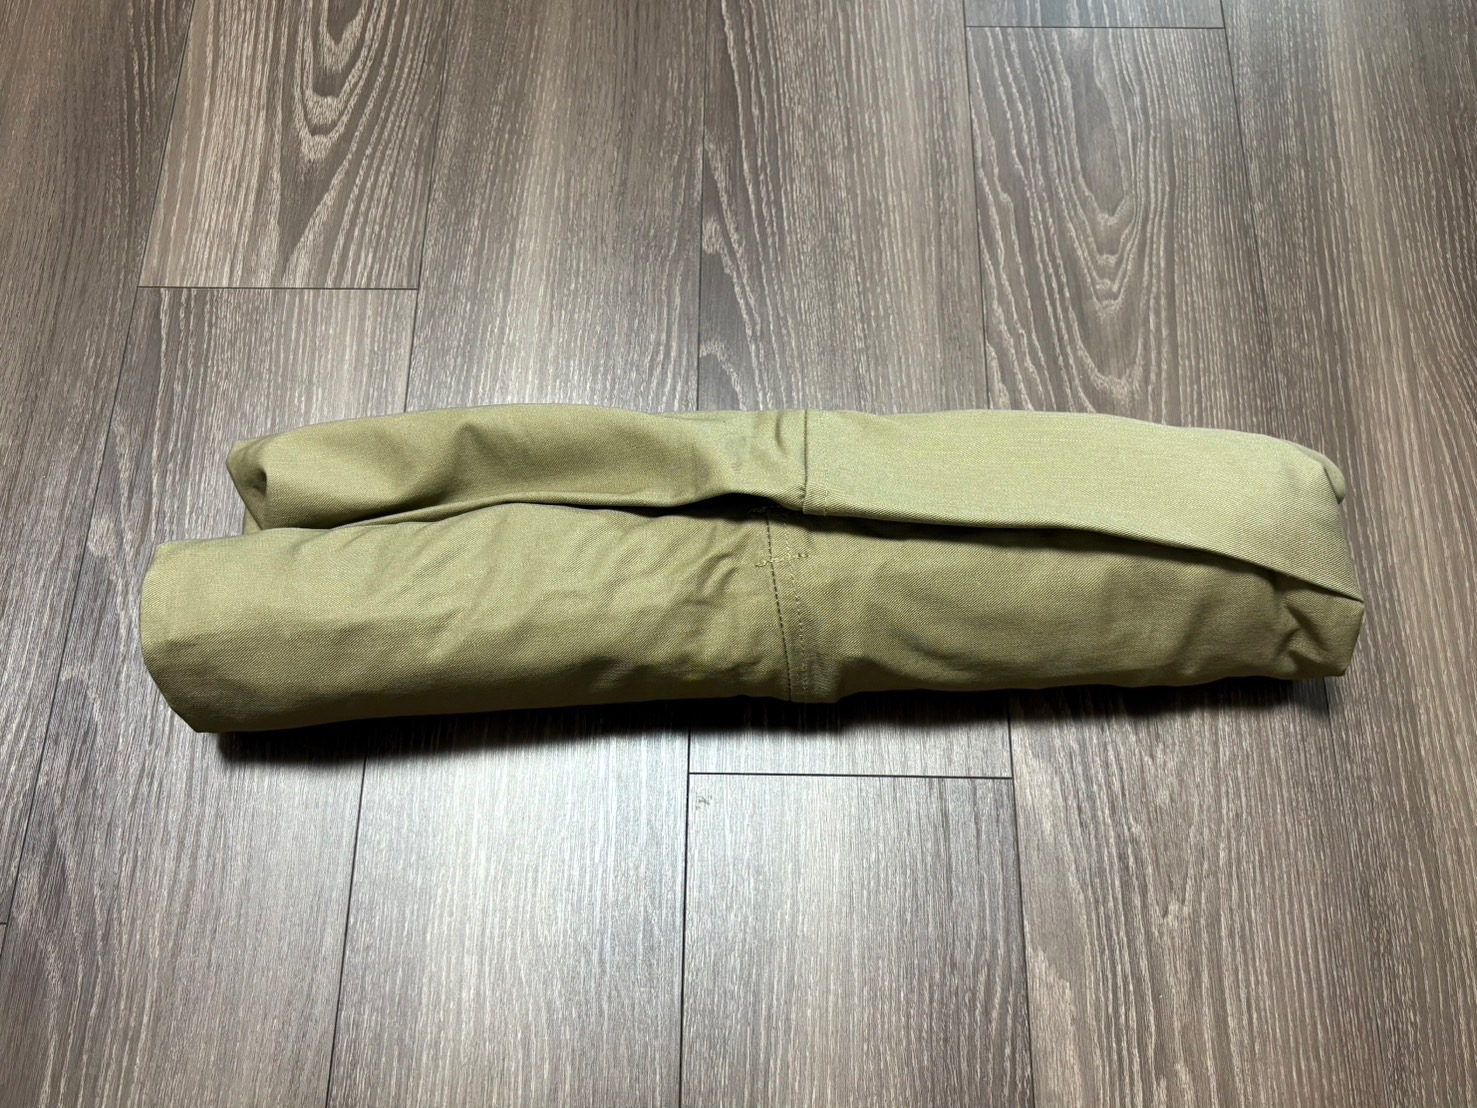
(6) Finished!
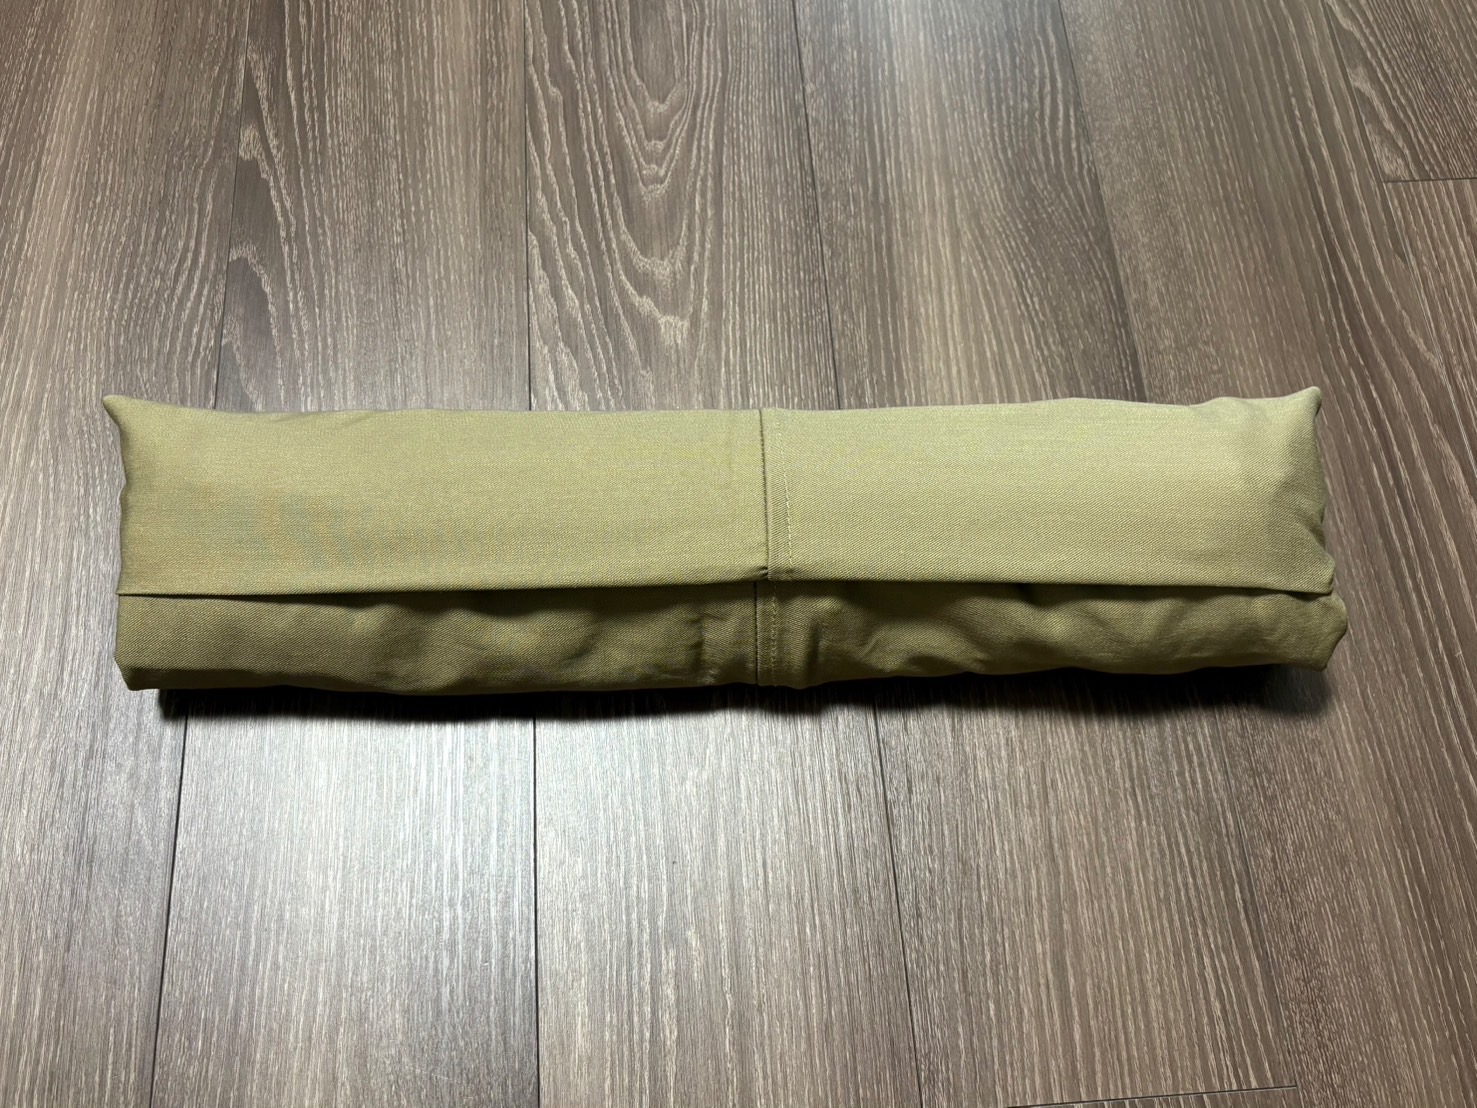
That concludes my introduction on how to fold the Shelter Half.
With the recent re-release of S&G’s replica, Shelter Halves have become easier to obtain. Authentic ones are still relatively accessible as well, though their prices have been gradually increasing.
You can wear one as a rain cloak or use it for extra warmth, so why not take this opportunity to add one to your winter airsoft gear?
Footnote
- Shelter Halves produced before the Greater East Asia War had all their grommets made of aluminum (though some examples with all-aluminum grommets can still be found from the wartime period). Incidentally, if the grommets at the four corners are rusted, they are made of steel—indicating that the piece dates from the wartime period.
Shelter Halves from the Meiji era can be easily identified by their distinct reddish-brown color. ↩︎