In the case of the Japanese Army, certain non-commissioned officers and soldiers with specific duties or roles carried pistols. Here are examples.
- Cavalry
- Tank Crew
- Military Police
- Heavy Machine Gunners and Light Machine Gunners in the Infantry
In this article, I would like to introduce the general method of carrying pistols for non-commissioned officers and soldiers.
Procedure for Wearing a Pistol Holster
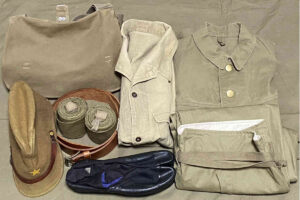
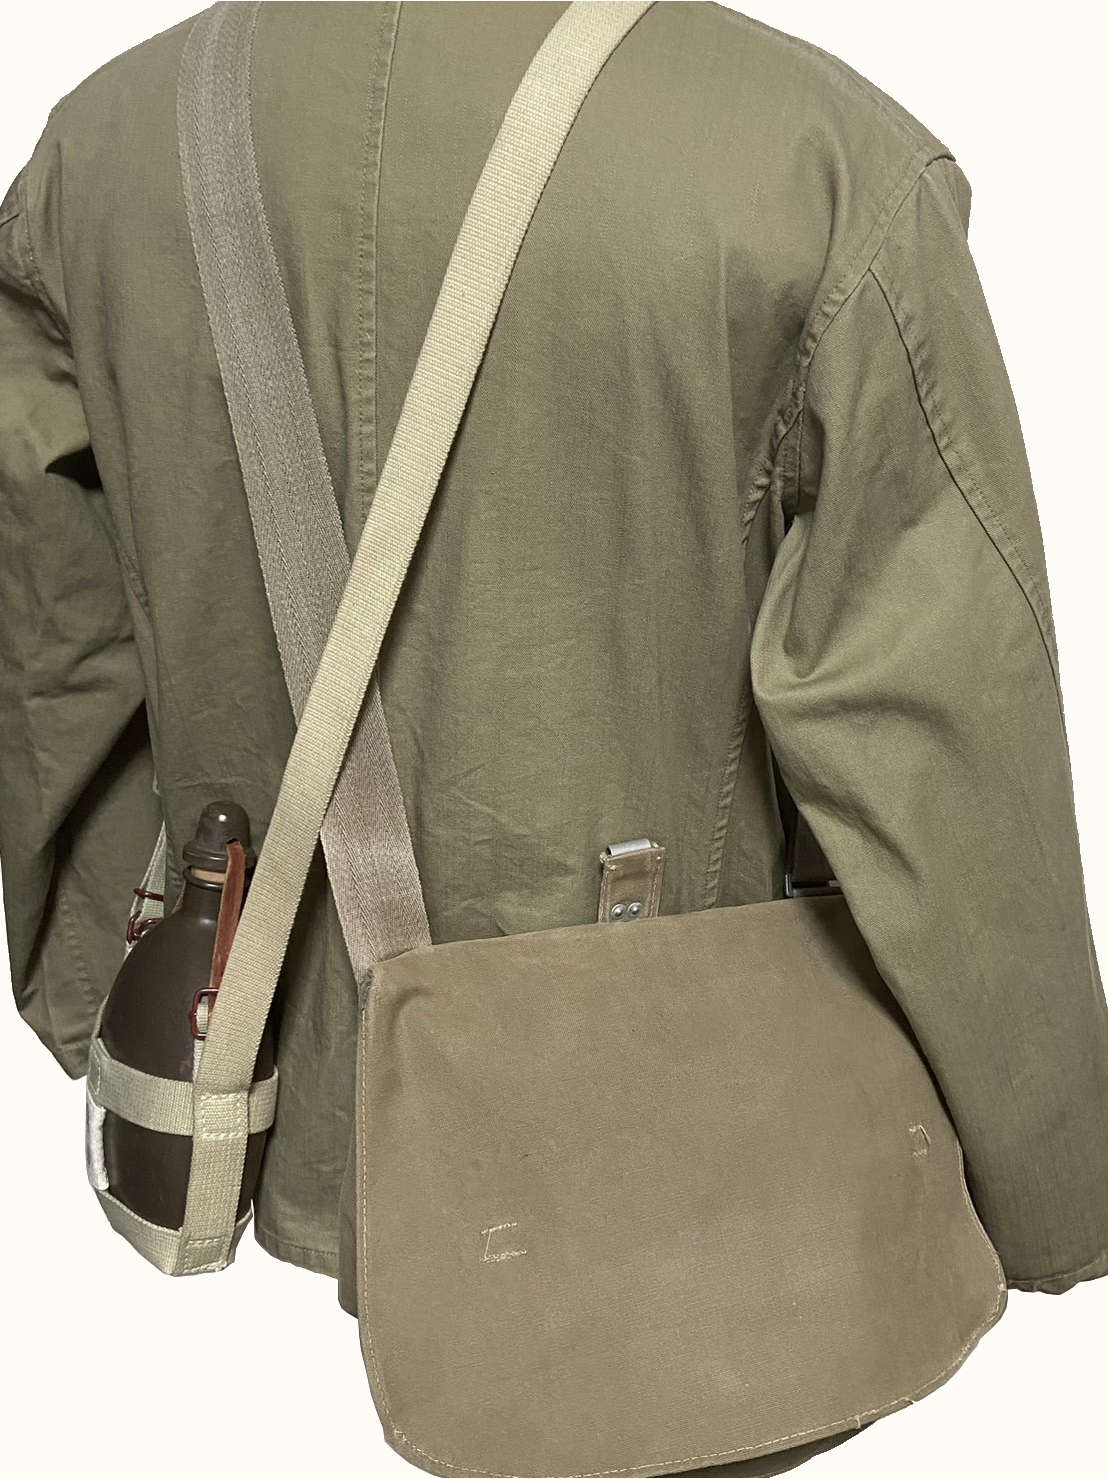
First, hang the Bread Bag (Zatsu-no/雑嚢) on the right side and the canteen on the left side. Position the left edge of the Bread Bag so that it is roughly in the center of your body.
Normally, the canteen is hung on the right side like the Bread Bag, but when wearing a pistol holster, it is usually hung on the left side. This is the general rule, but there are also examples where the canteen is hung on the right side along with the Bread Bag.
When hanging the canteen on the left side, switch the orientation of the canteen body (Suitō-tsutsu/水筒筒) so that the buckle for adjusting the length of the canteen strap (Suitō-himo/水筒紐) is in front of your body. Adjust the length of the canteen strap so that the top of the cap is roughly at the lower edge of the belt (Taikaku/帯革) when it is fastened.
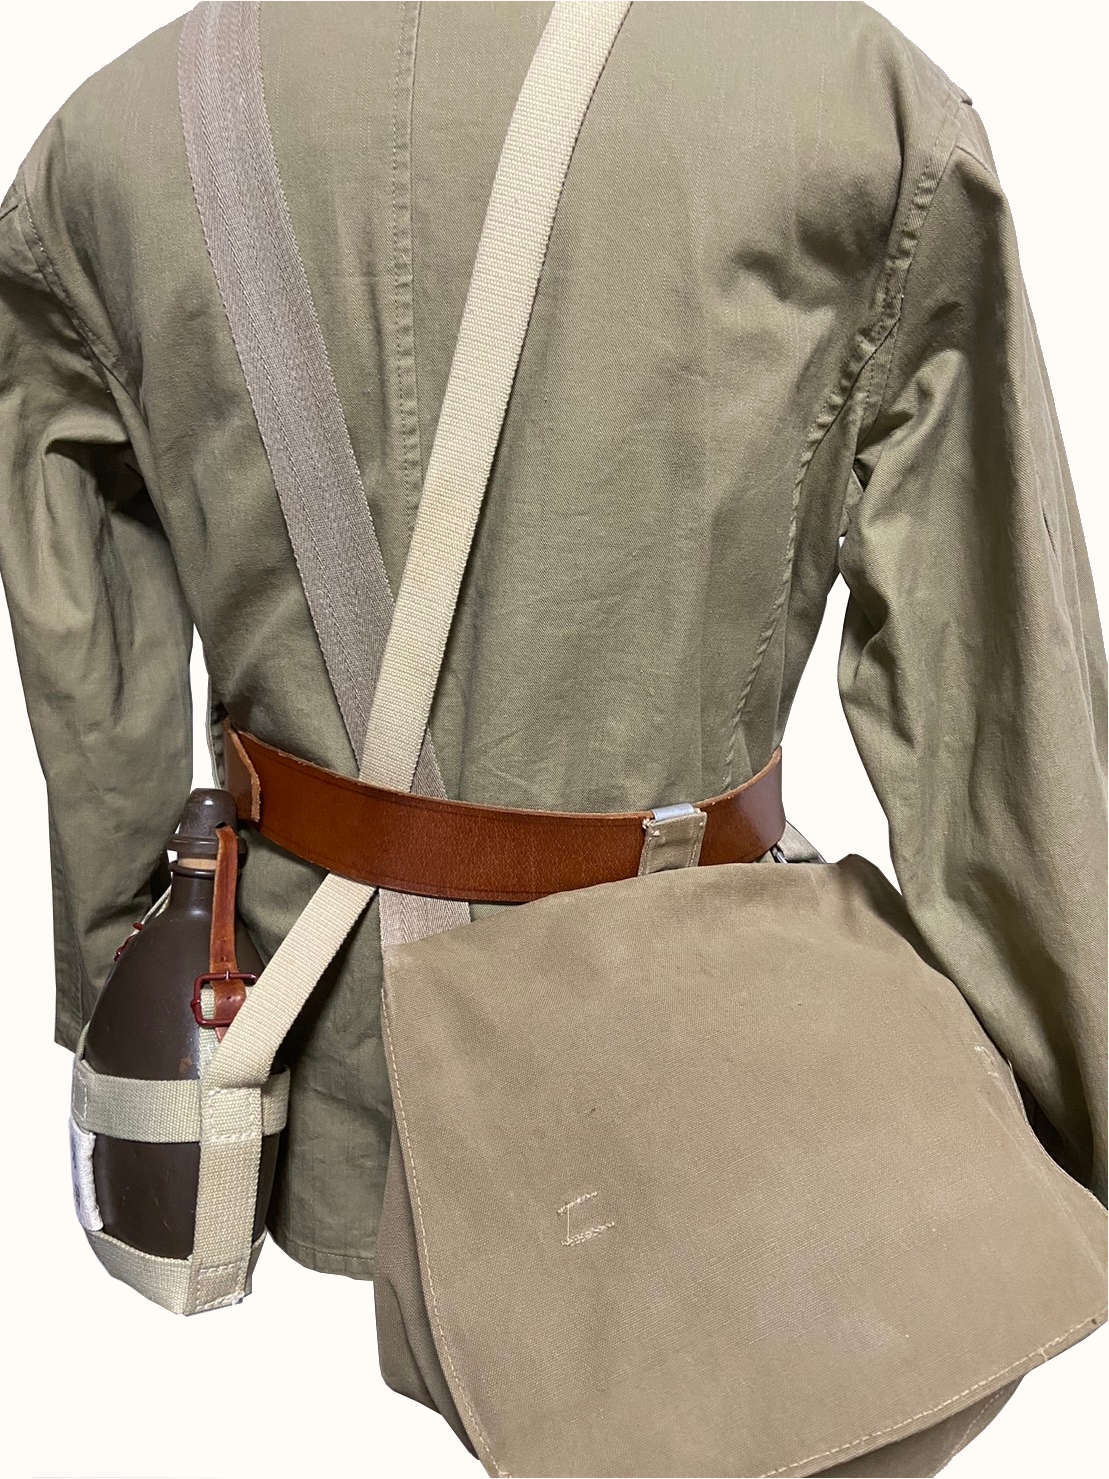
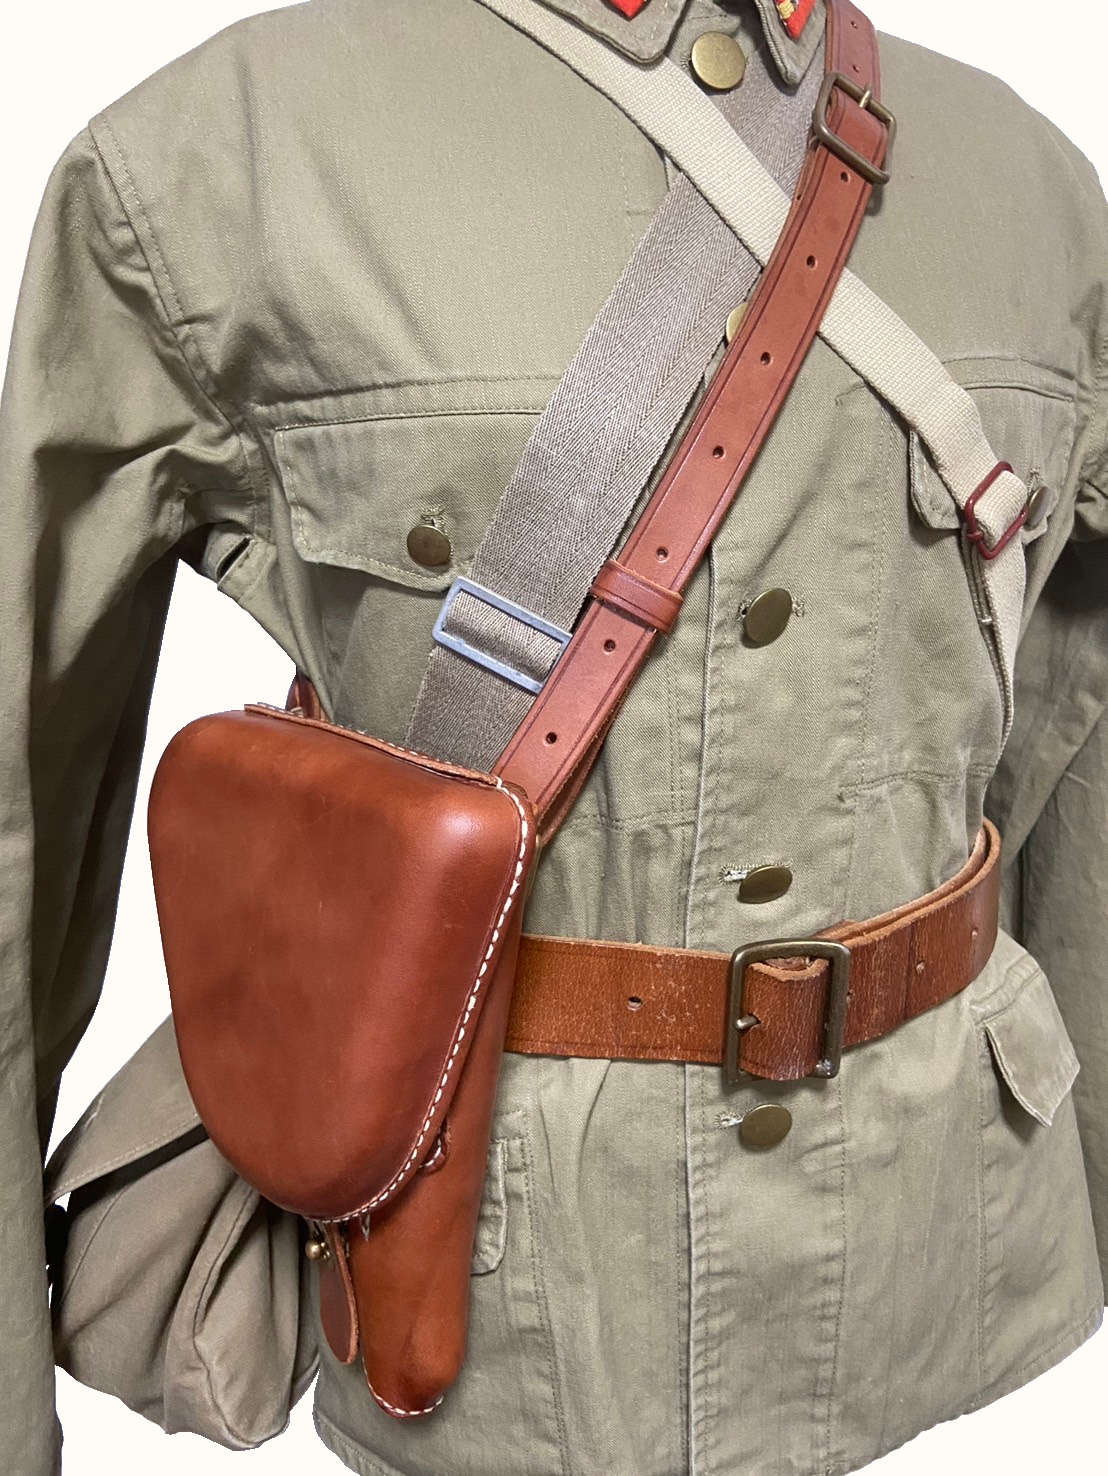
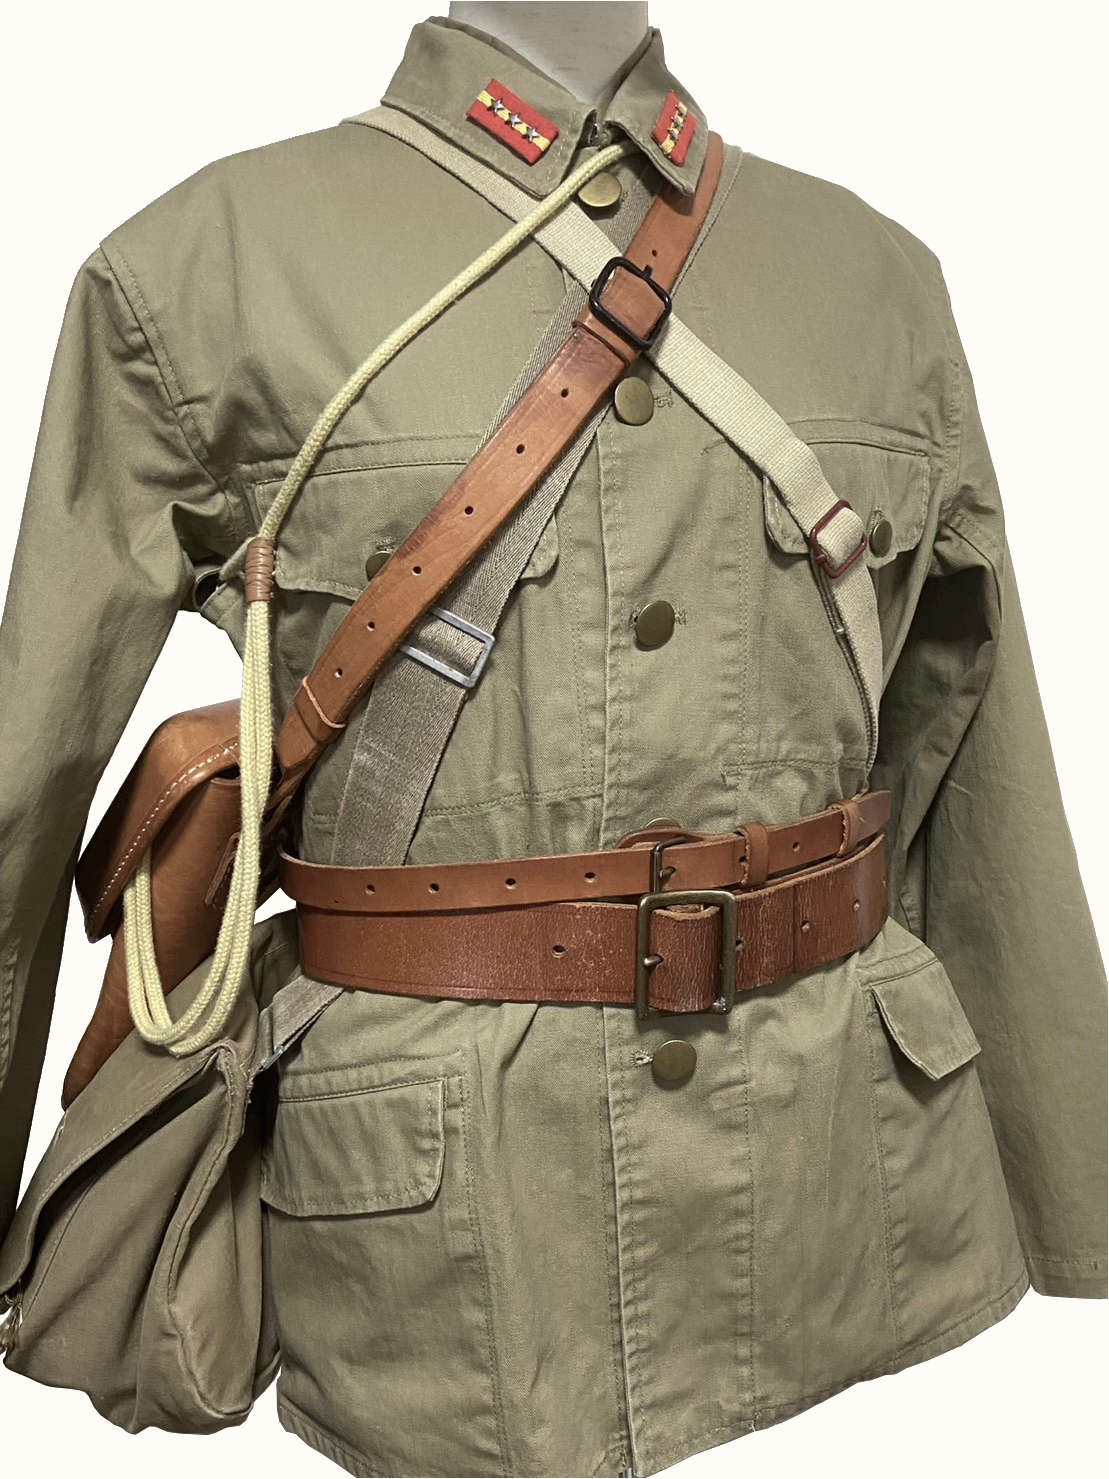
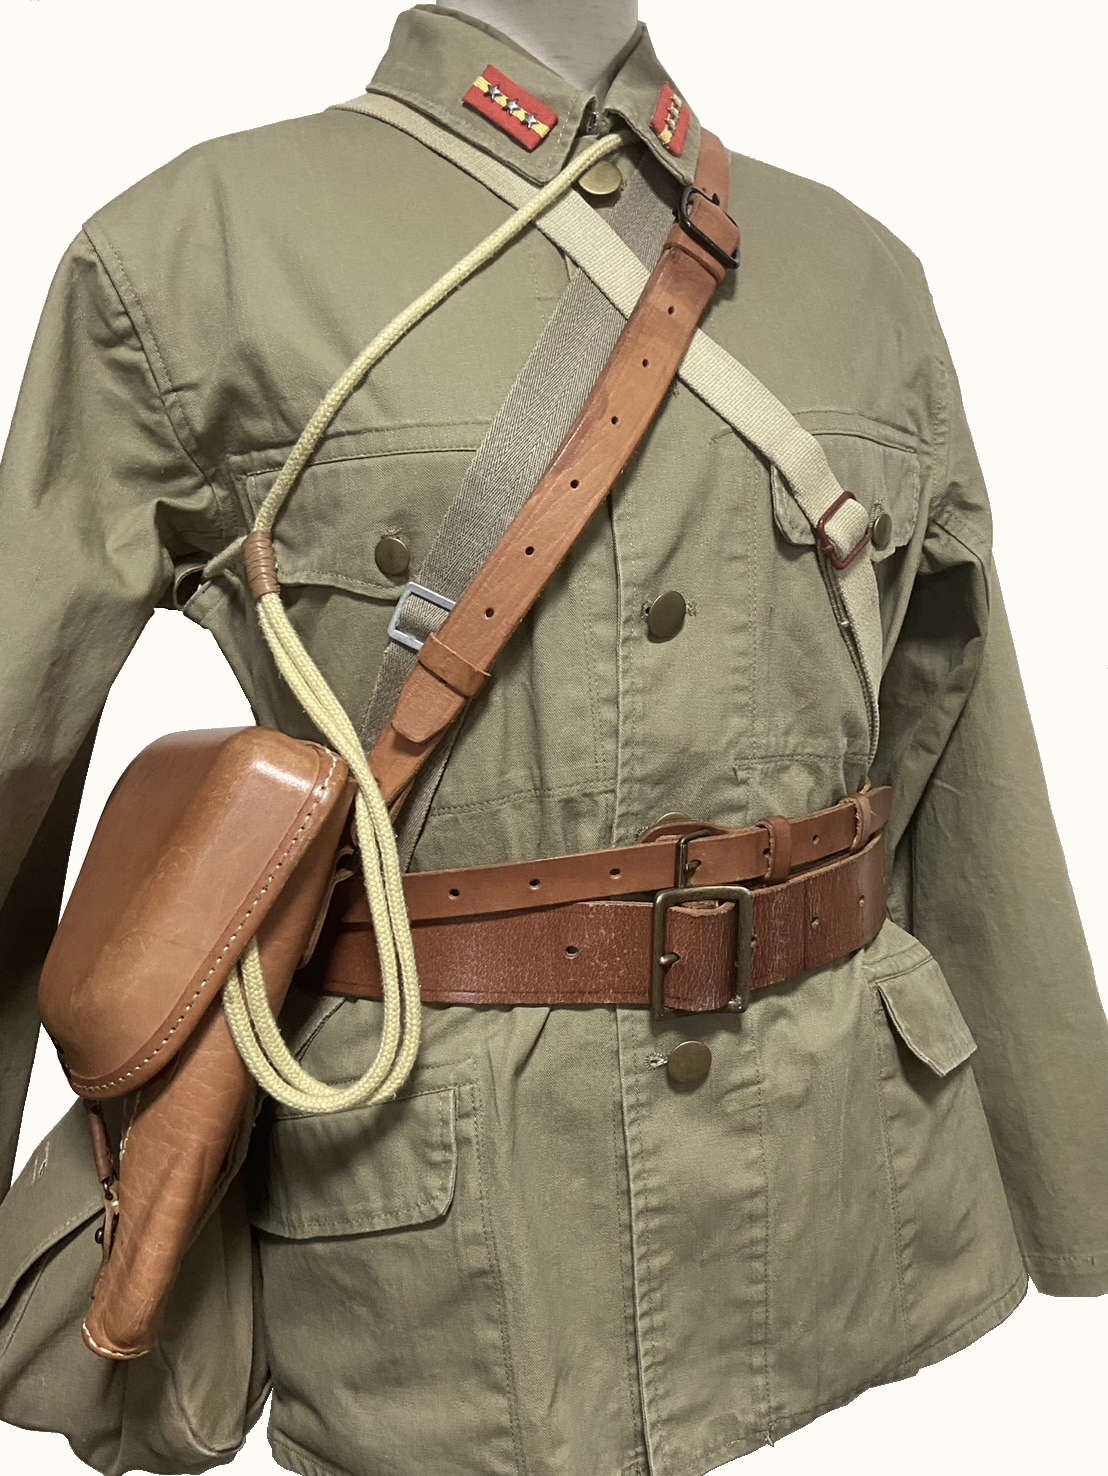
Sling the pistol holster across your body on the same side as the Bread Bag, and secure it to your body using the narrow pistol belt. Thread the pistol belt through the loop on the back of the holster and wrap it just above the belt. Sling the pistol lanyard (Kenchu/縣紐), attached to the pistol, across your body from your left shoulder, and store the pistol in the holster.
View from the front. Tighten the lanyard around your right armpit.
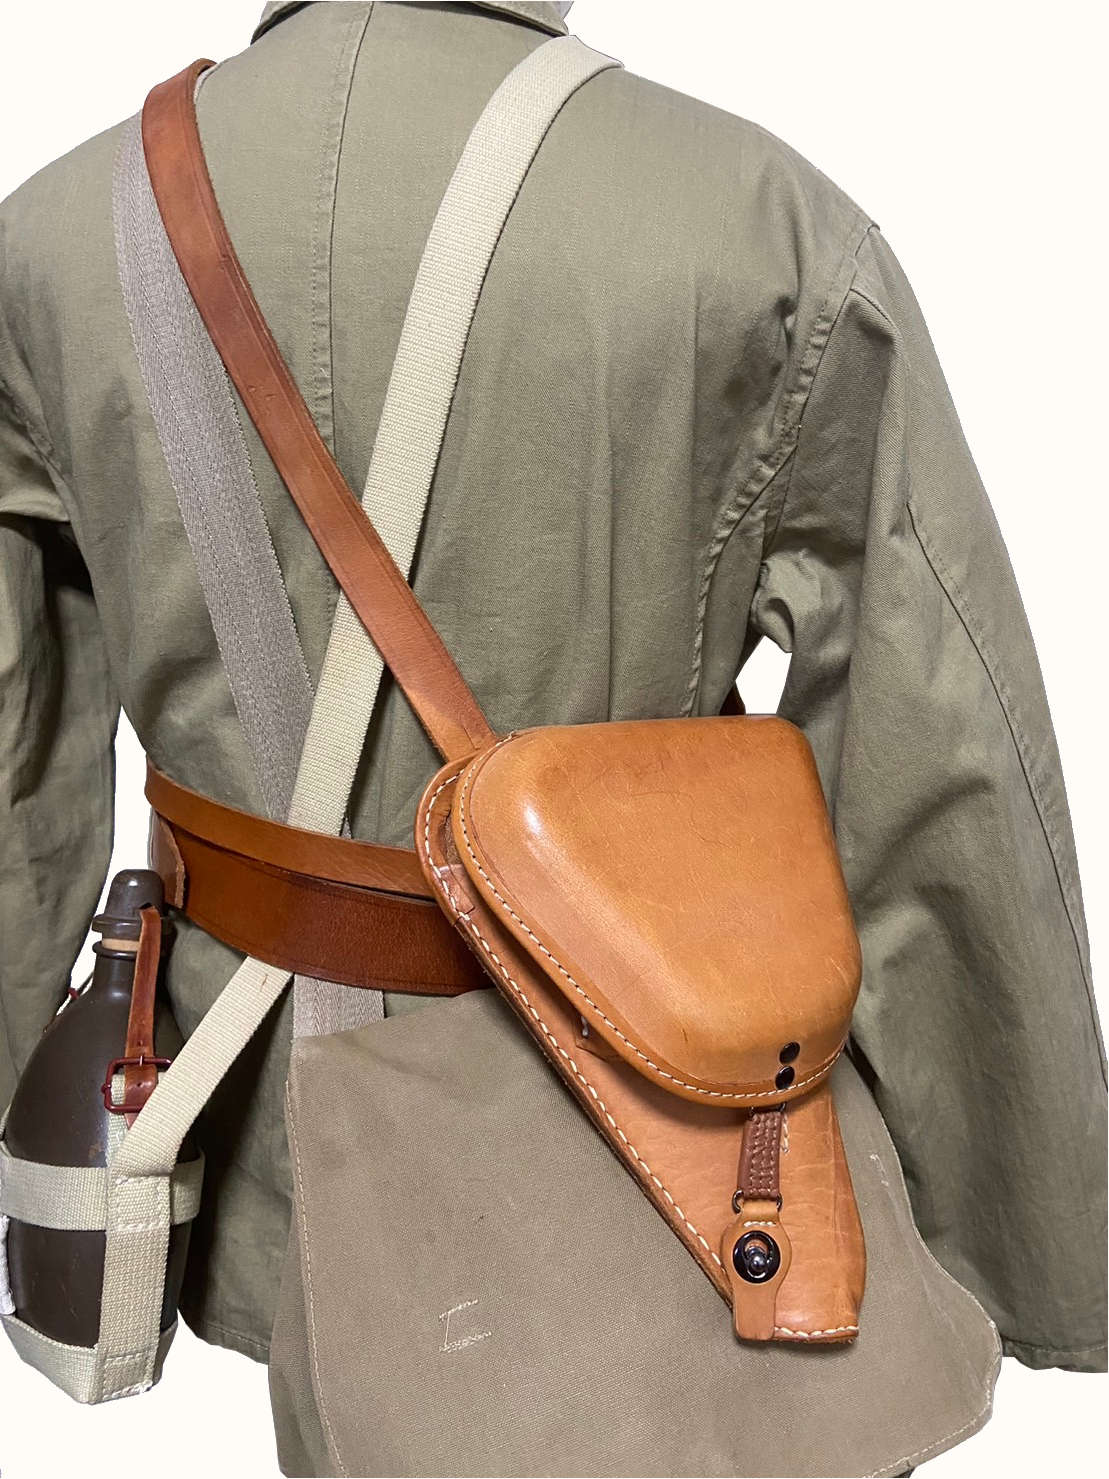
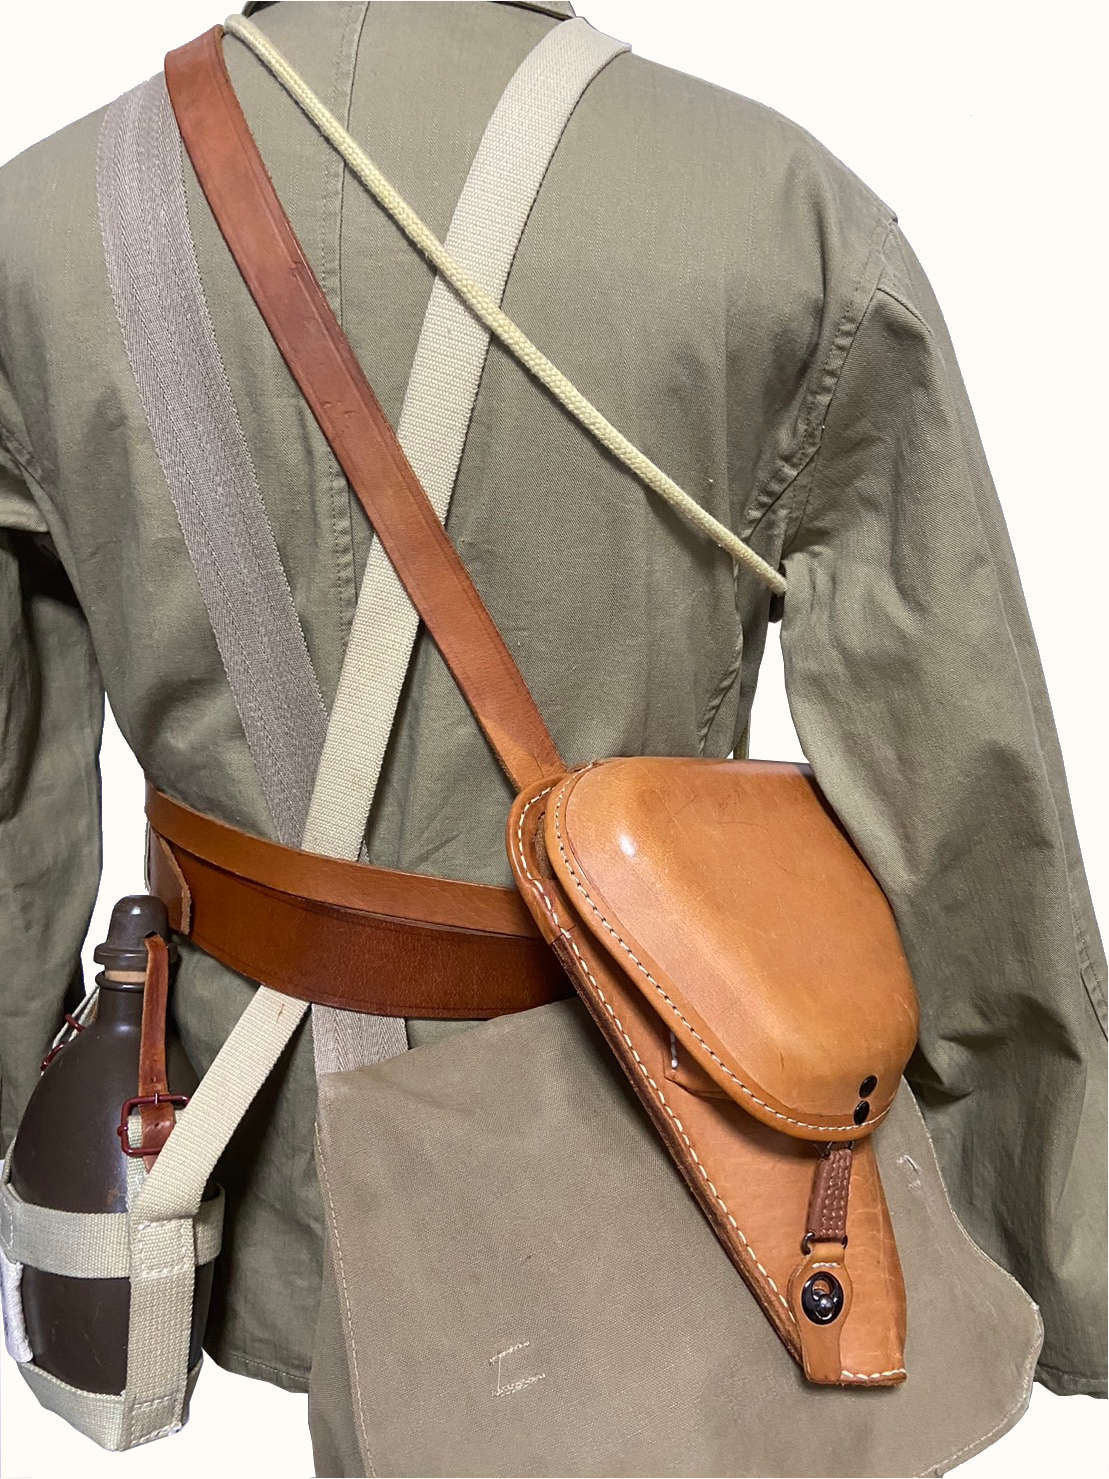
The left photo shows the pistol holster over the Bread Bag, while the right photo shows the pistol holster positioned around the waist. Historical photos often show the holster positioned around the waist. In practice, the right-side position allows for quicker access.
Differences Between the Type 14 Nambu and Type 26 Revolver
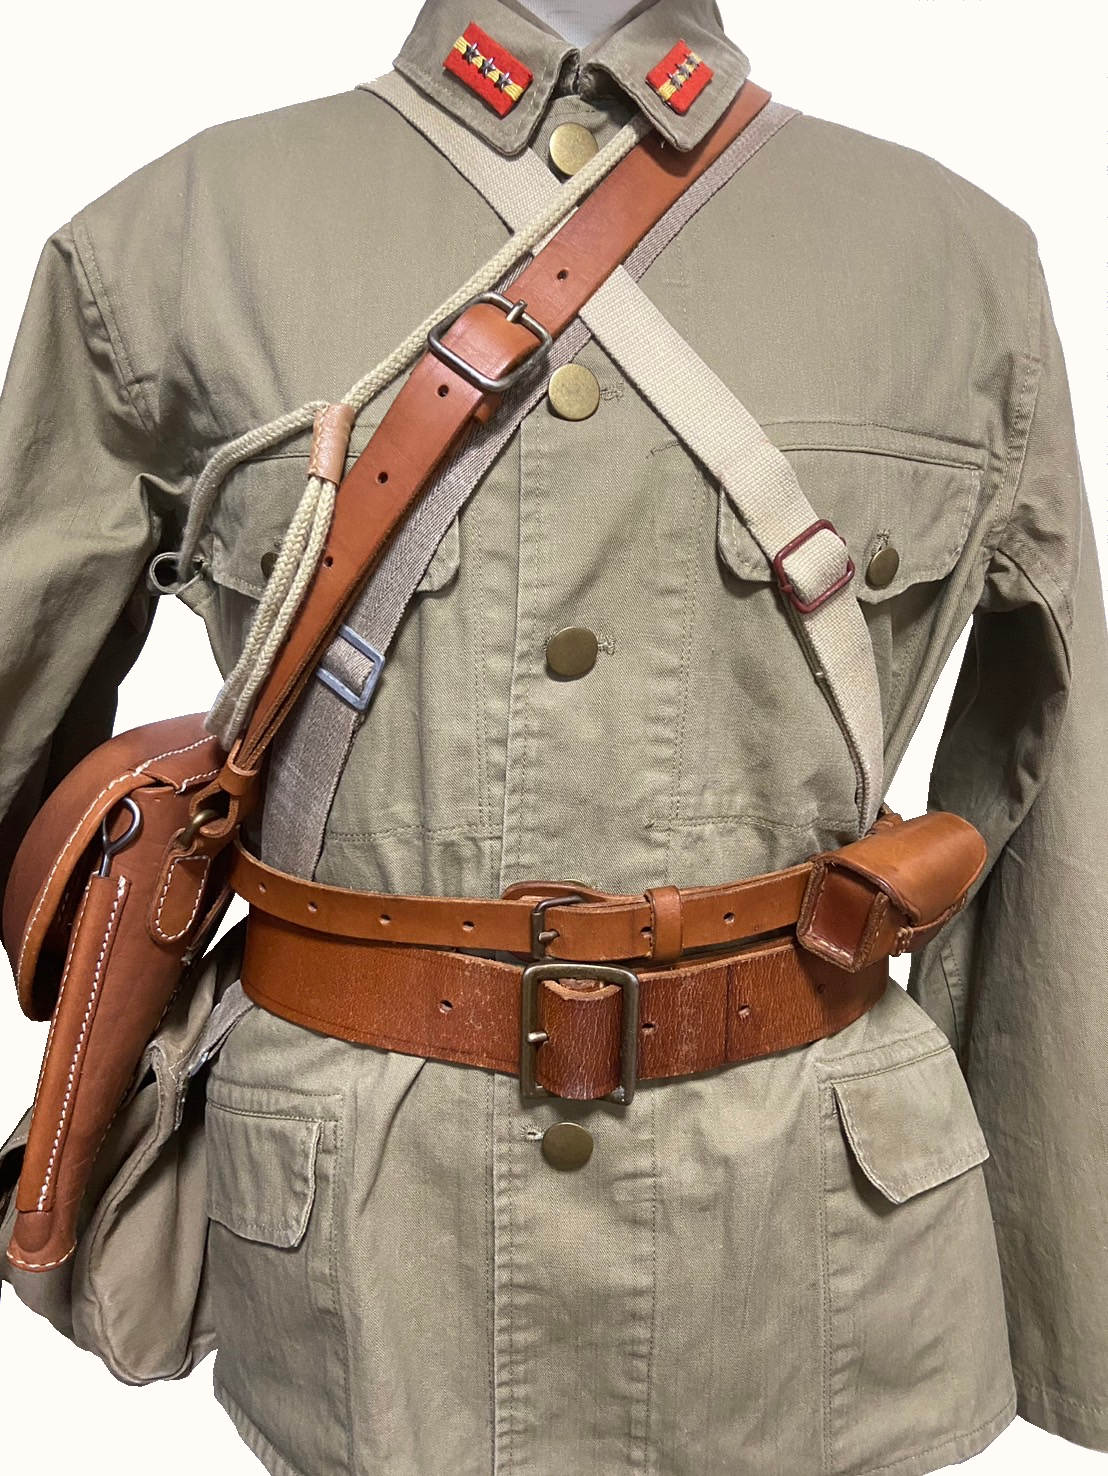
In the previous example, we looked at the method of wearing the holster using the Type 14 Nambu. The basic method is the same for the Type 26 Revolver, but with the Type 26, an ammunition pouch is attached to the pistol belt to hold spare cartridges.
The following photo shows the ammunition pouch (replica) for the Type 26 Revolver. Conversely, when wearing the Type 14 Nambu, do not attach the ammunition pouch and use only the pistol belt.
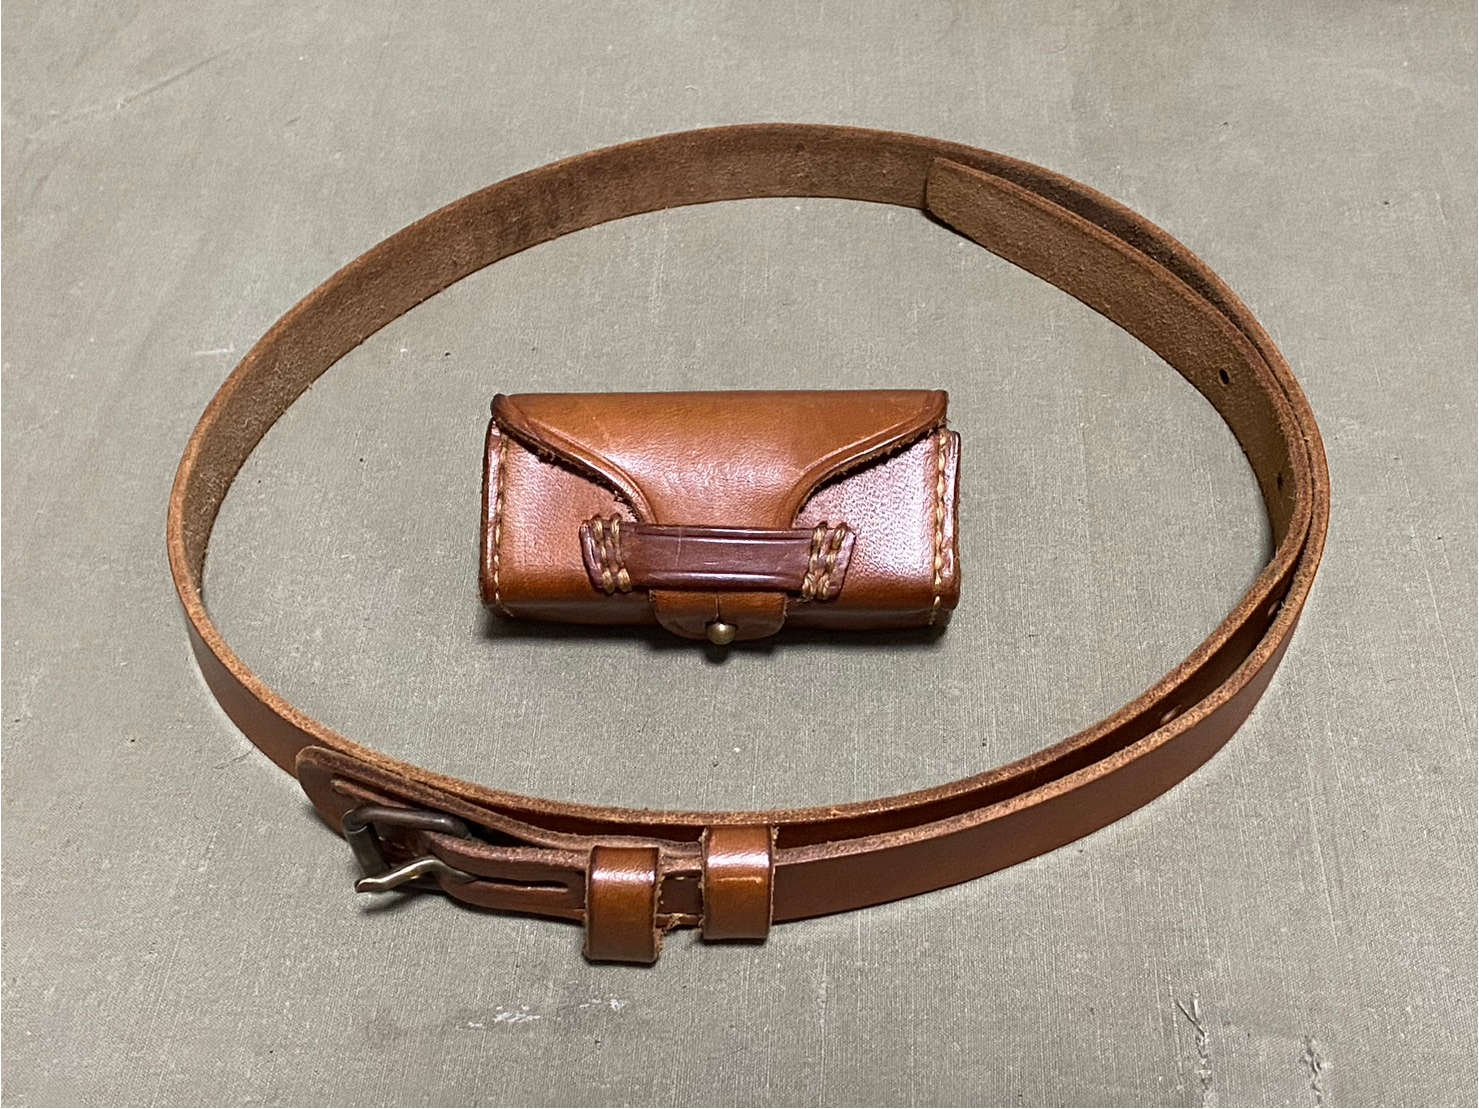
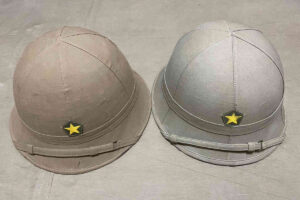
On the left is the setup with the Type 14 Nambu, and on the right is the setup with the Type 26 Revolver. When looking at historical photos, even if the pistol holster is not visible, the presence or absence of the ammunition pouch can help determine which pistol is being carried.
Adjusting the Length of the Holster Sling
I have introduced the actual method of wearing the pistol holster, but when you try it yourself, you will notice that the holster sling needs to be quite short. Modern replica items are made with significantly longer slings to accommodate individuals with larger physiques.
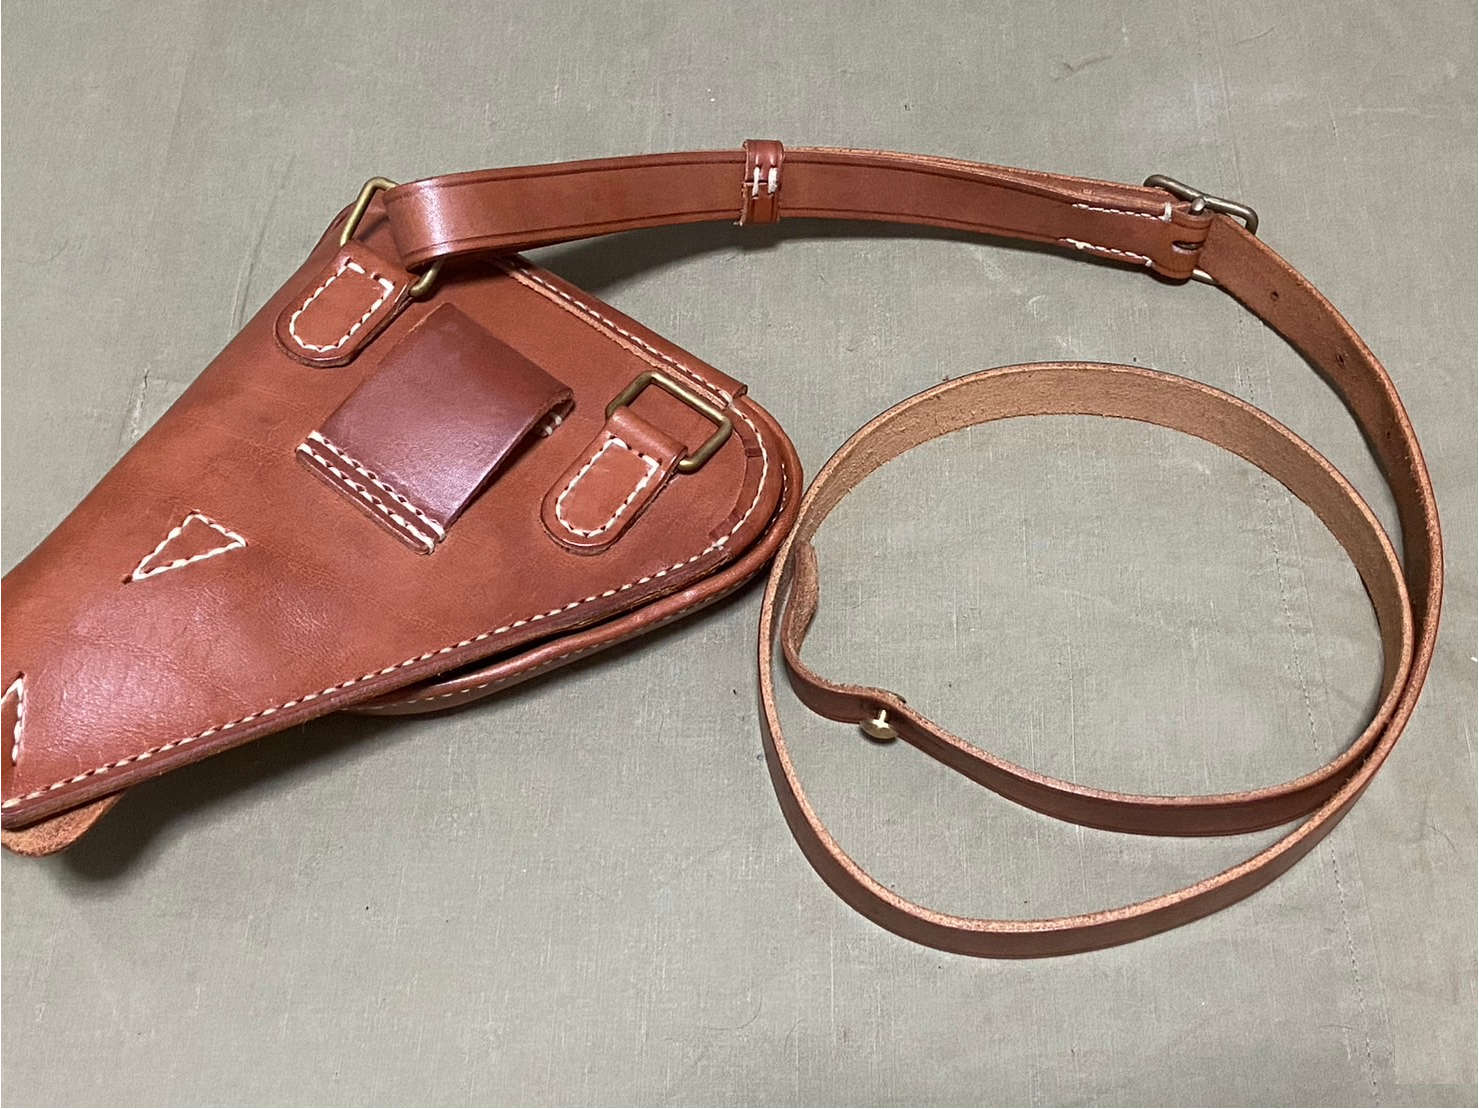
The following photo shows a brand new Type 14 Nambu holster from HIKISHOP worn over the shoulder. Even when adjusted to the shortest length, it still hangs down untidily.
In such cases, many people tend to open new holes in the sling for adjustment. However, this can alter the number of holes on the belt strap and may not look aesthetically pleasing. In situations like this, it’s recommended to cut the sling shorter and re-create the hole for the stud button (Tsuzumi-button/鼓釦).

This kind of craftsmanship can also serve as a good introduction to leathercraft. Engaging in this hobby allows you to gain skills in leatherwork, enabling you to repair damaged items and broaden your capabilities.
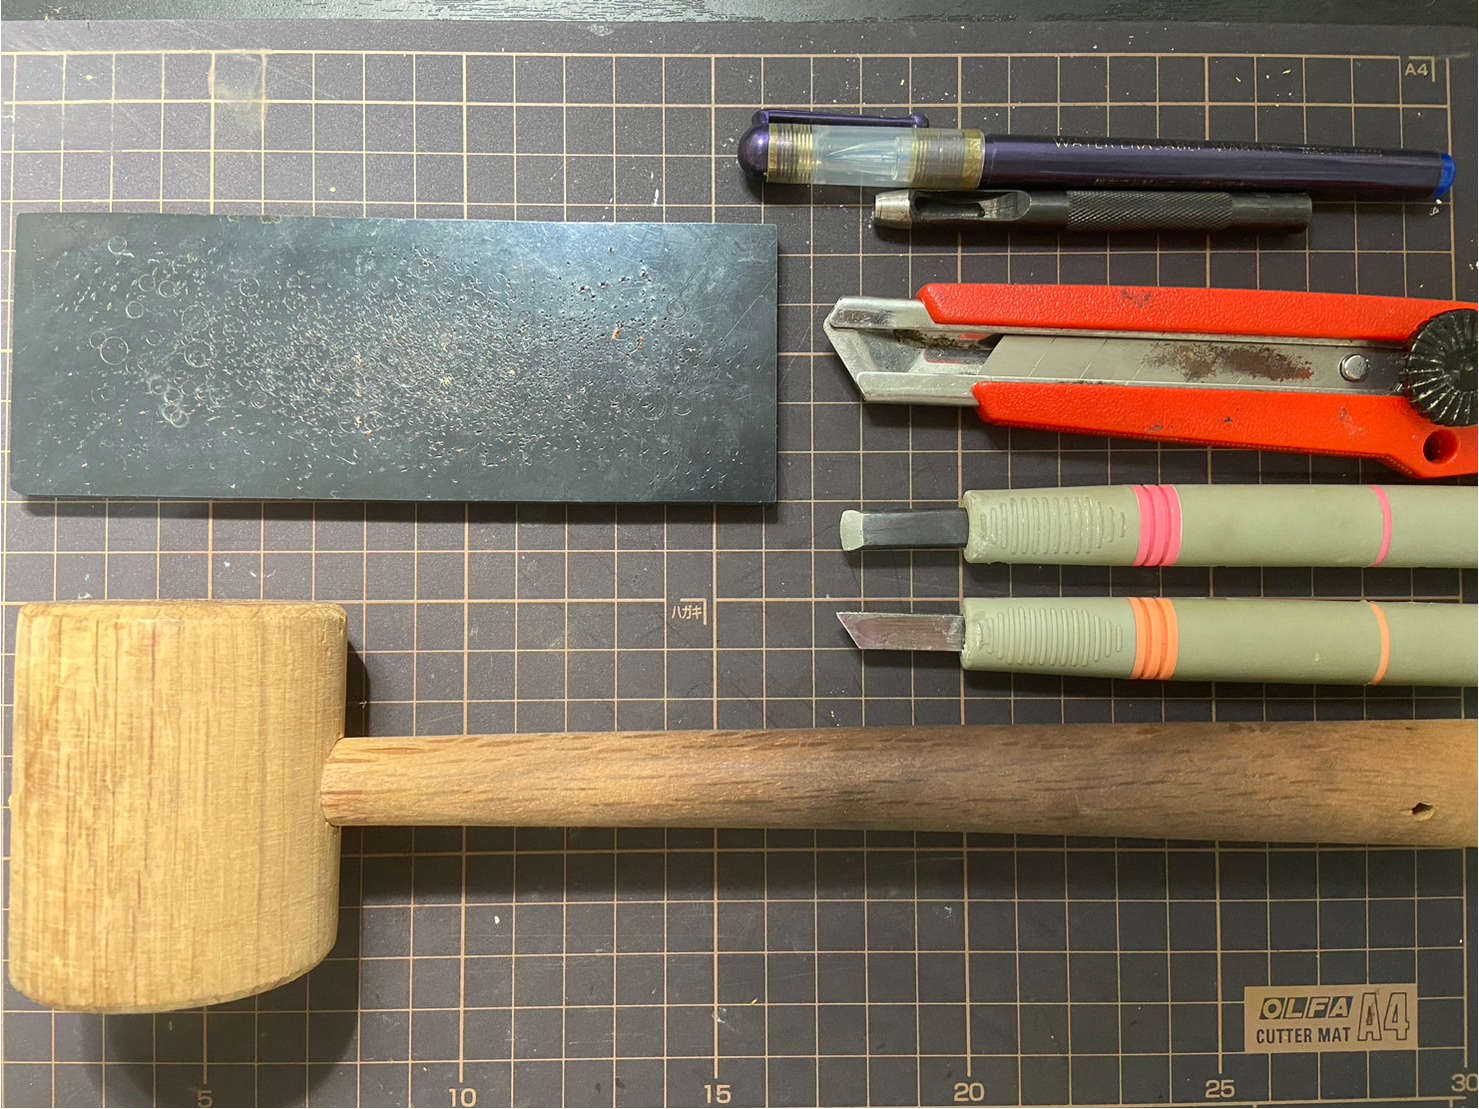
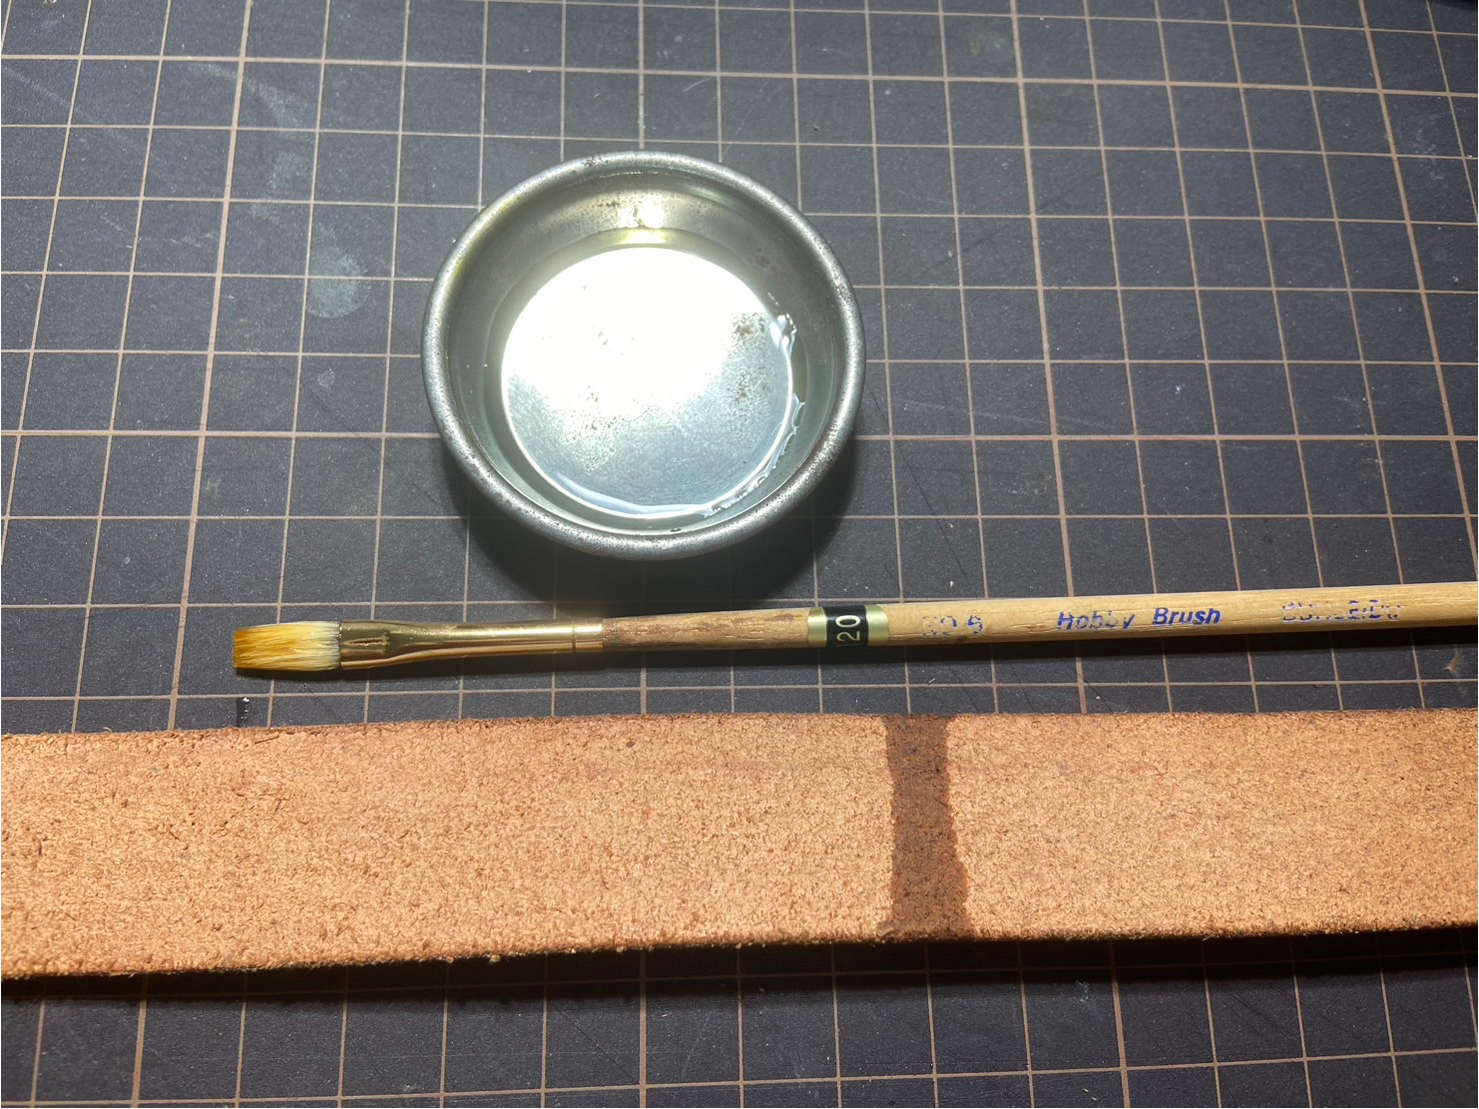
Here are the tools you will use this time:
- Punch (5mm) for making holes
- Rubber mat for supporting the punch
- Wooden mallet for striking the punch
- Sharp utility knife
- Carving knife (not essential, but sometimes more useful than a utility knife)
- Water-erasable pen (available in sewing supply stores)
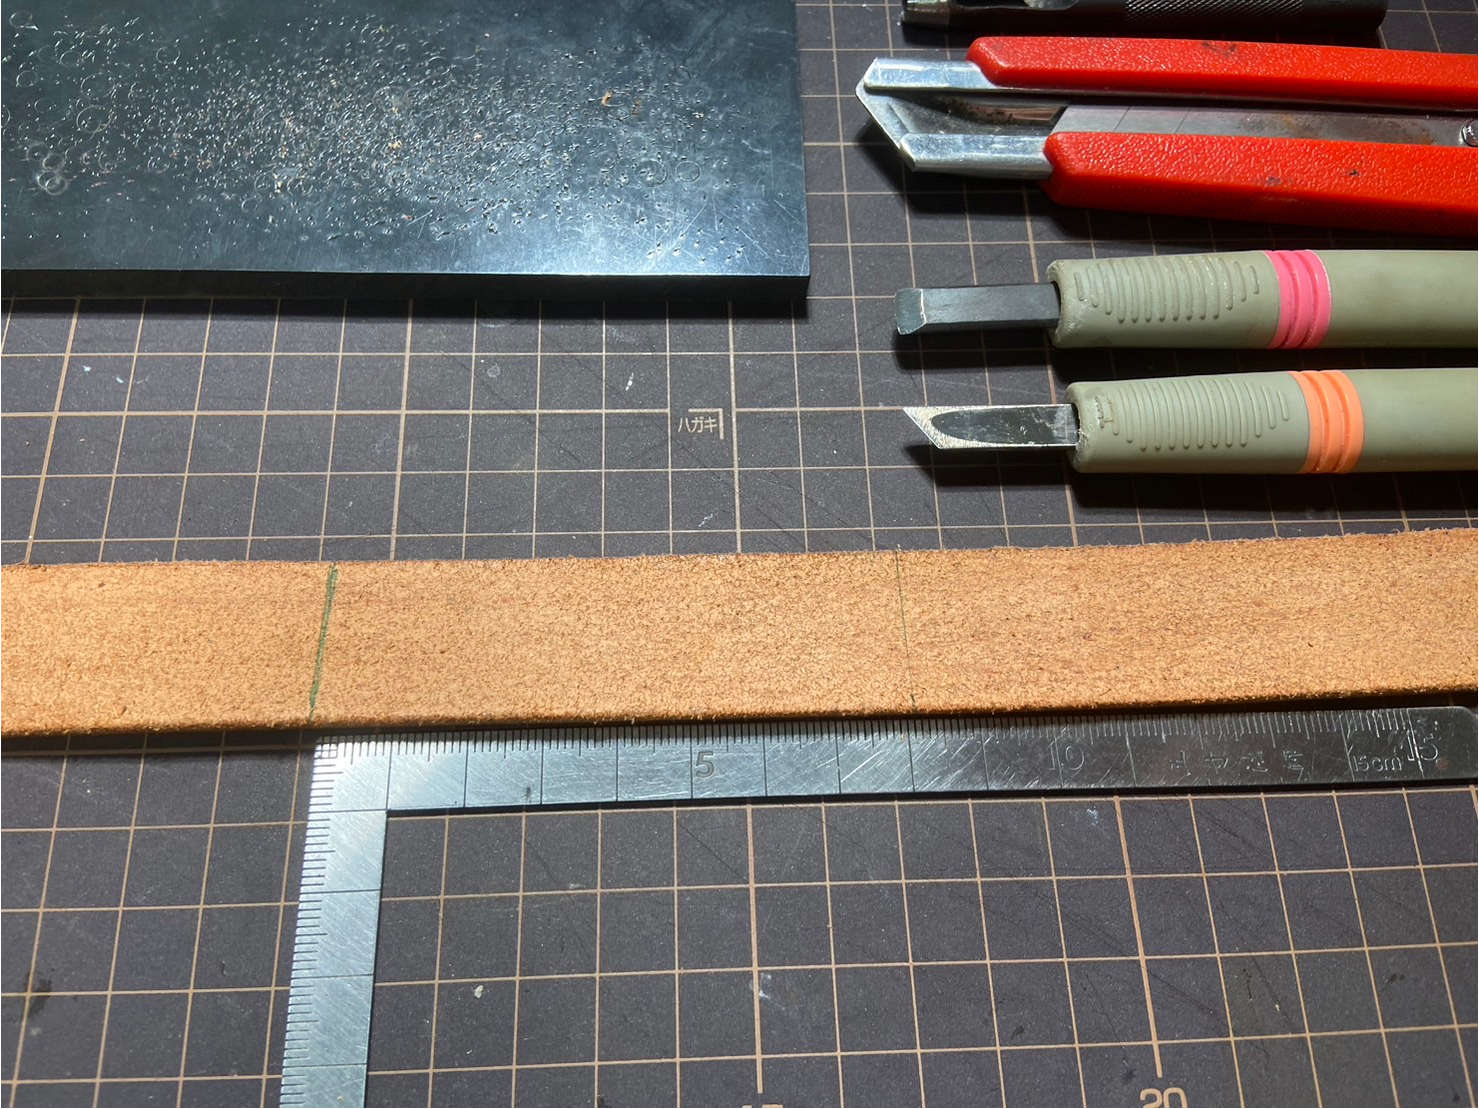
First, determine the length of the sling that fits your body. The thick line drawn on the left indicates where the sling will fold back. About 8cm to the right of this point, cut the sling.
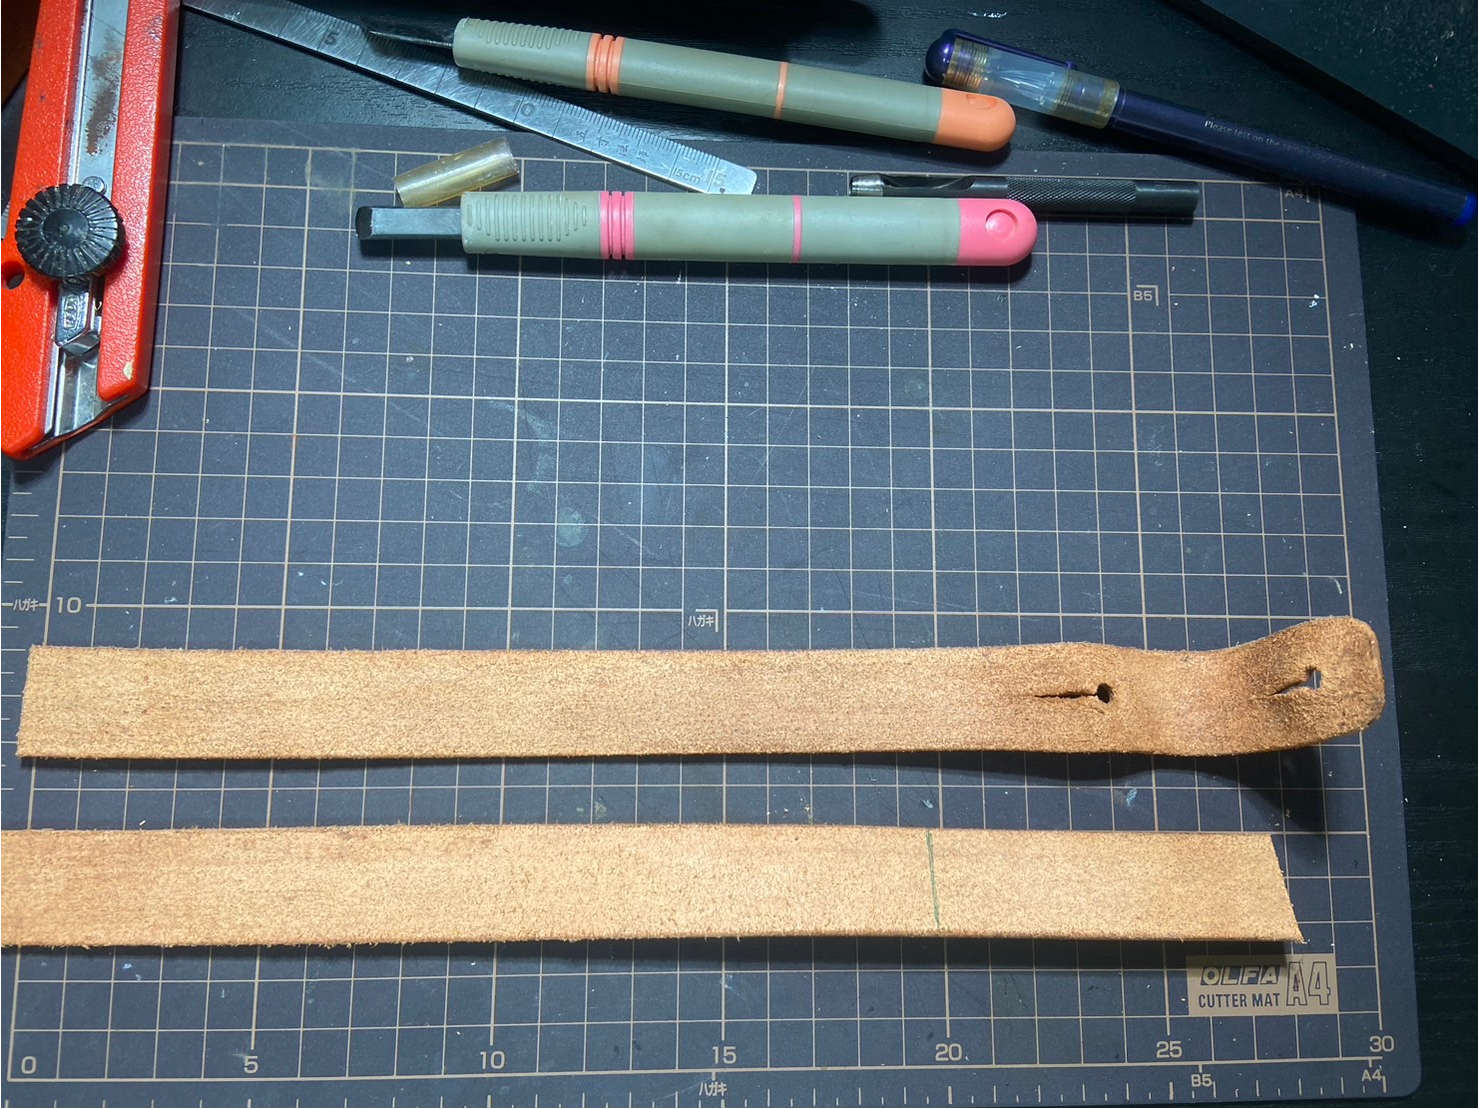
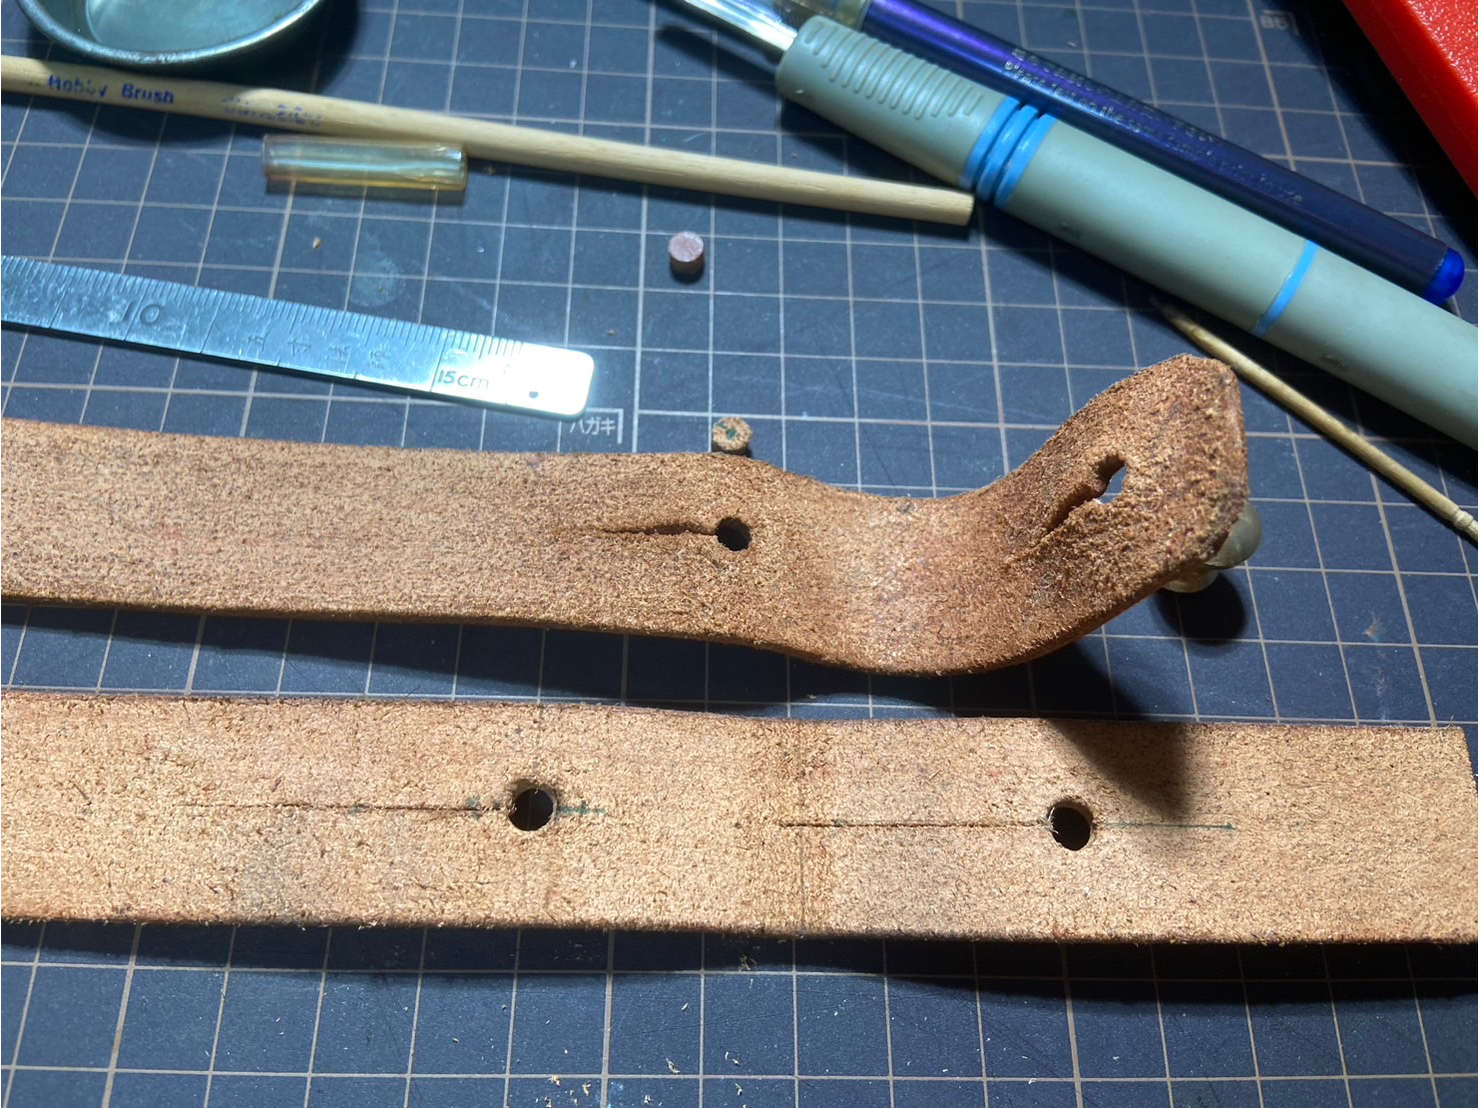
The leather strap placed on the above is the cut-off sling. We will now proceed to restore the hole at the right end where the stud button will be attached.
Dampen the area where you plan to fold with water. Moistening the leather allows you to bend it and set a crease.
Make holes for attaching the stud button and make slits towards the left side of the holes. If the slits are too short, it will be difficult to attach the stud button, so adjust the length while threading the stud button through to ensure it’s just right.
Finally, trim the excess from the right end to the appropriate length and round off the corners to finish.
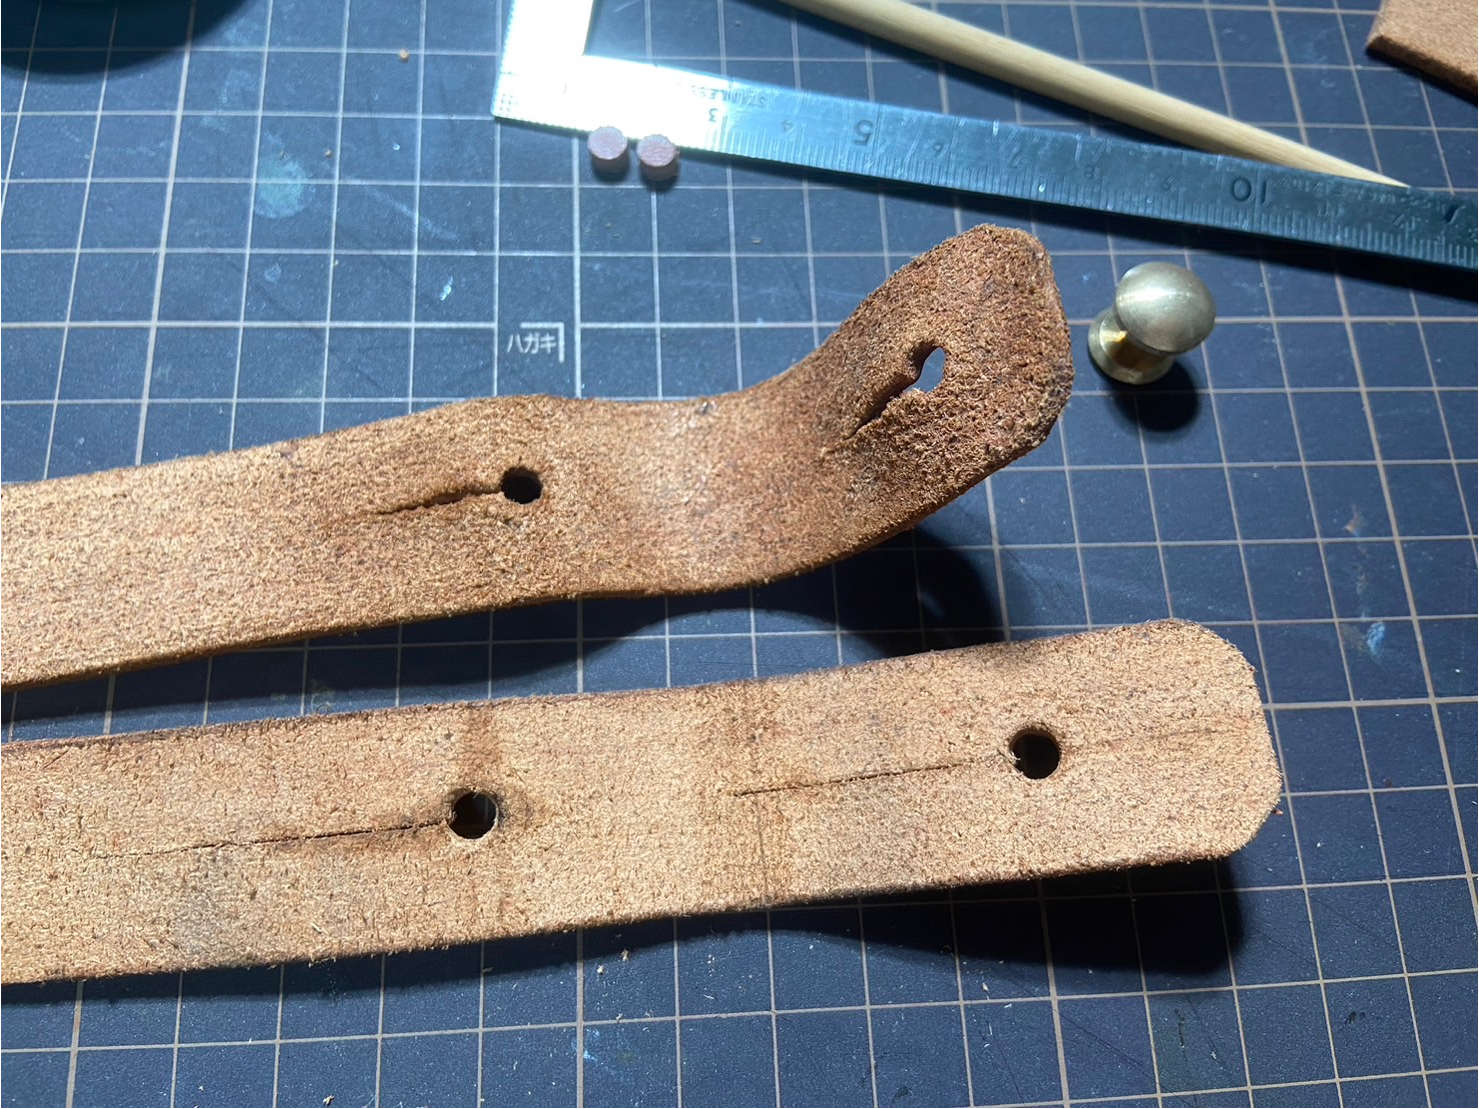
Here is the completed adjustment of the sling length. It is now ready to be worn stylishly.