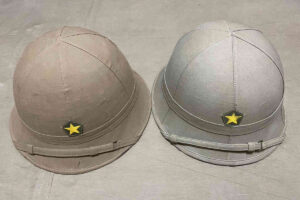
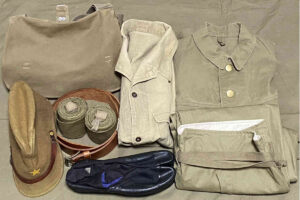
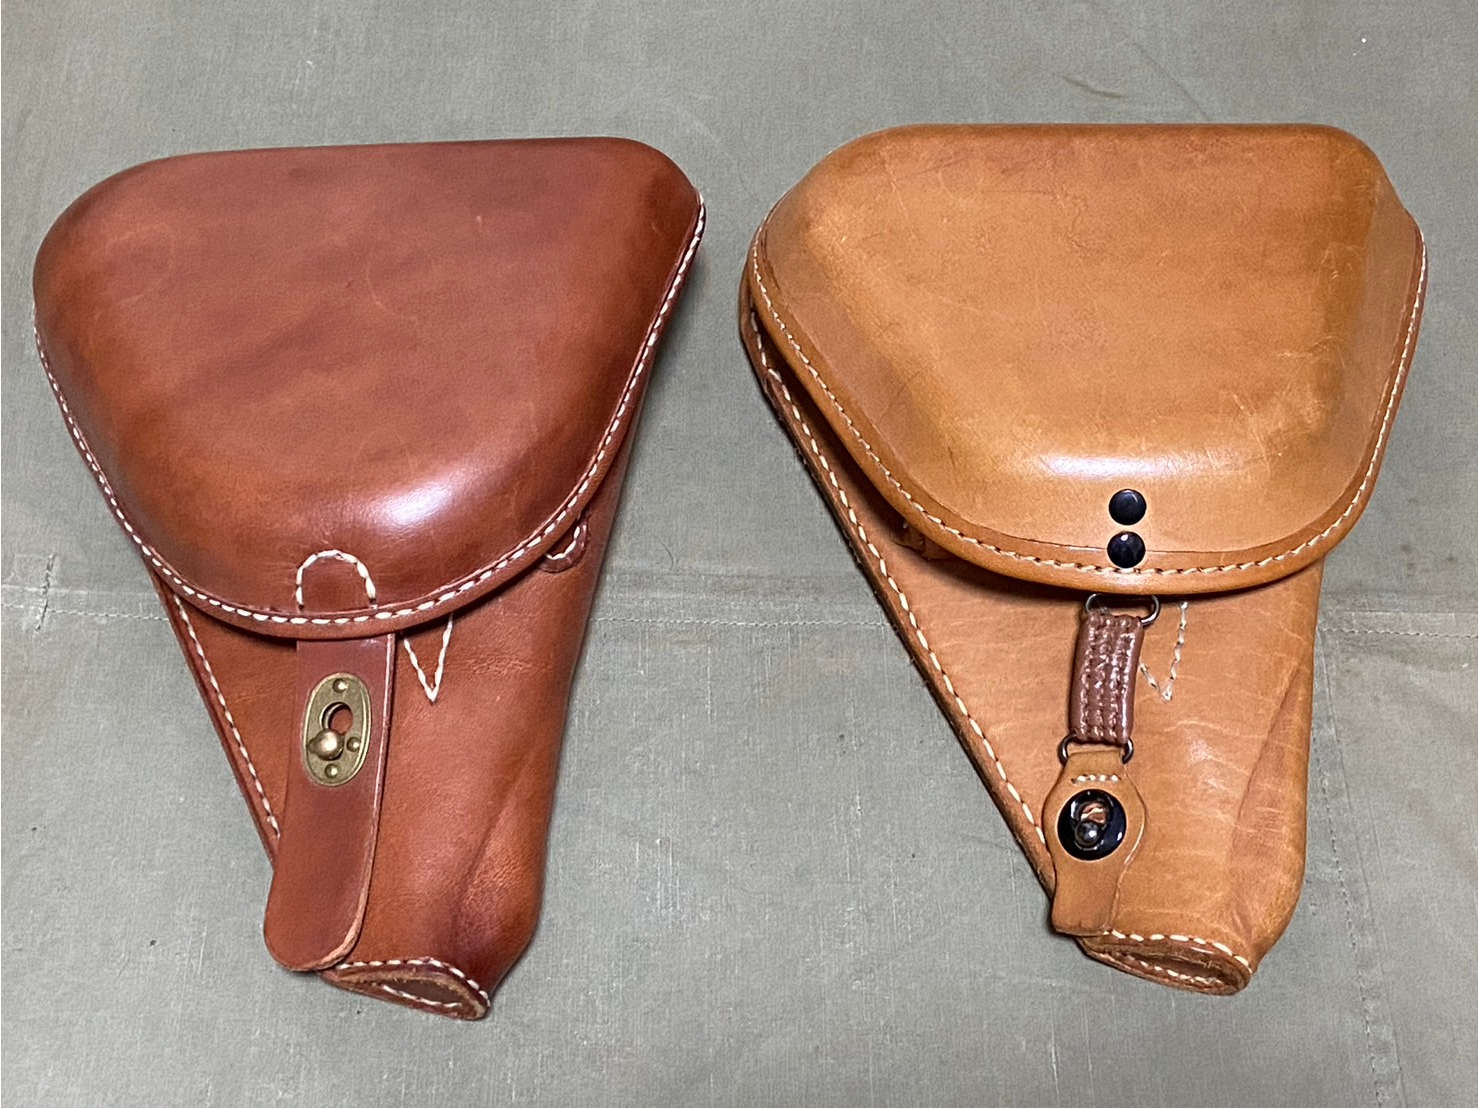
I have two types of replica Type 14 Nambu Pistol Holsters. One is an early model made by HIKISHOP, and the other is a late model from an unknown manufacturer.
There are no issues using them to store and use the Marushin gas gun, but I would like to make the following modifications for detail improvement.
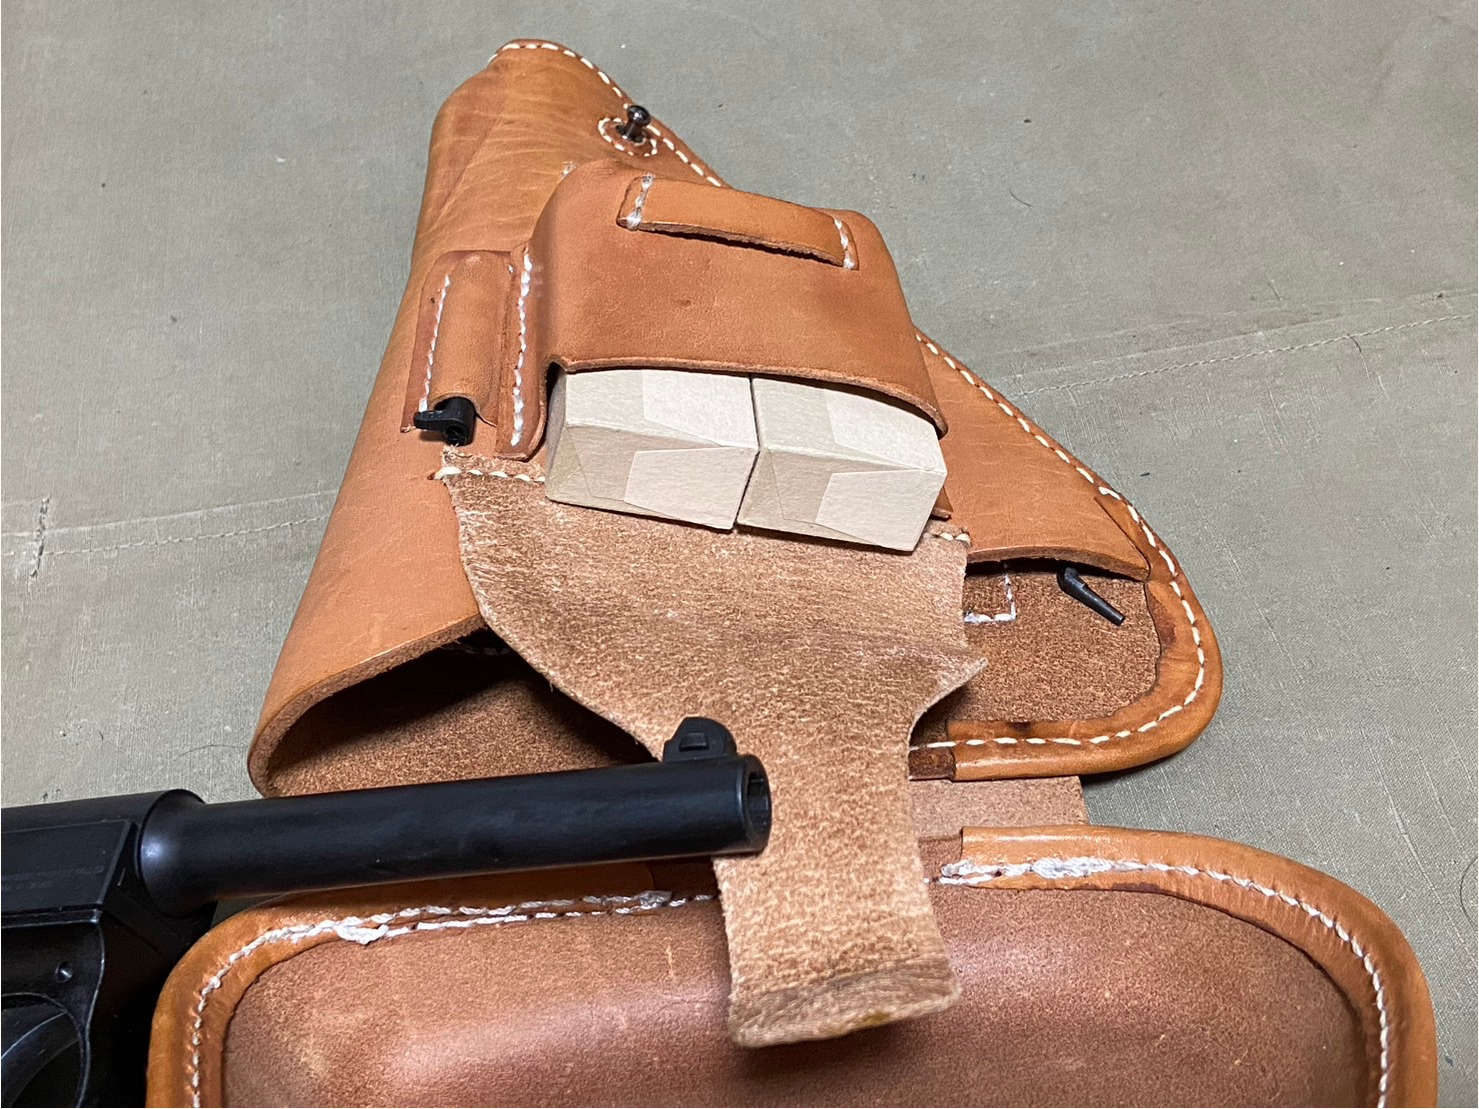
- Modify the storage pocket to fit the pistol cartridge paper box.
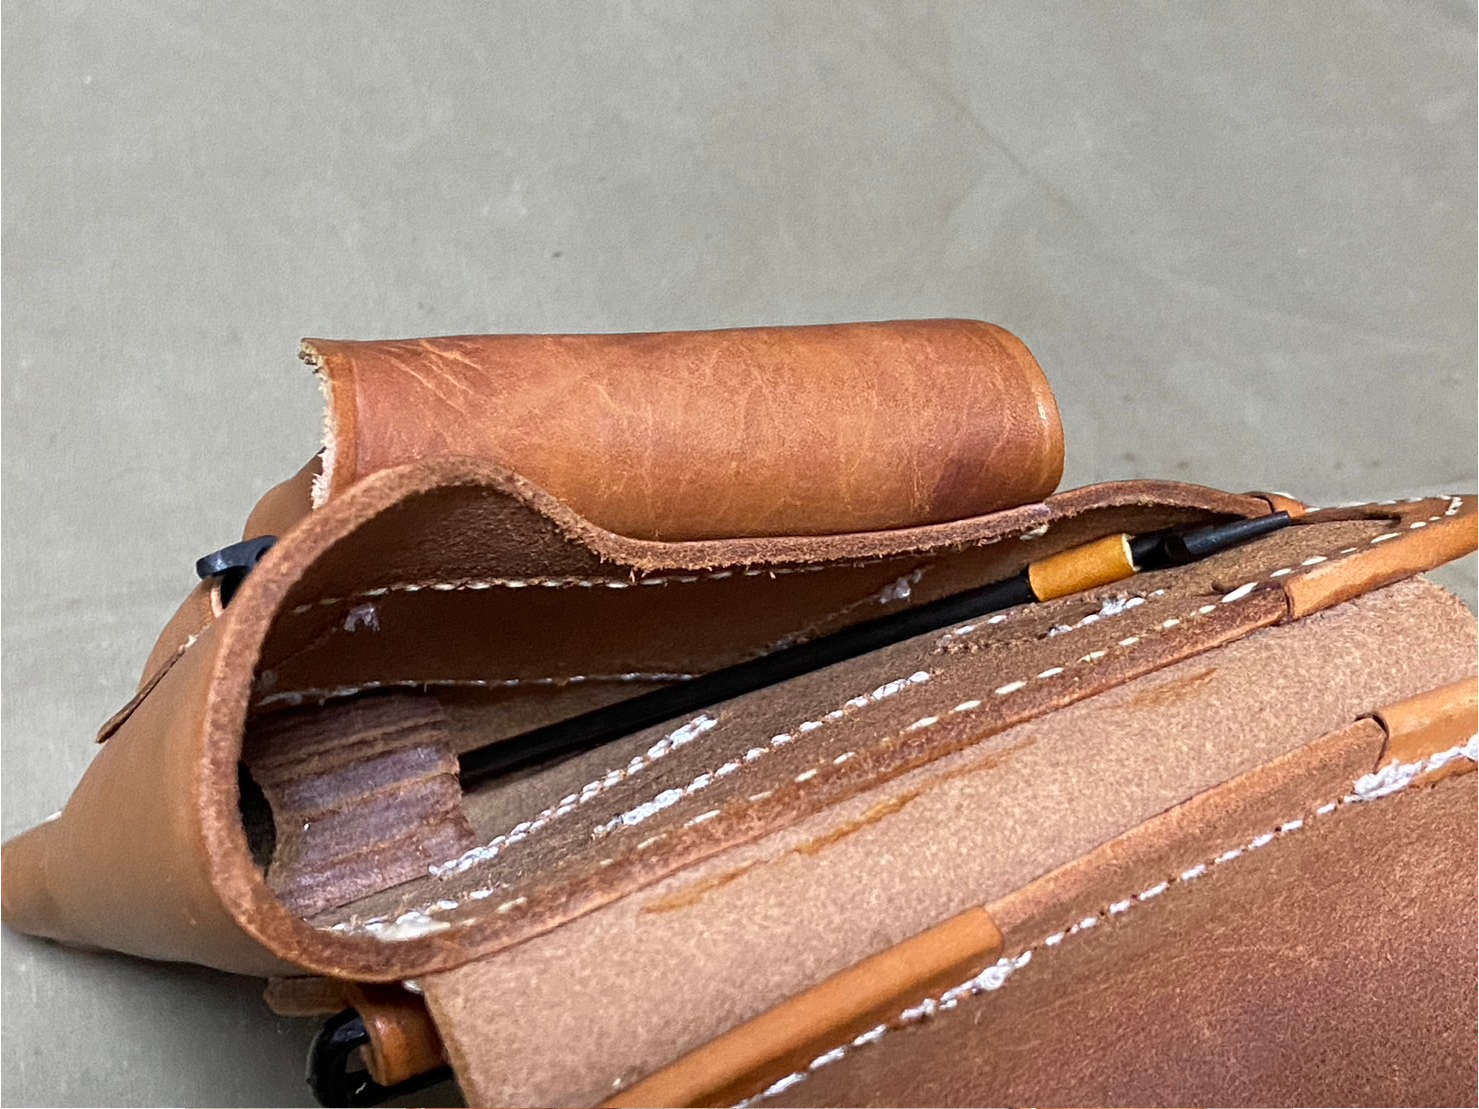
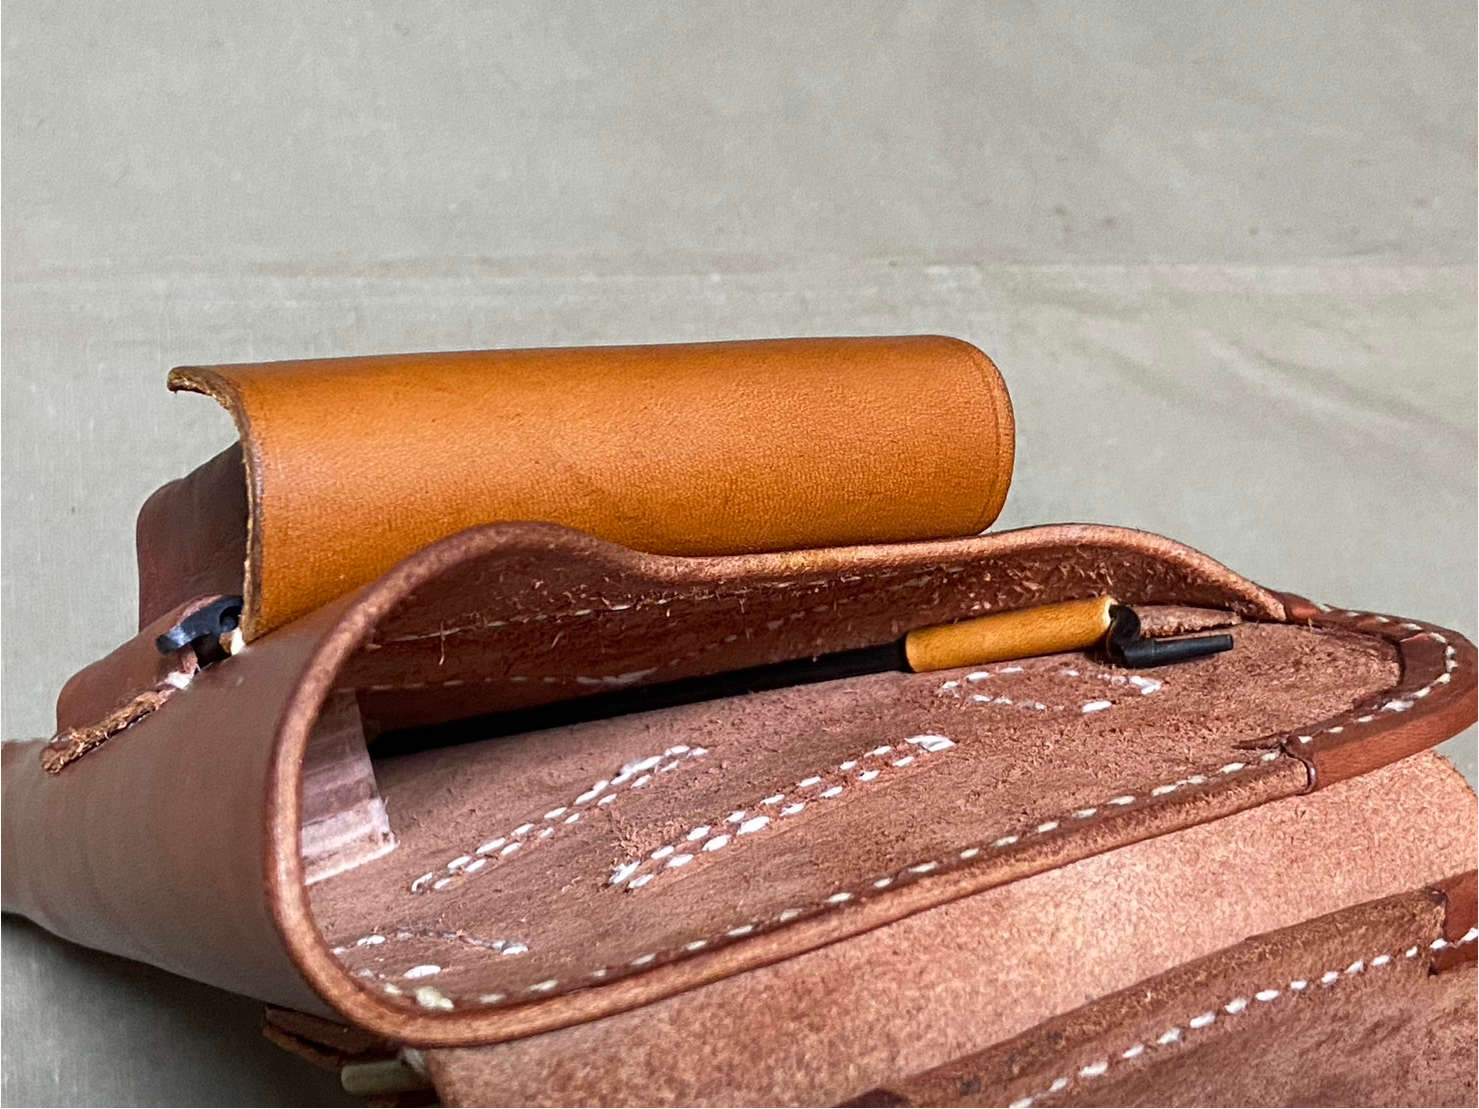
- Add a loop to store the cleaning rod.
Expansion of the Storage Pocket
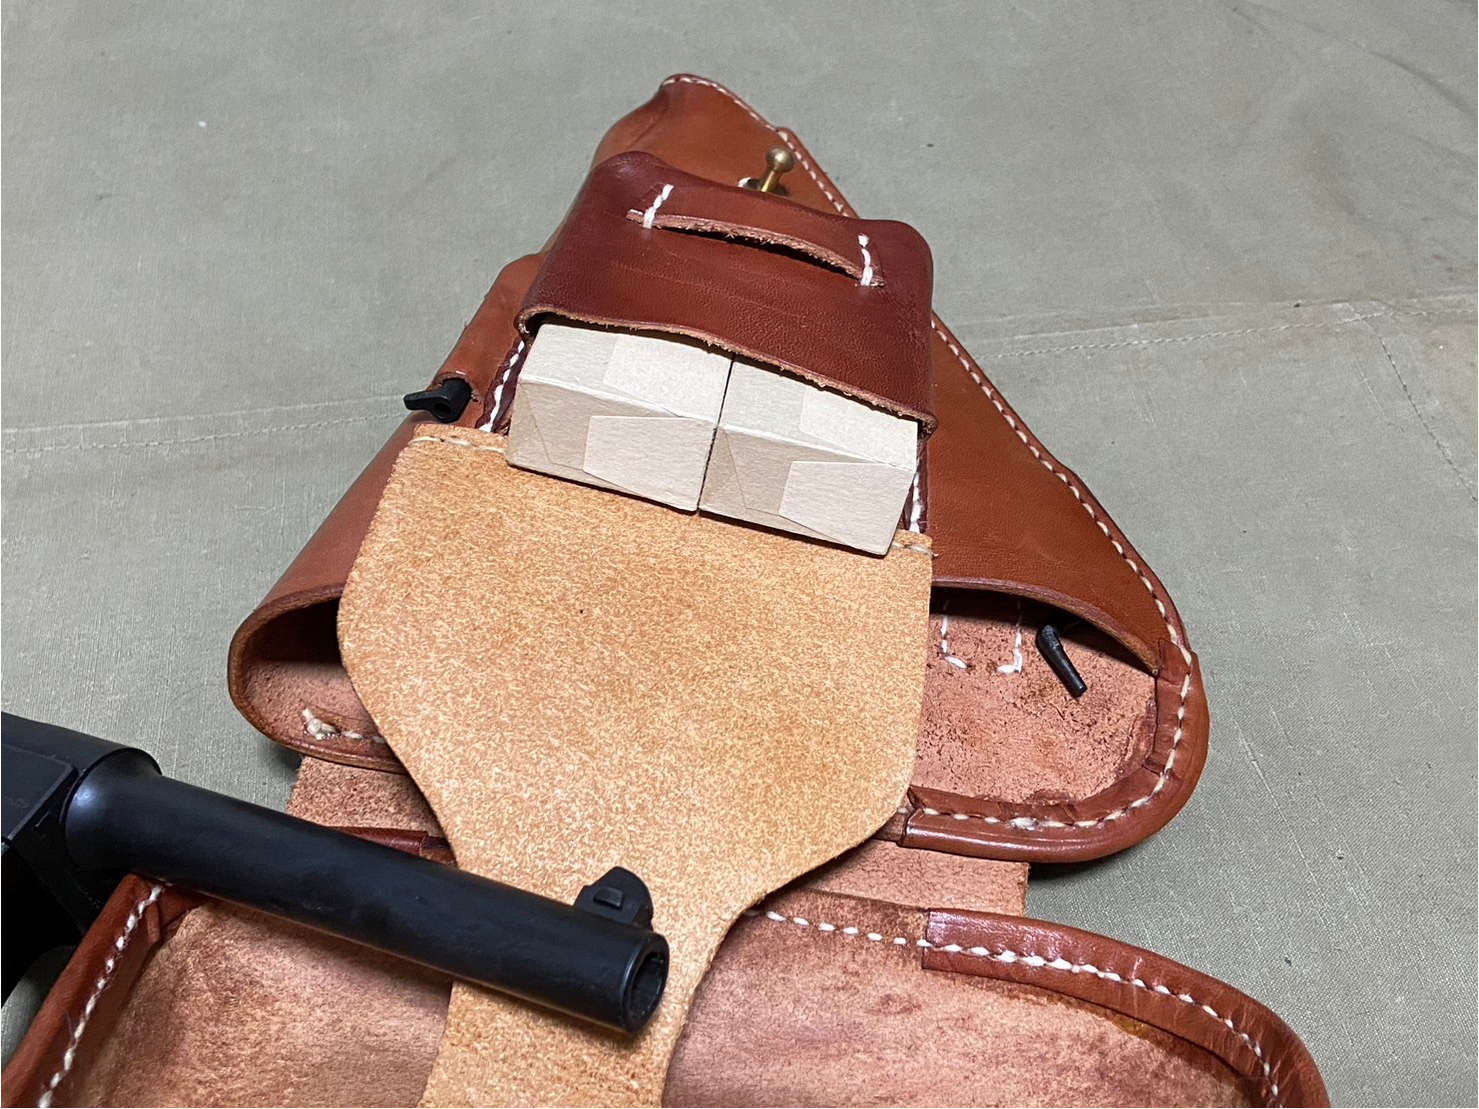
To fit the paper box, the storage pocket needs to be expanded first. This involves utilizing the property of leather that allows it to be stretched and reshaped when wet.
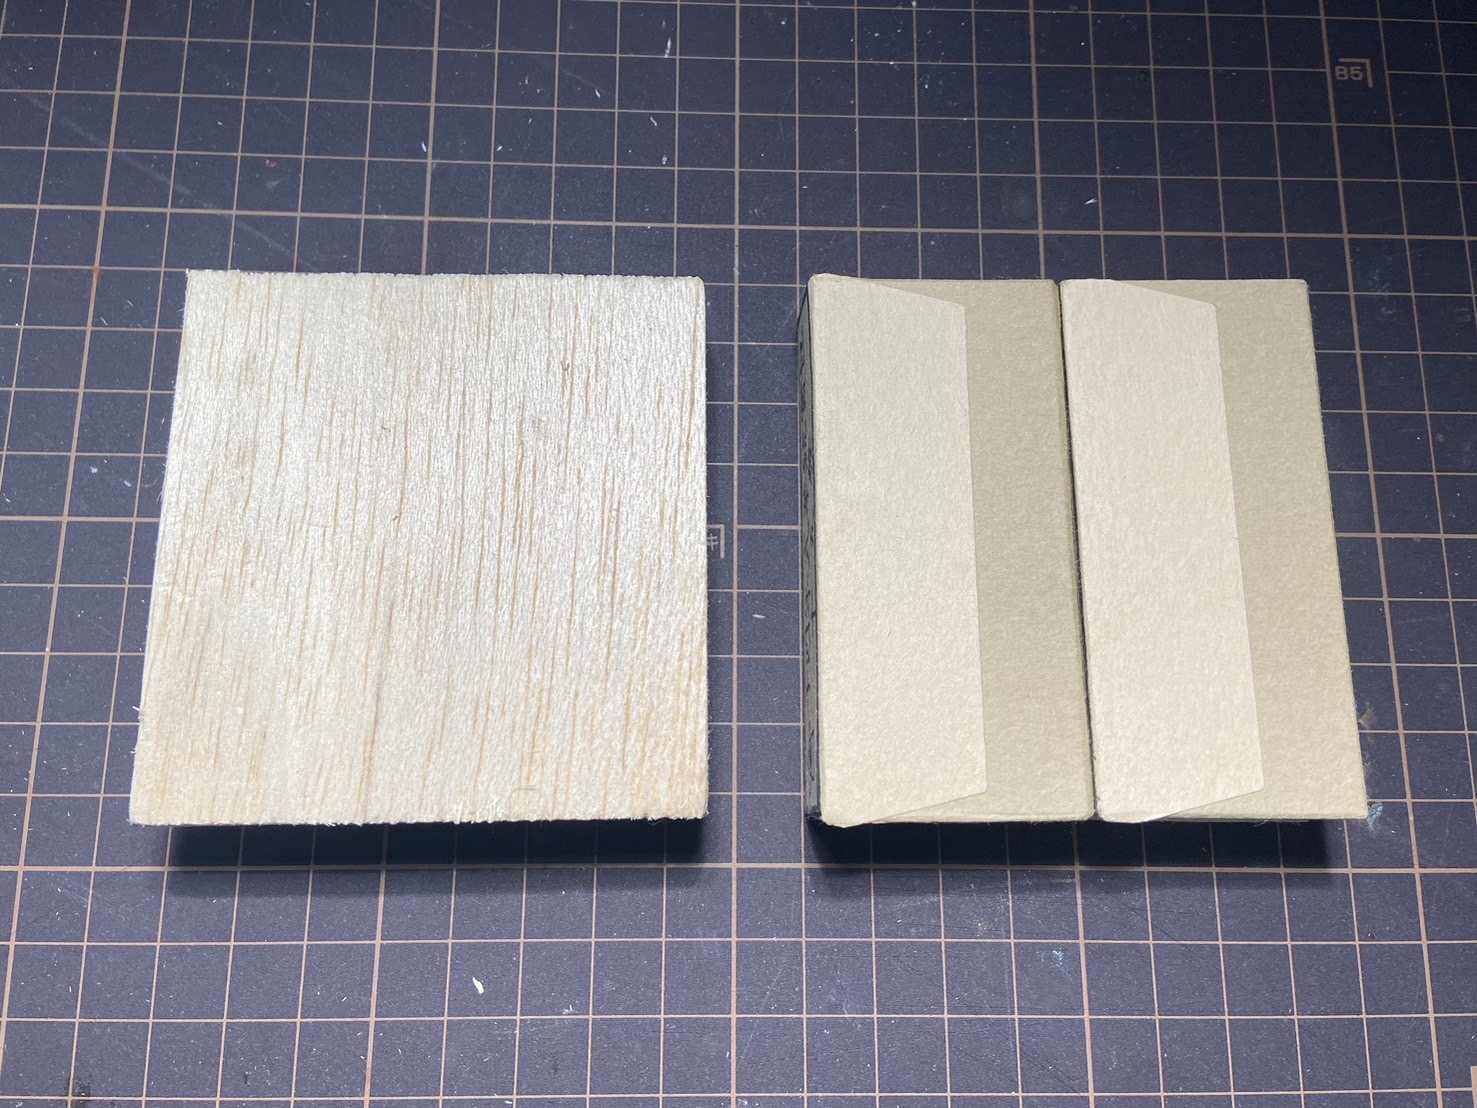
First, prepare a mold to replace the paper box. A wooden piece is ideal since it can withstand being soaked in water. I used balsa wood for ease of handling. The dimensions are 75mm in height, 73mm in width, and 20mm in thickness, which matches the size of two paper boxes placed side by side. After trying it out, I realized that whether you insert paper boxes or wooden pieces, they look the same from the outside. For those who do not have paper boxes, making a wooden piece of this size and placing it in the holster will make it appear as though cartridges are stored inside. It’s even better if you cover the surface with something resembling cardboard.
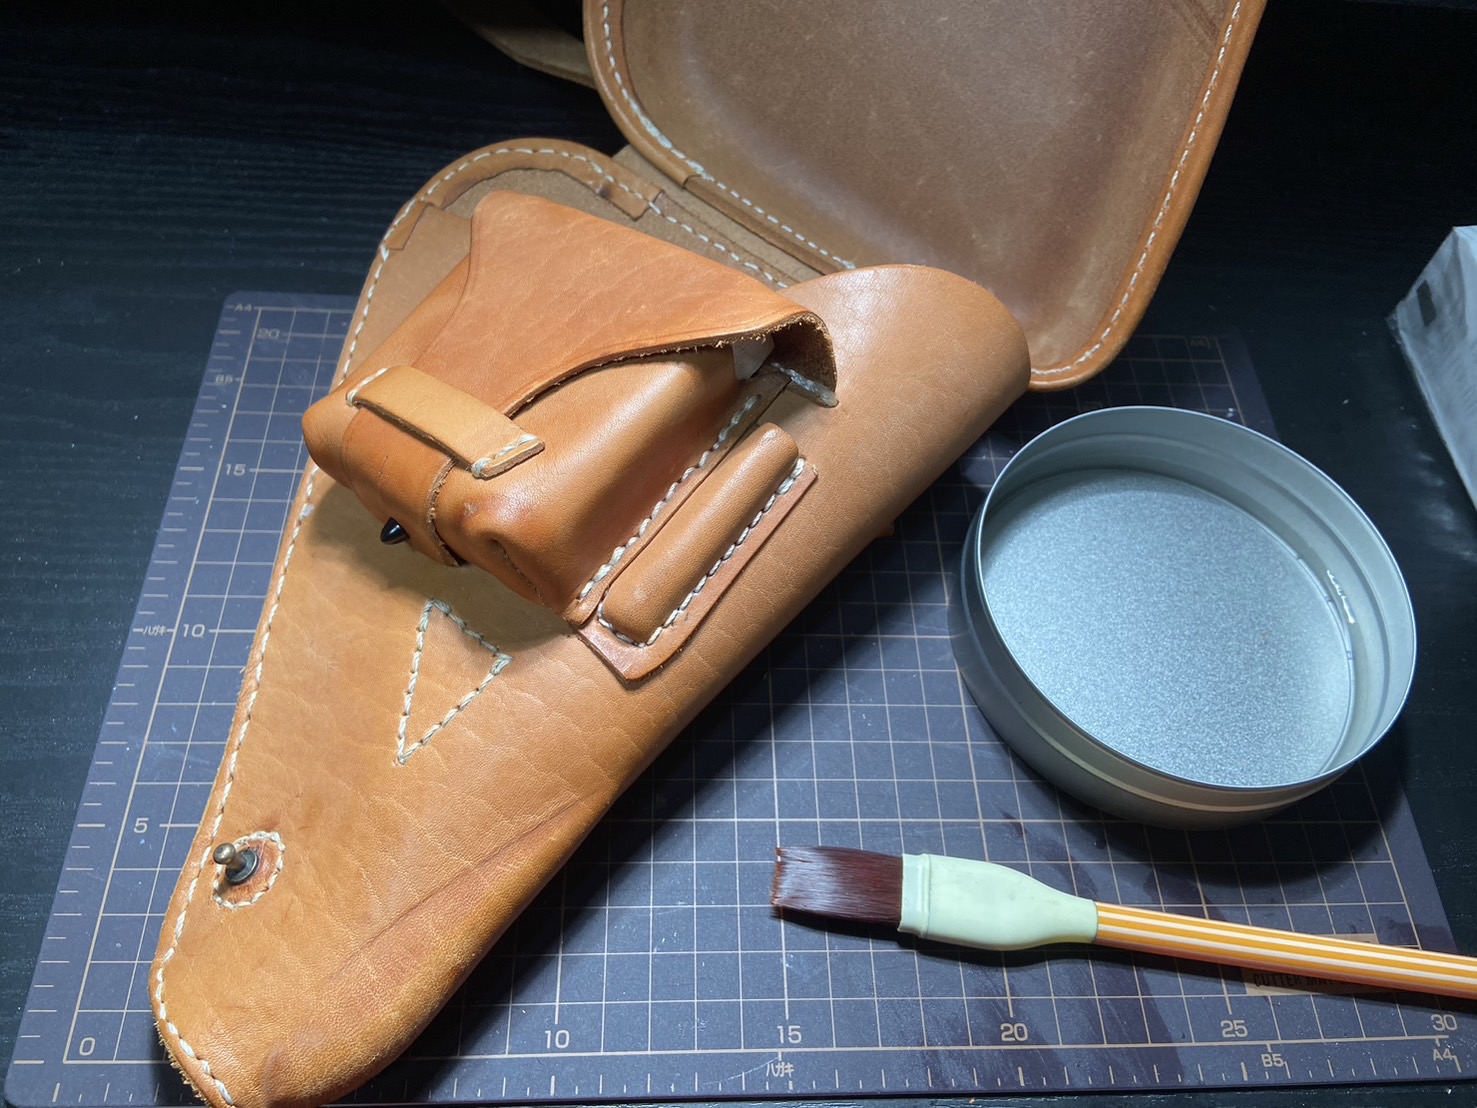
Once the mold is complete, wet the storage pocket and insert the mold. Pay attention to the following two points during this process:
- Do not wet parts other than the storage pocket.
- Ensure the storage pocket is evenly wet.
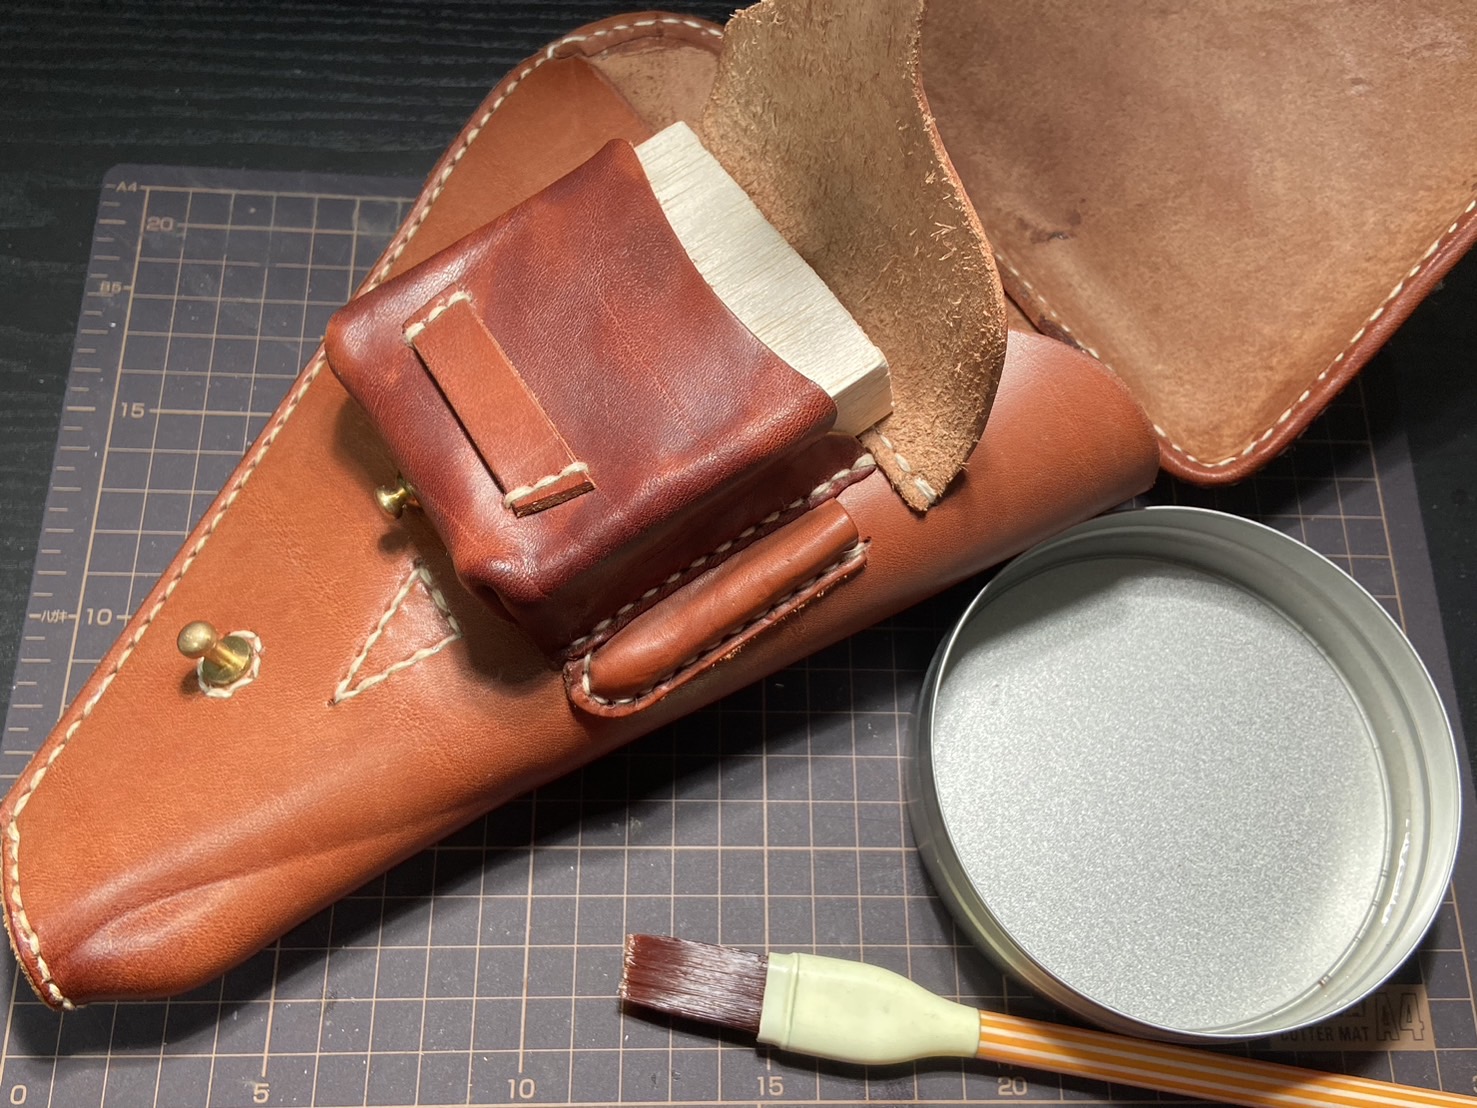
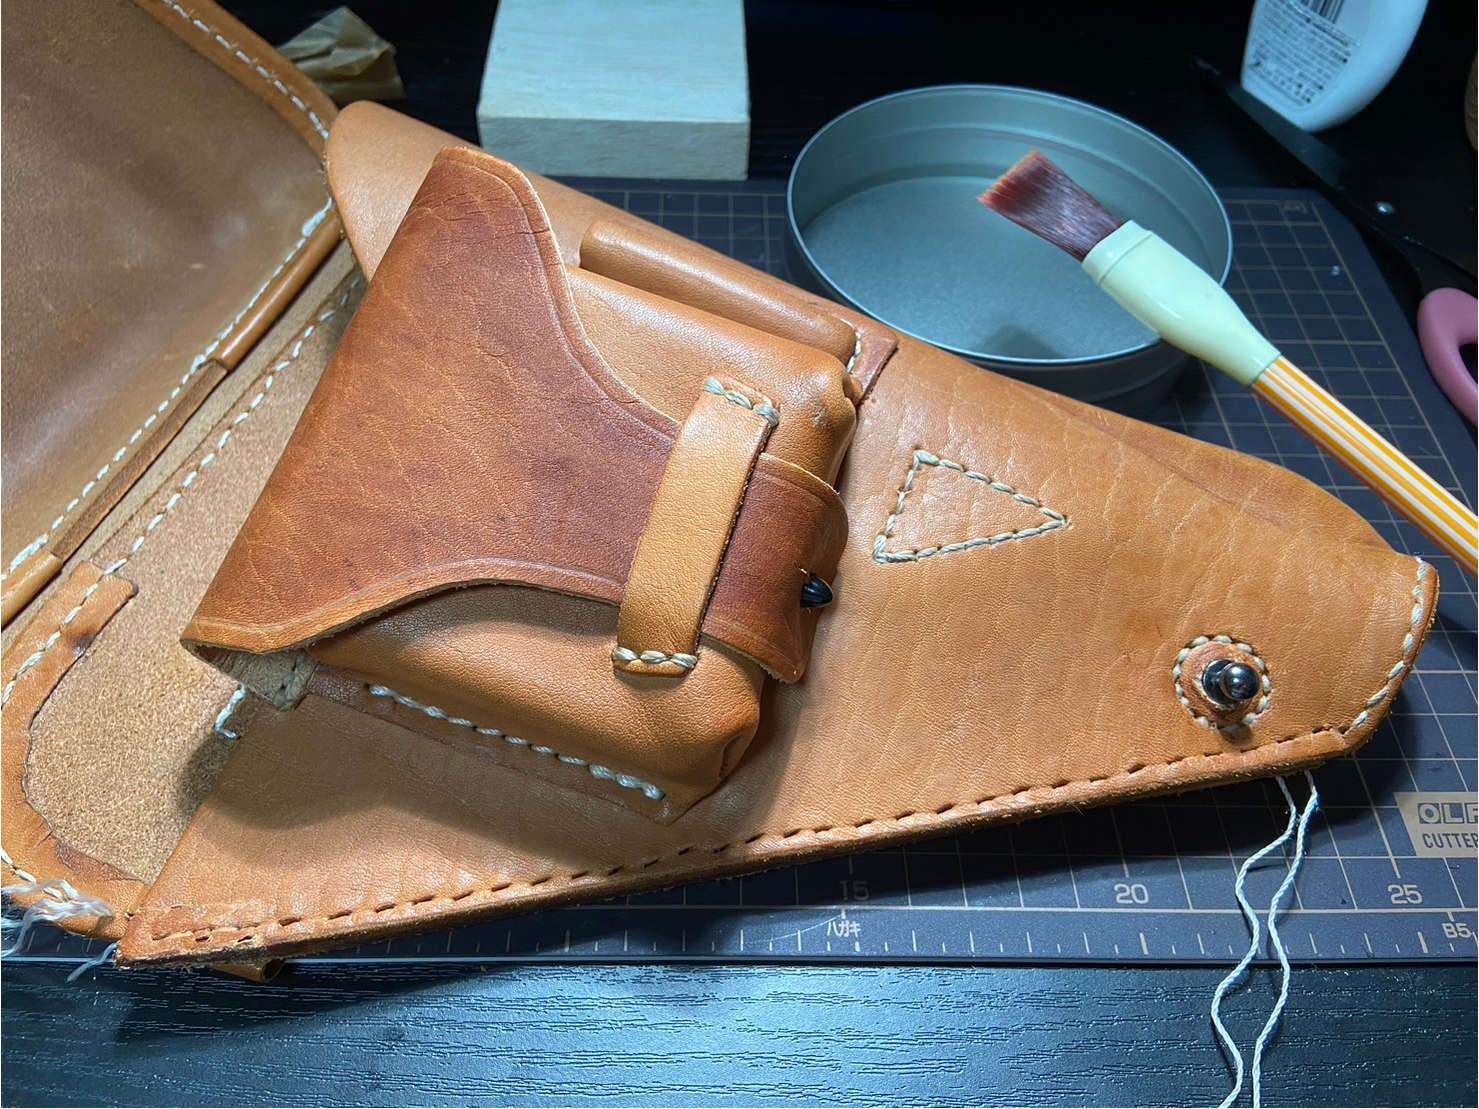
When leather is wet and then dried, the wet areas may change color and appear stained. Therefore, be careful not to wet the main body of the holster and make sure to wet the entire storage compartment to avoid any stains. Leather does not absorb water immediately and may repel it at first, so use a brush to gradually apply the water.
When the leather is sufficiently wet, it becomes soft. Insert the mold, shape it properly, and let it dry naturally overnight.
I considered stretching the lid of the storage pocket in the same way by wetting it, but doing so could damage the paper box or make it difficult to insert and remove the box. Therefore, I decided to remake the lid instead.
Modification of the Late Model
Alright, let’s start the proper leather crafting process from here.
For the late model, the following modifications will be made:
- Remaking the lid of the storage pocket.
- Adding a loop for the cleaning rod, as it was missing.
- Replacing the snap button on the main body’s lid. Previously, during airsoft gameplay, the snap button came off and got lost, and after attaching a makeshift one, the lid started opening easily.
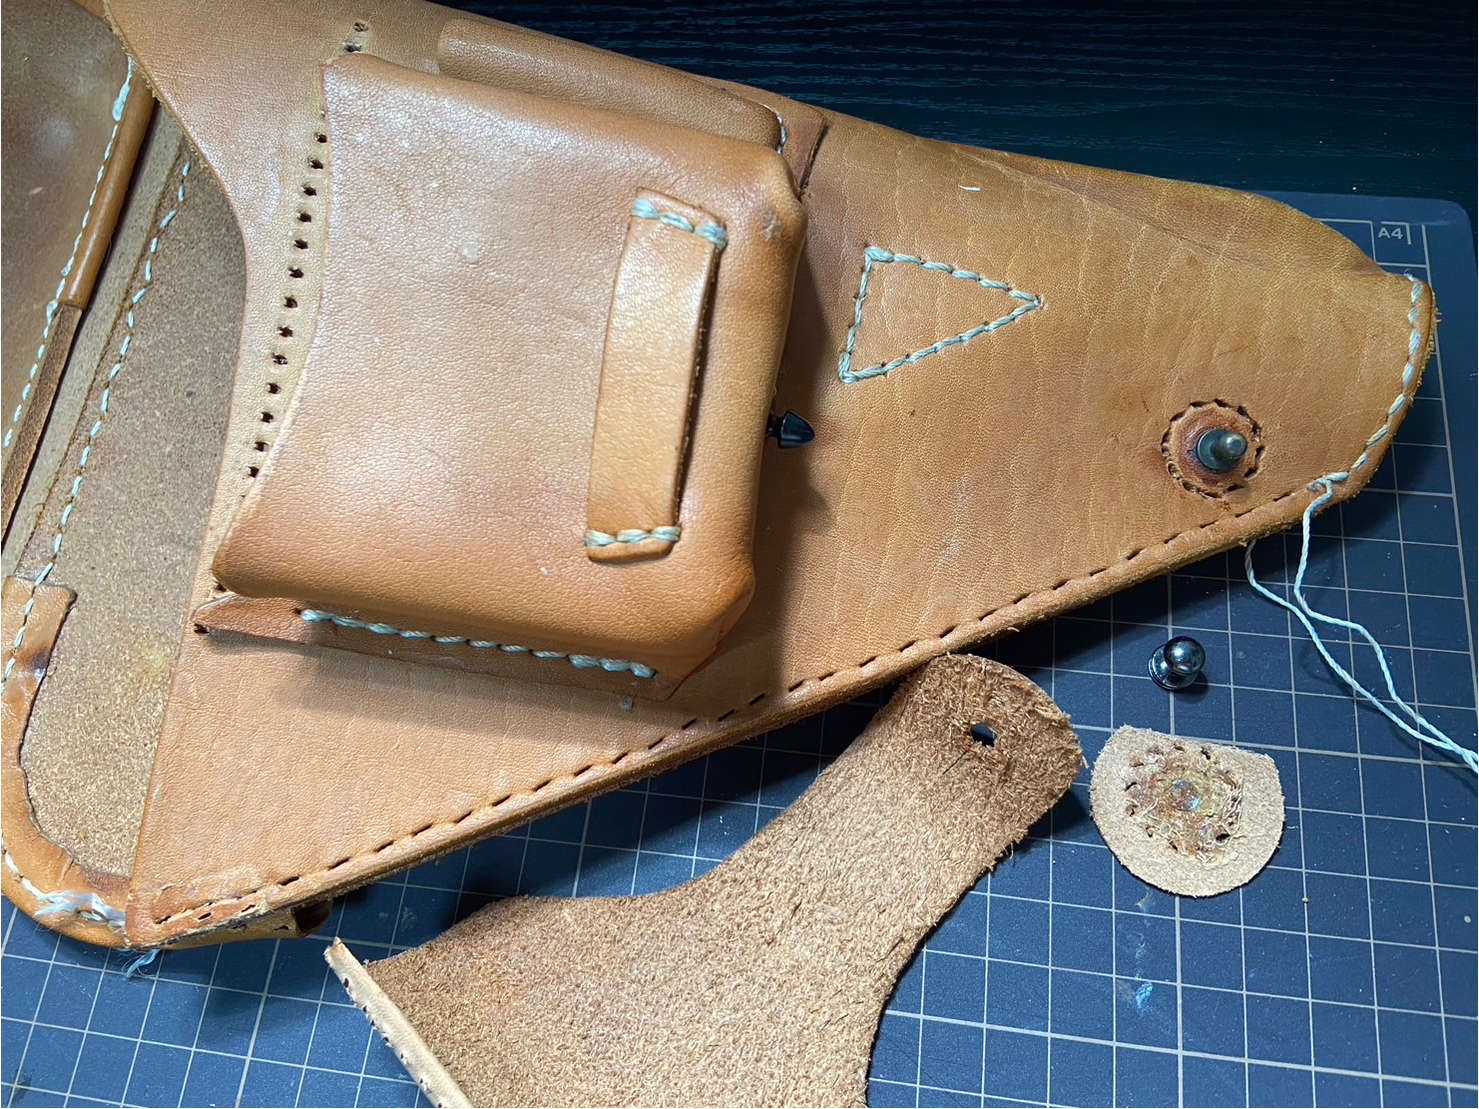
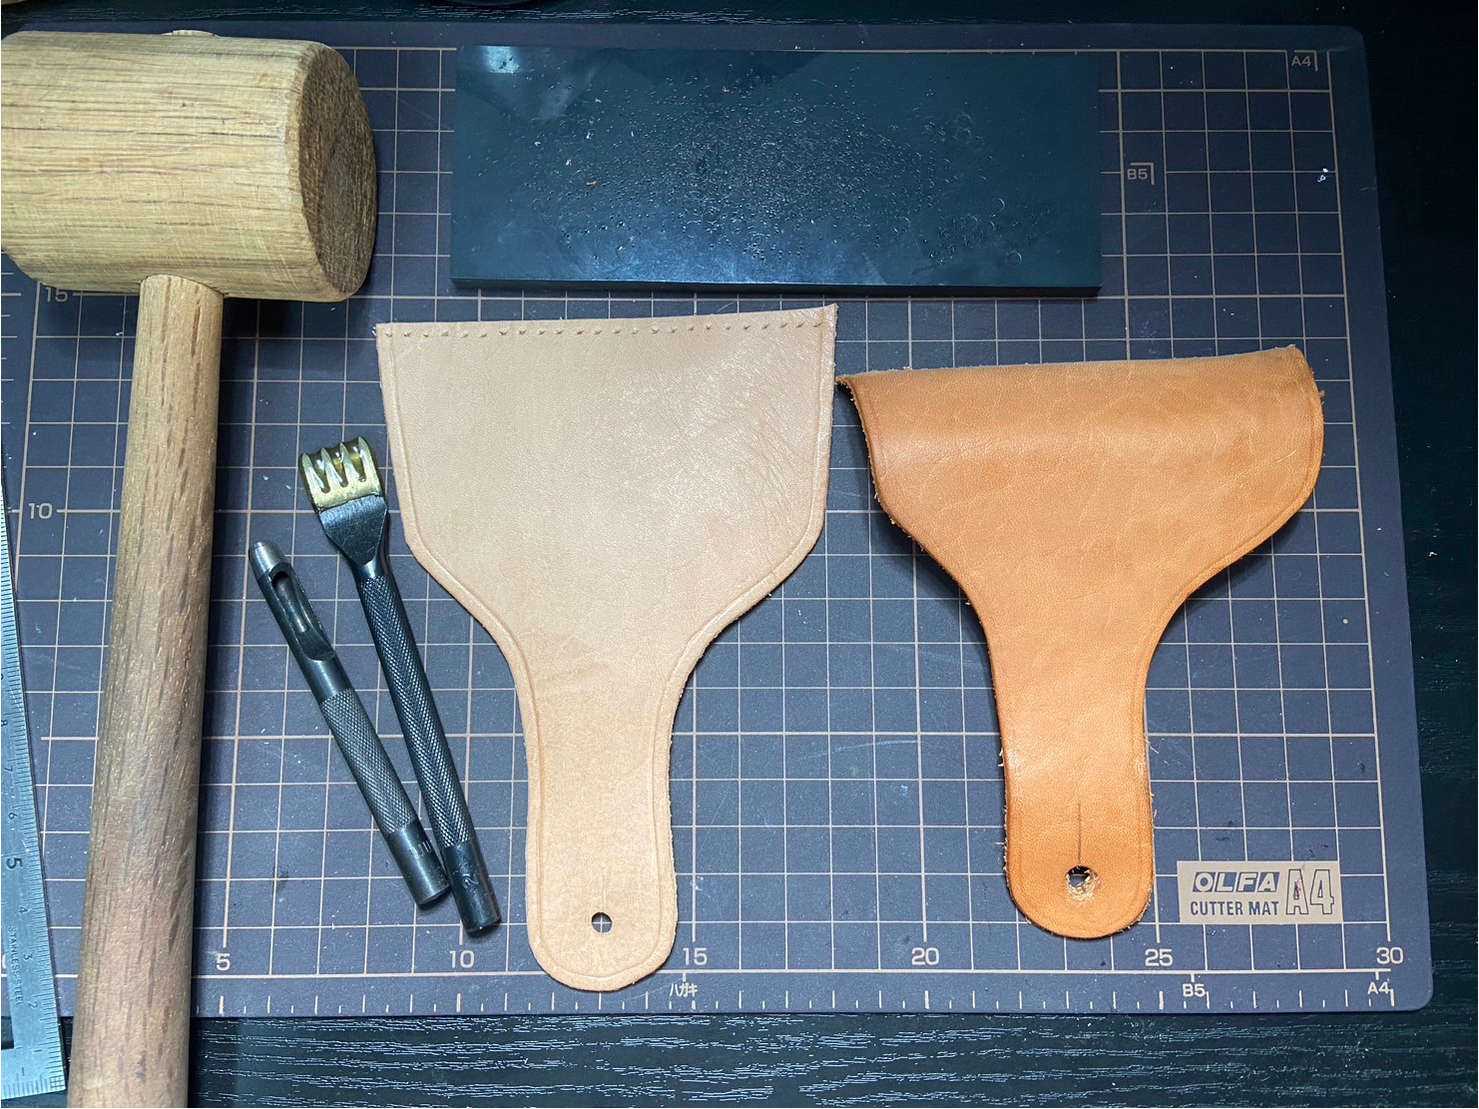
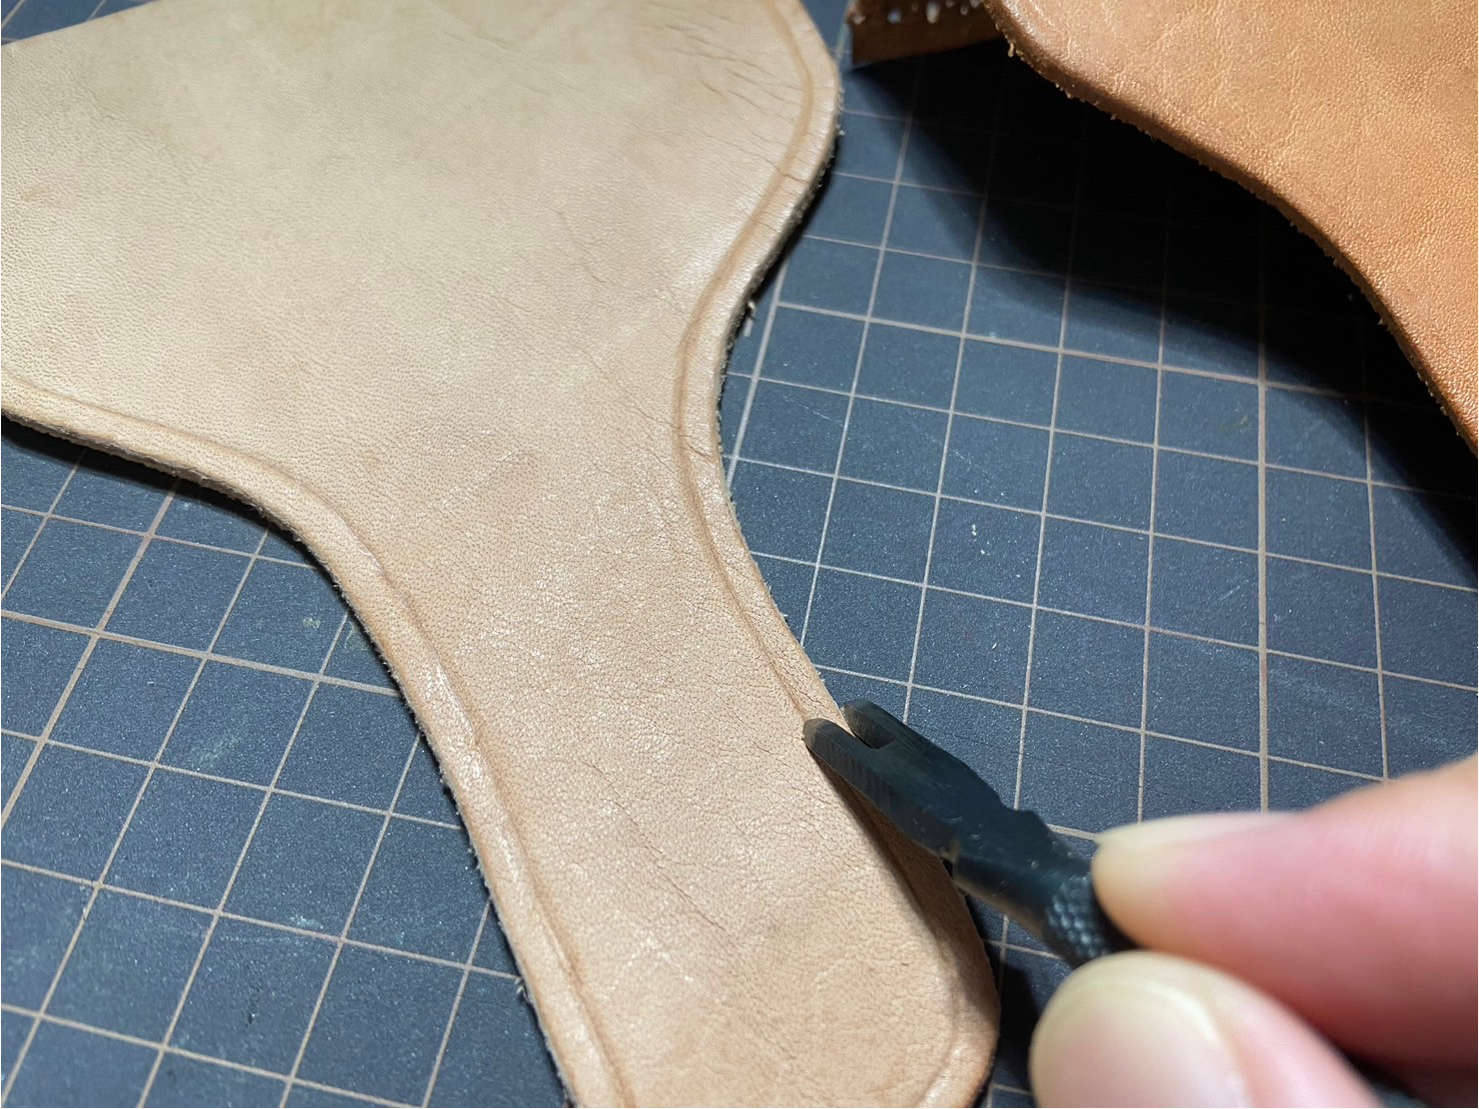
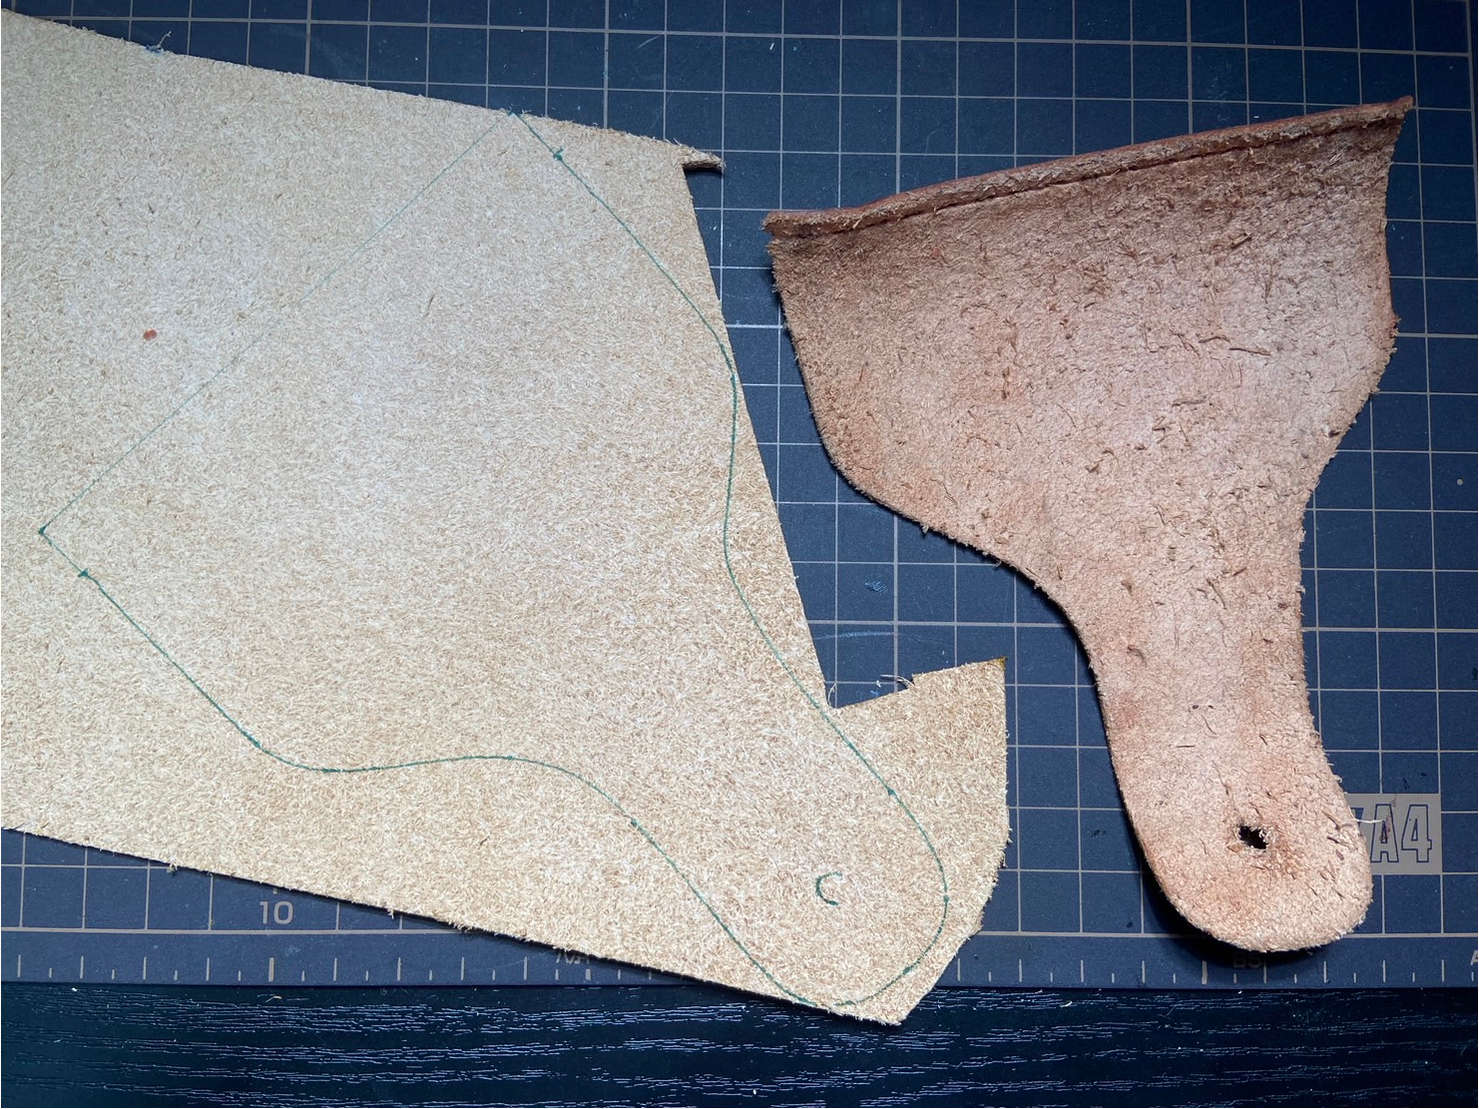
First, remove the lid of the storage pocket, and then proceed to open the main body by cutting the threads. There’s a tool called a seam ripper, which is handy for this task. It allows you to dismantle without accidentally cutting leather or fabric, so I recommend using it.
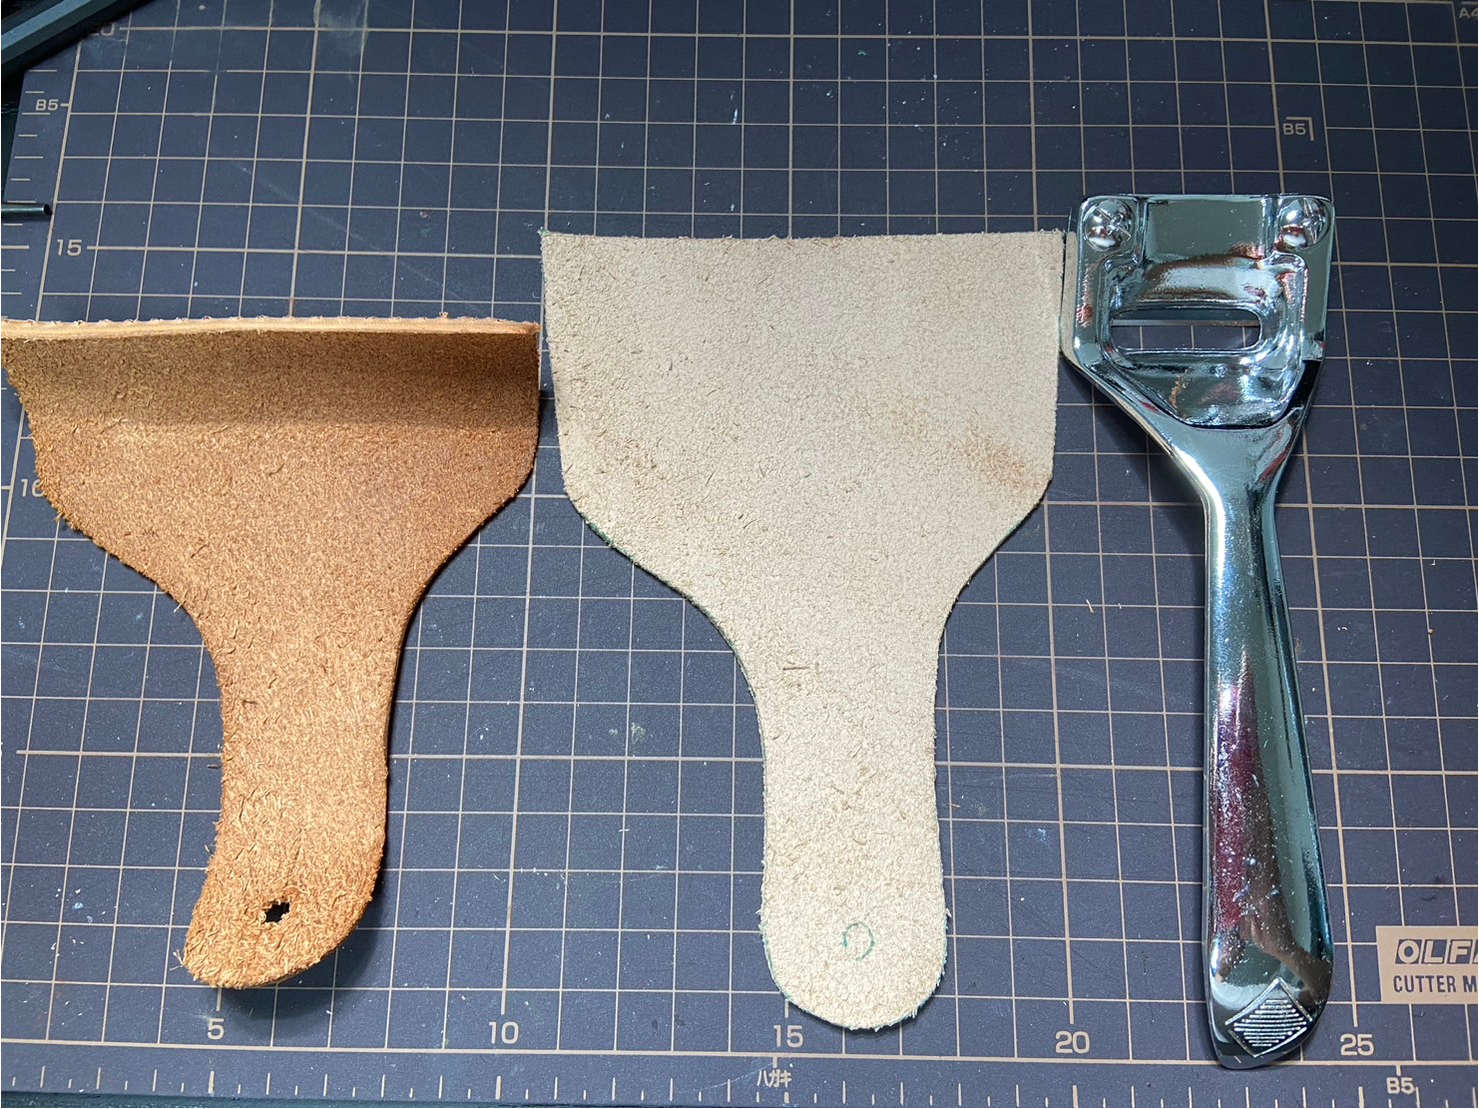
I cut out the lid from a random scrap I had in stock. It was a bit thick, so I thinned it out using a leather skiving tool. If you purchase leather of the appropriate thickness, you won’t need to go through this hassle.
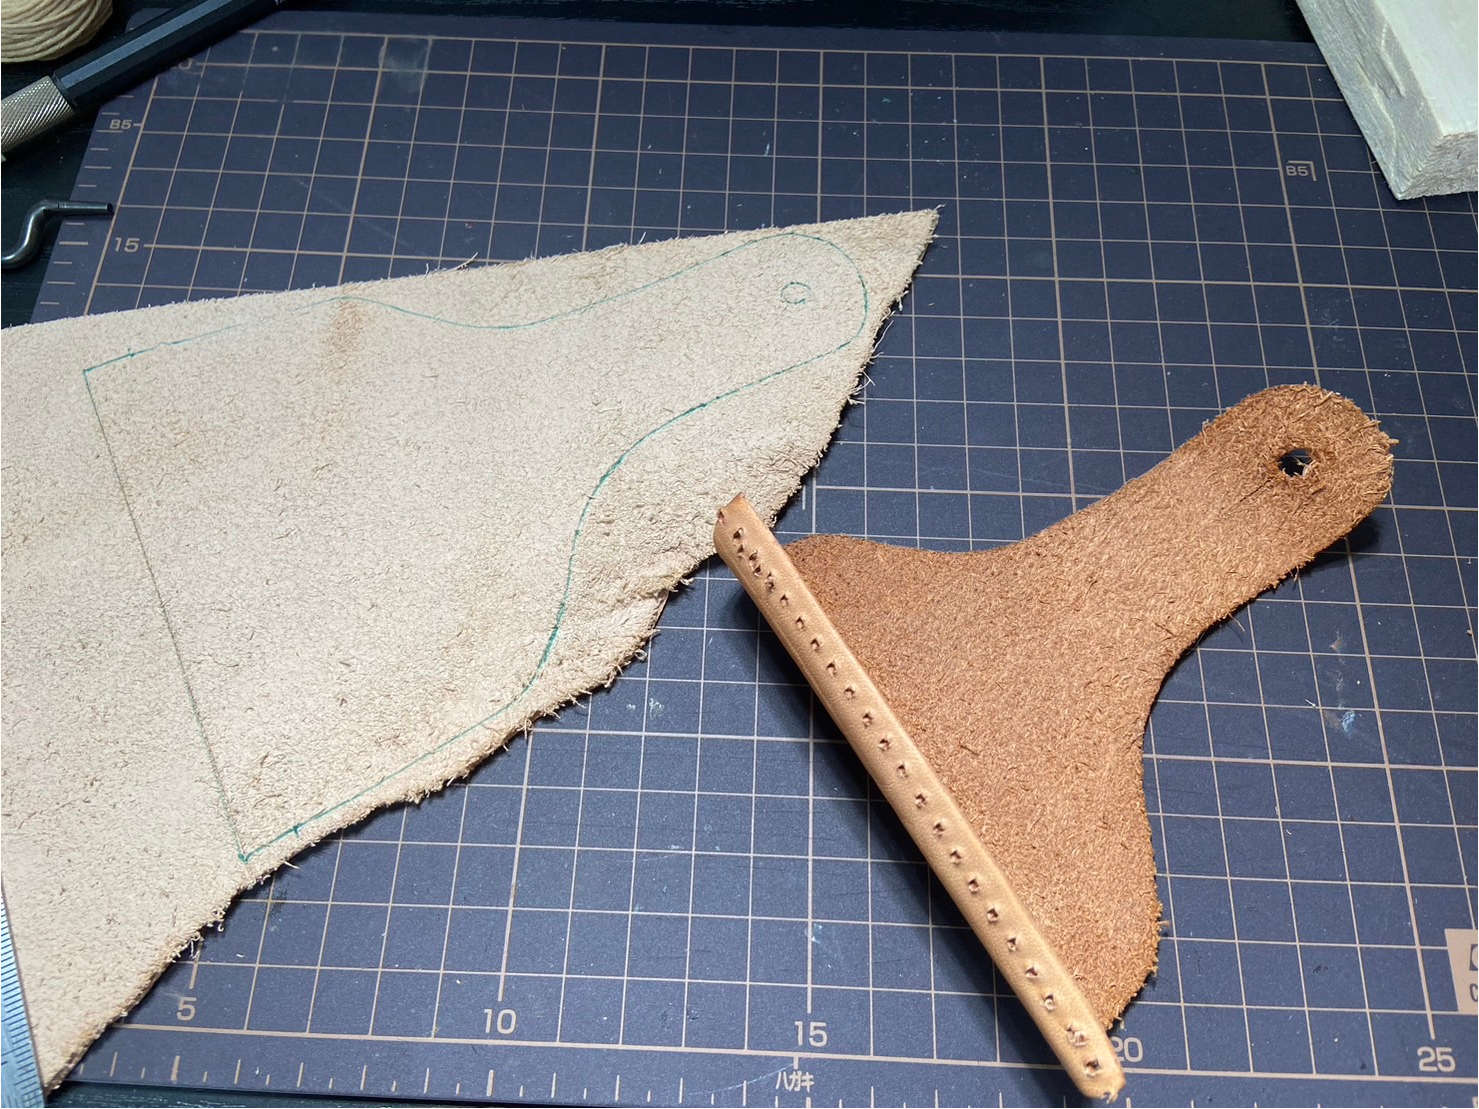

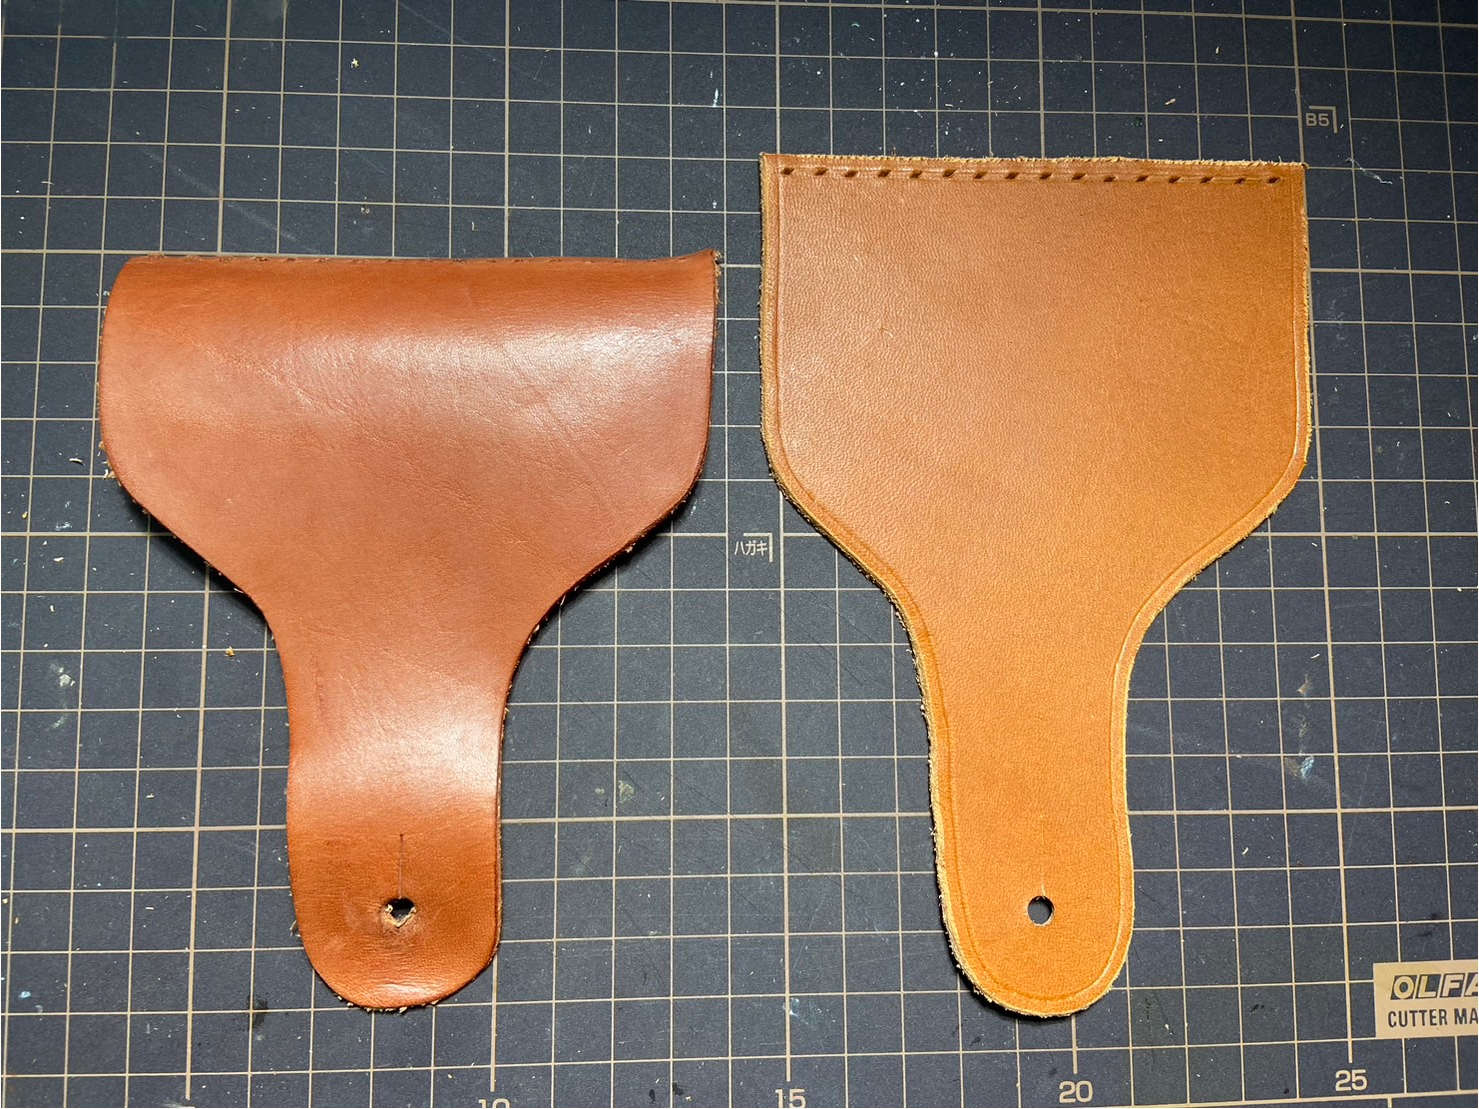
I use a tool called a diamond punch to make holes for threading the needle. The original parts had lines at regular intervals along the edge. These can be easily replicated using a diamond punch with two blades.
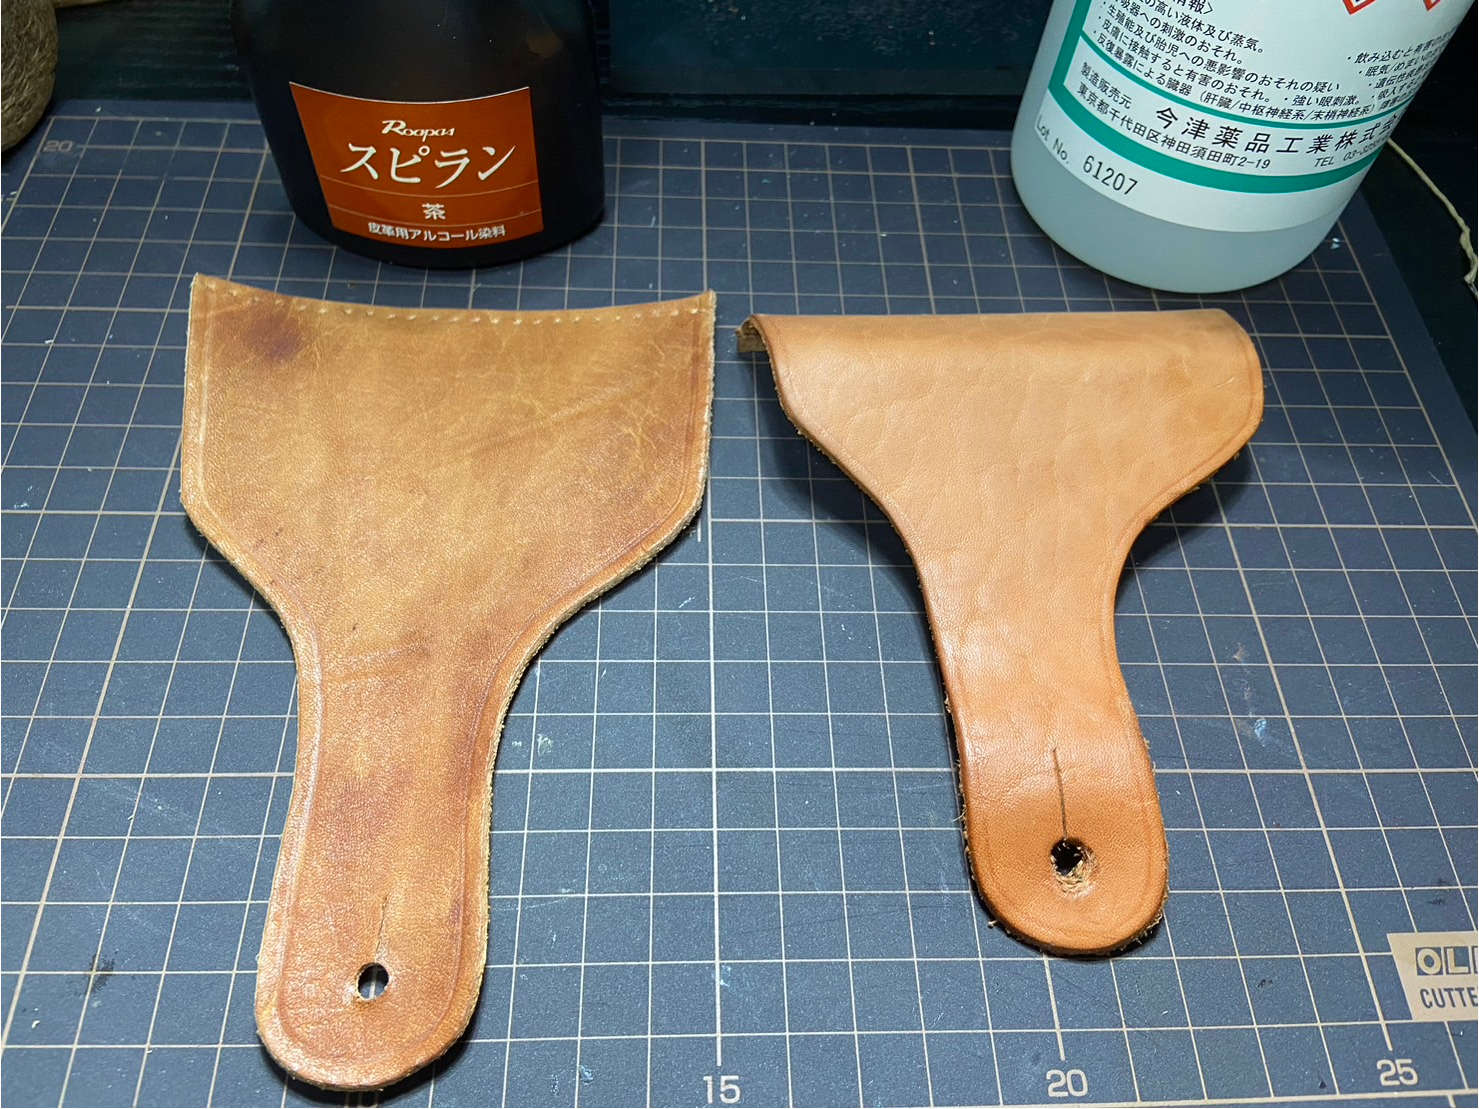
I dye the leather. Achieving an exact match in color is difficult, so I settle for something close. Since the color can change with exposure to sunlight, I sometimes hang it on the balcony to dry.
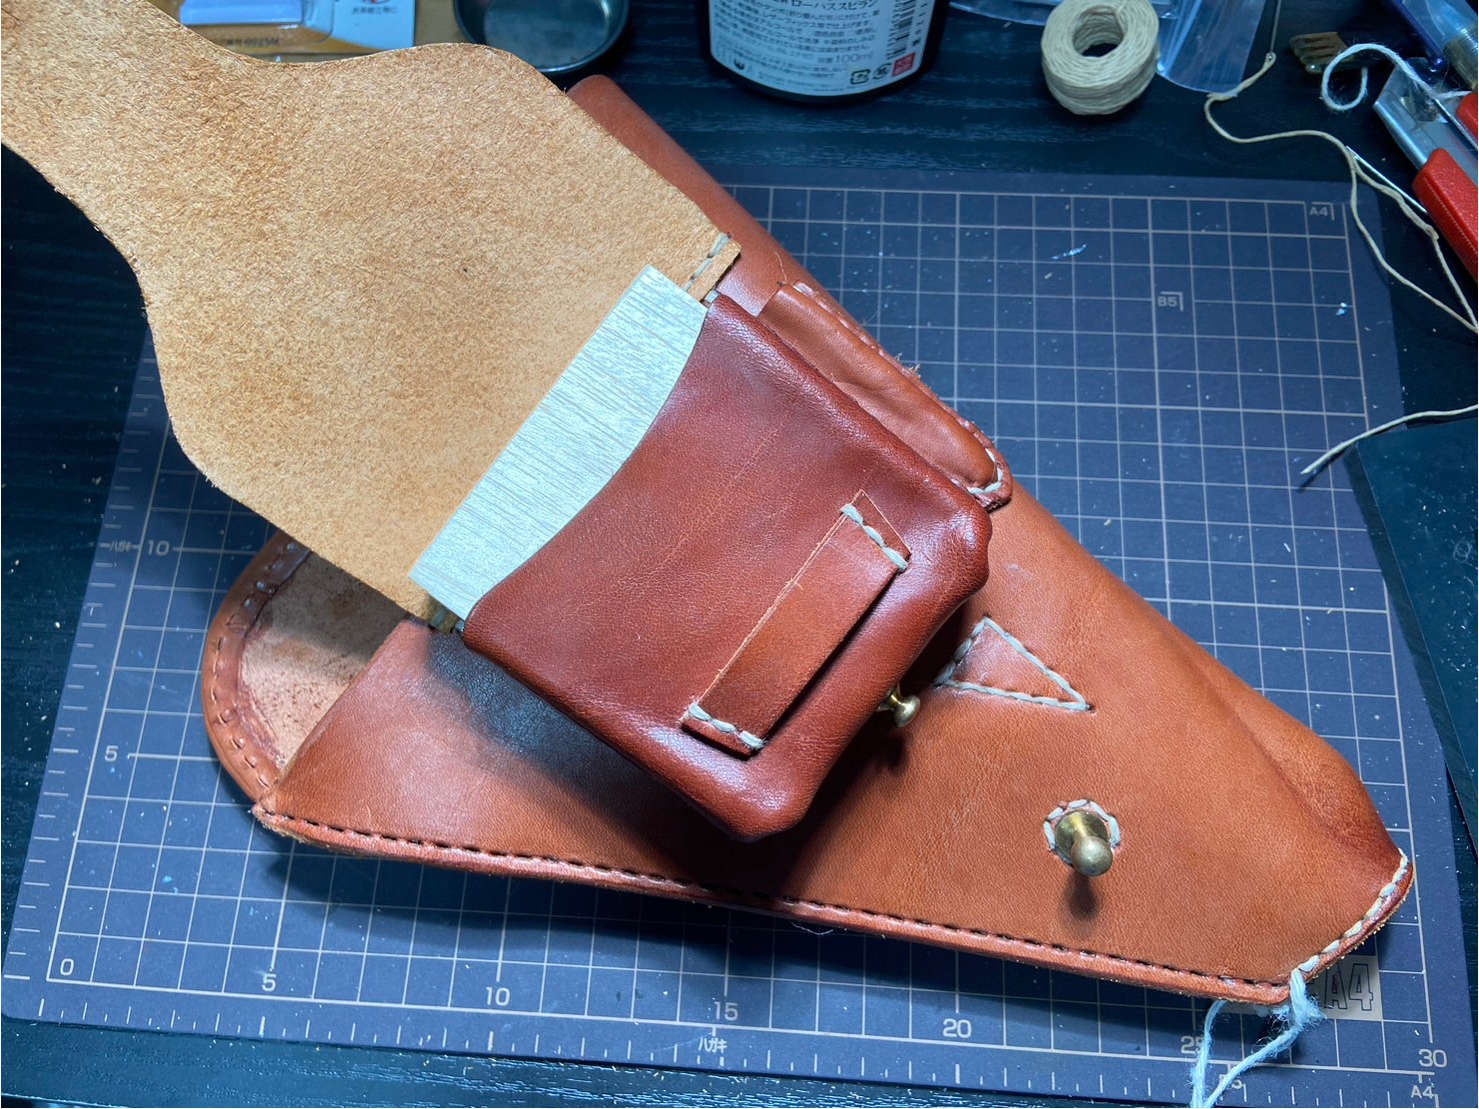
After sewing on the lid, I wet it with water to soften it and then close it to adjust it.
After this, I re-sewed the main body and also added loops for the cleaning rod, but I forgot to take photos. I documented the procedure with the early model, so please refer to that.
Modification of the Early Model
Next, I’ll proceed with the modifications on the early model made by HIKISHOP. The modifications include:
- Remaking the lid of the storage pocket.
- Redoing the loop for the cleaning rod as the hole was too small for the rod to fit through.
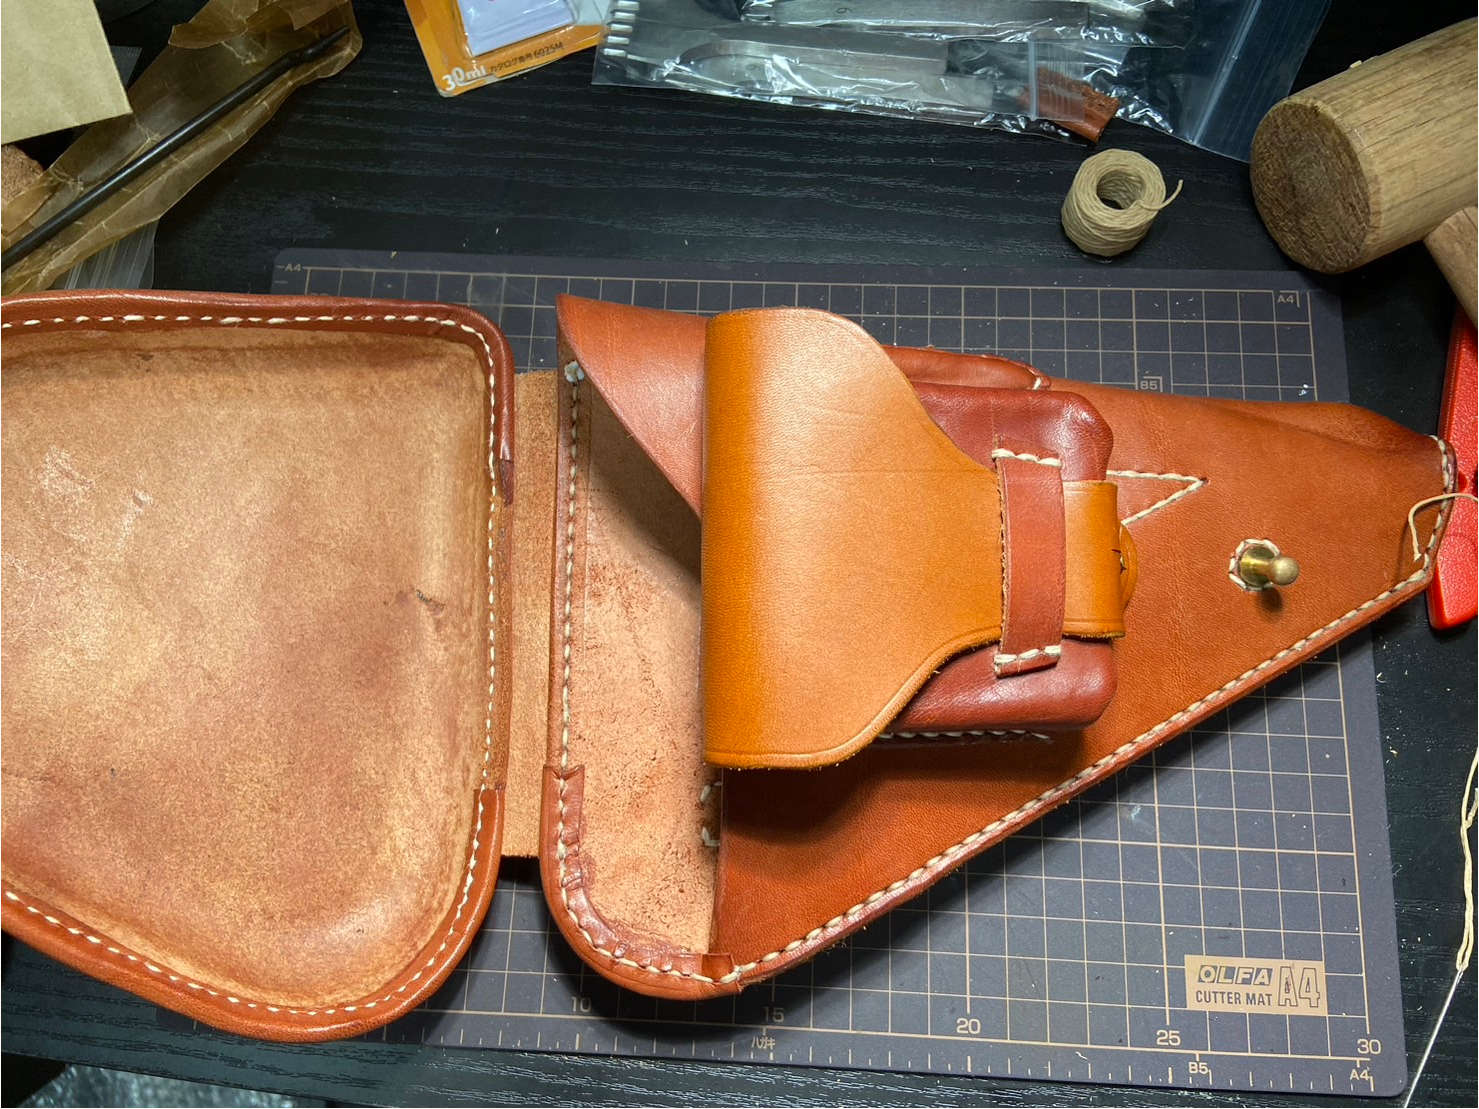
Let’s start from the following condition.
I’ll cut out and process the lid of the storage pocket in the same way as the late model. Since I had a scrap of leather that was already dyed in a color similar to the main body, I didn’t dye it this time.
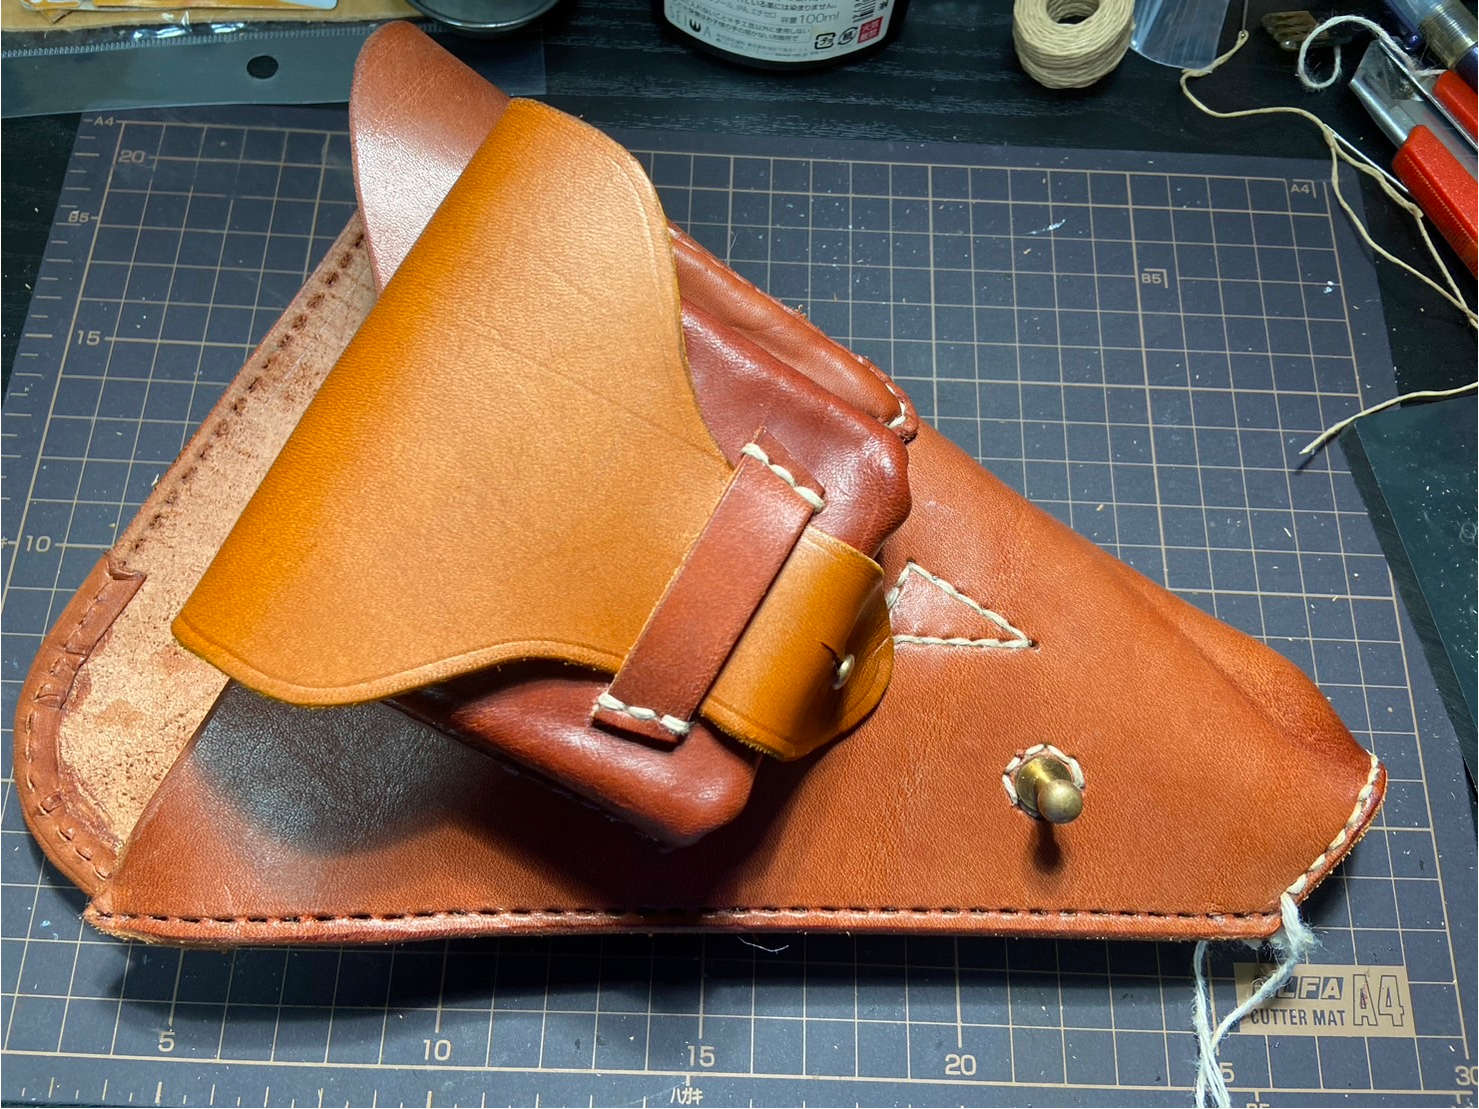
After sewing the lid in place, I wet it with water to shape it properly.
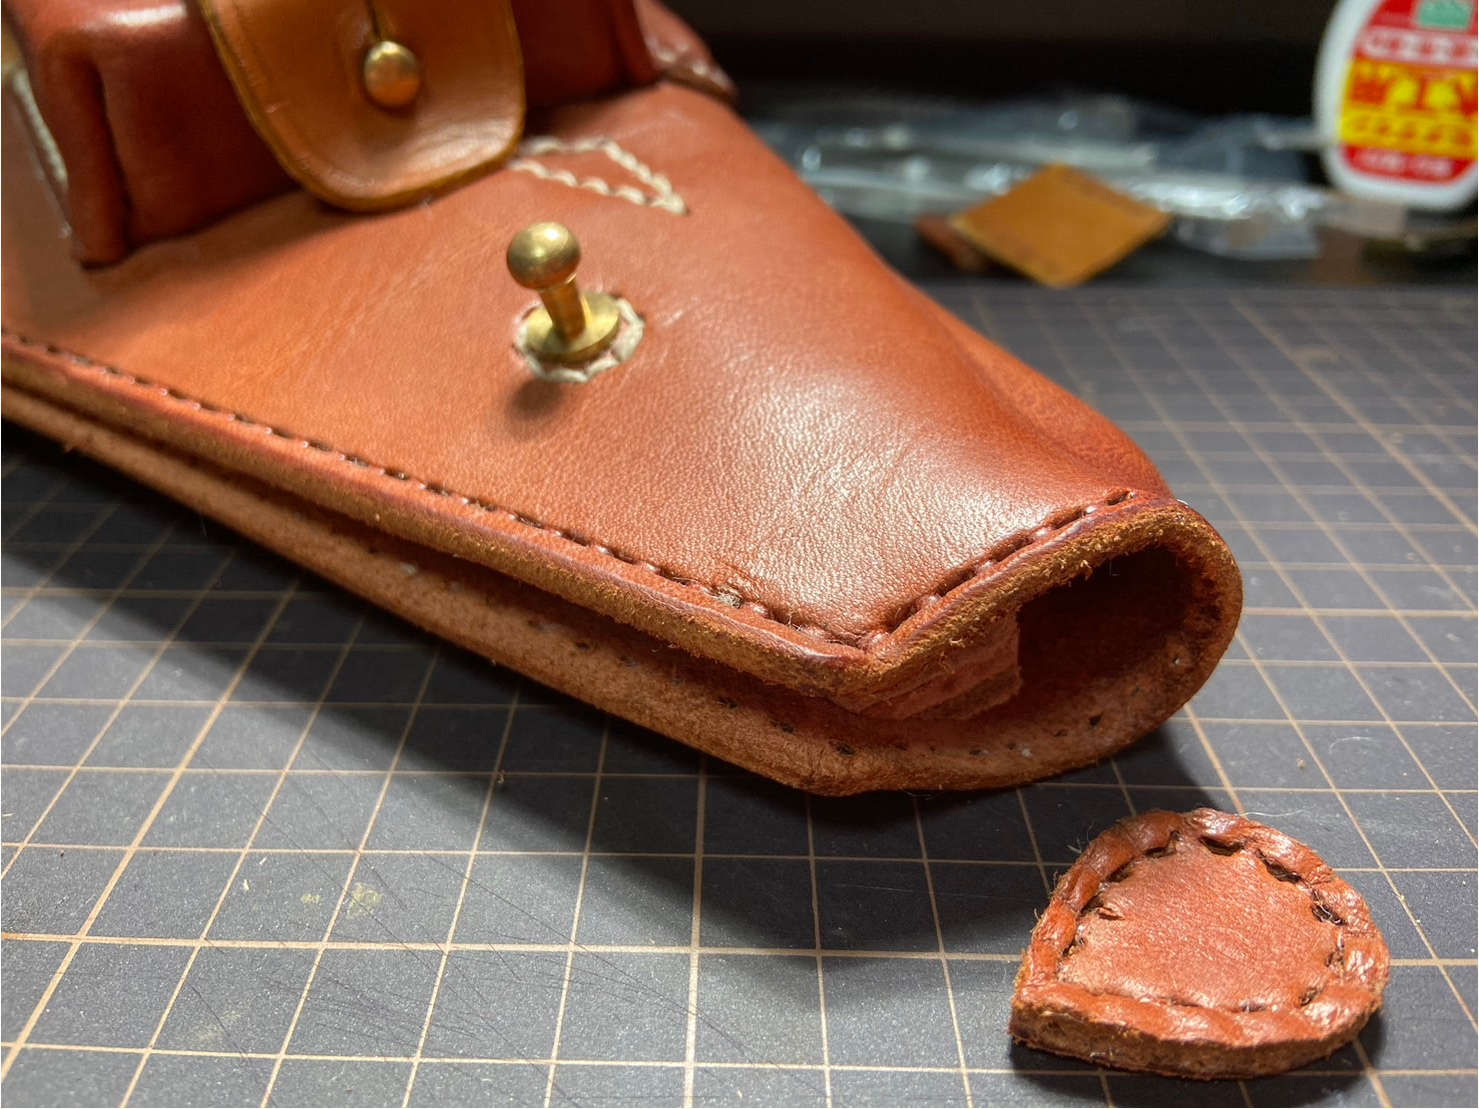
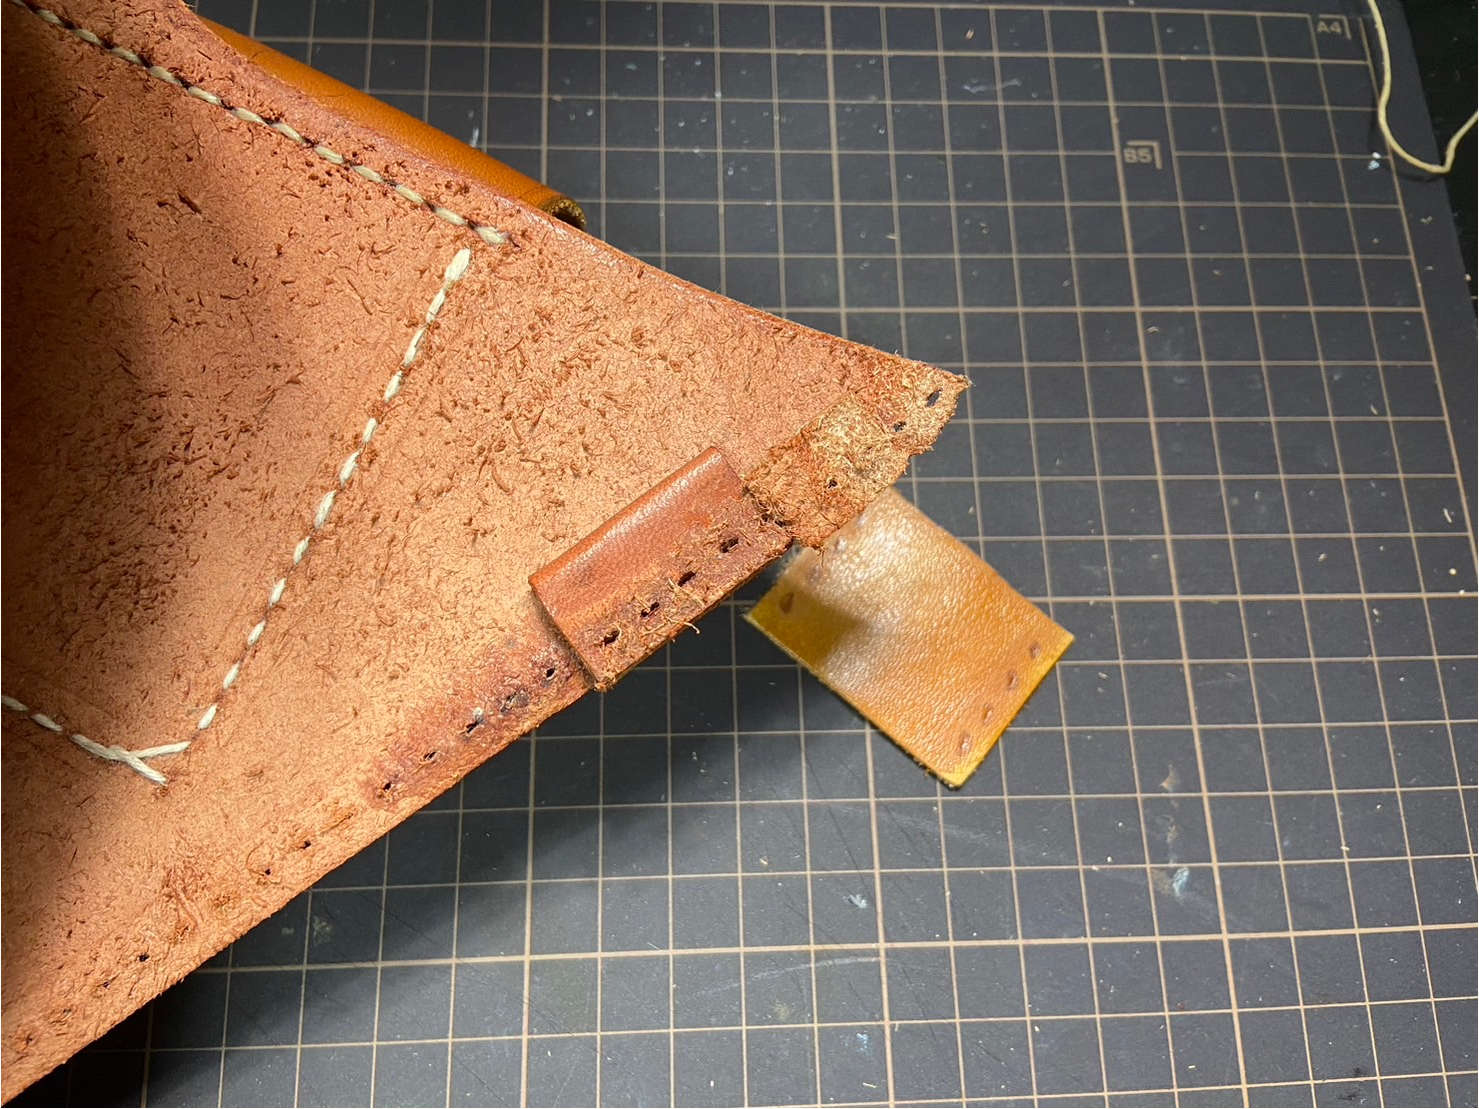
I’ll start resewing the main body from the bottom after cutting the thread.
The loop for the cleaning rod originally attached was small, and due to excess adhesive, the hole for the loop was blocked by the glue. This prevented the cleaning rod from being inserted.
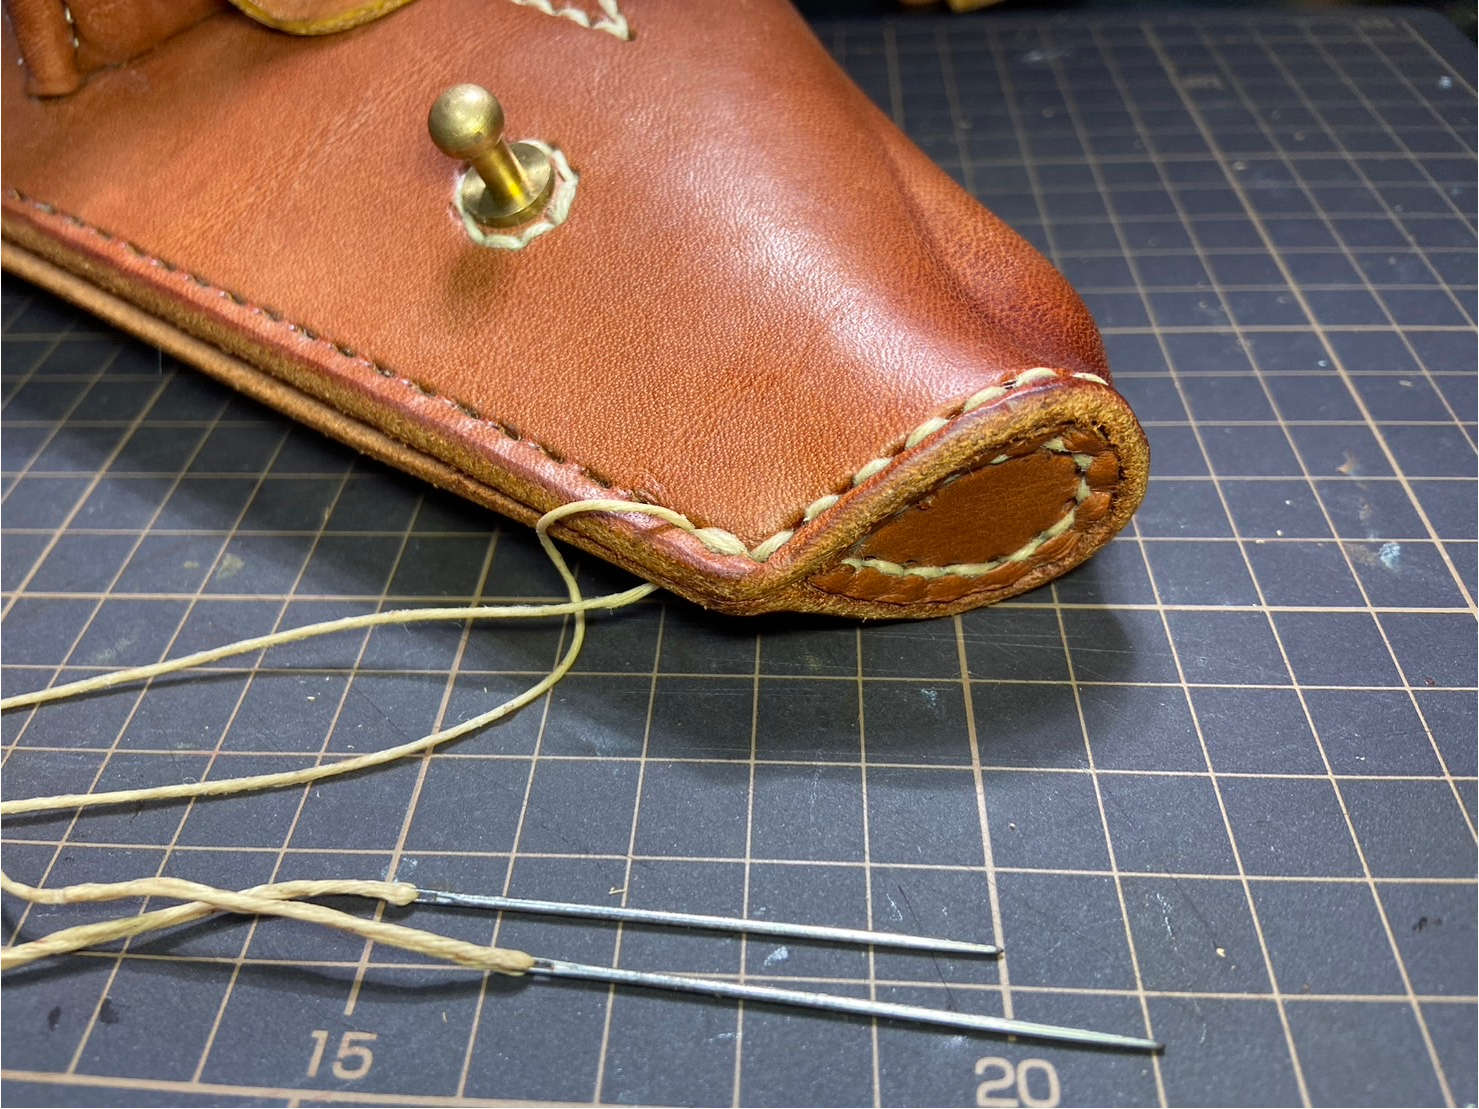
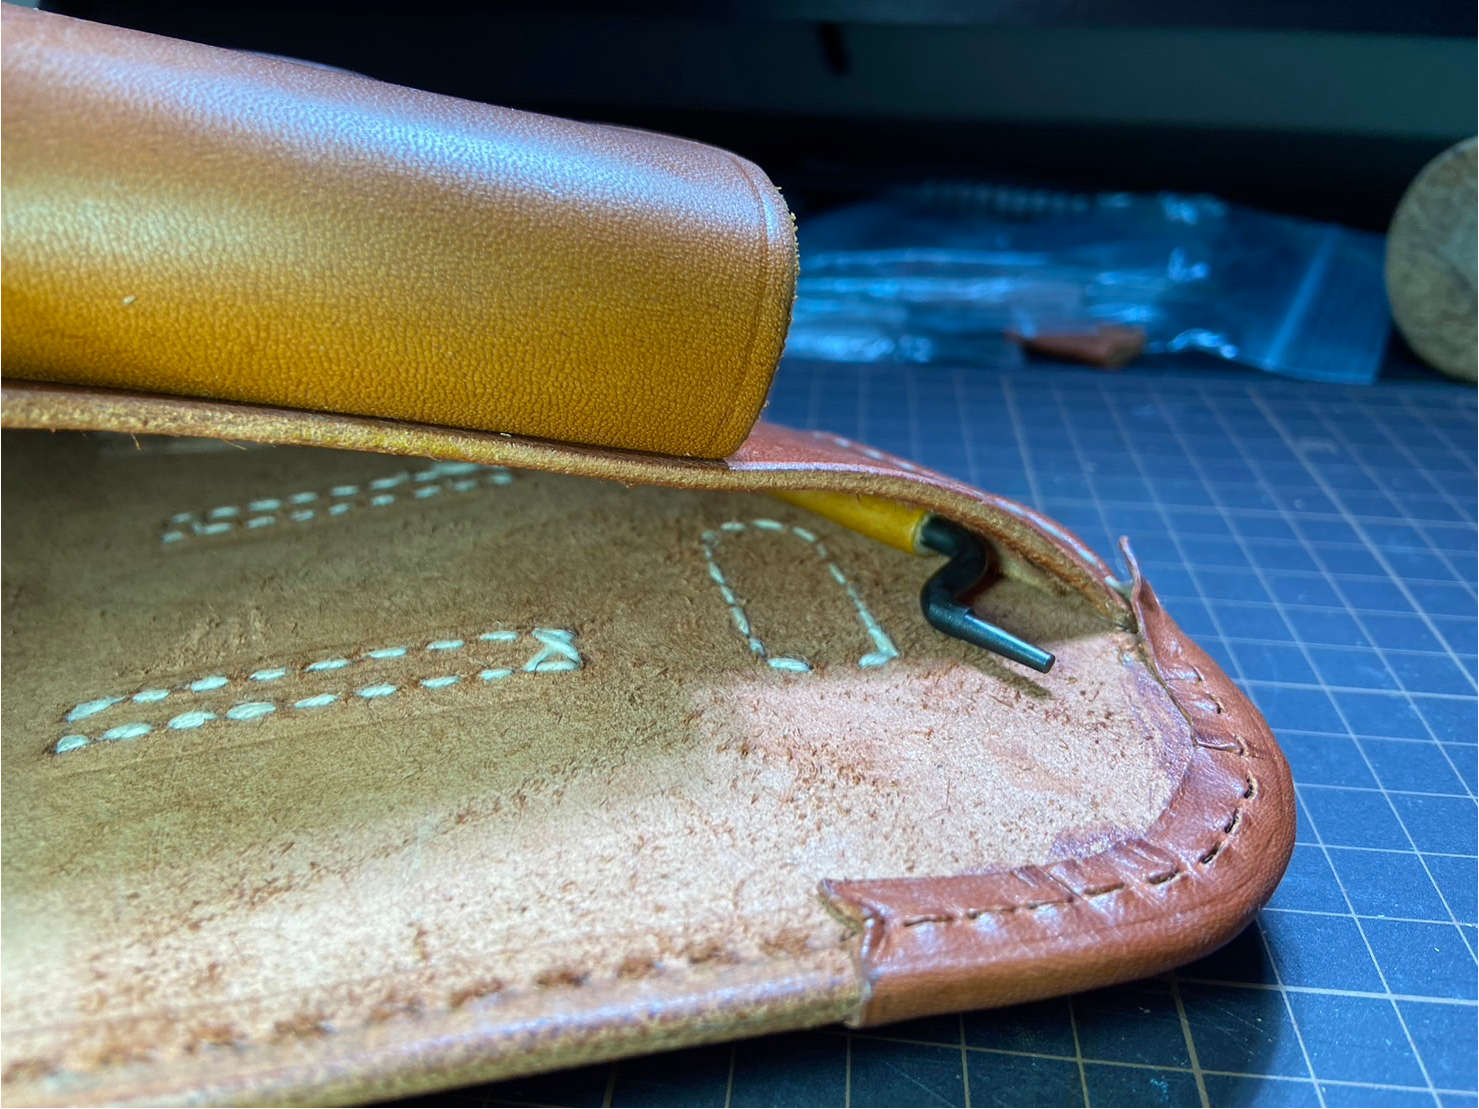
I re-sewed the main body while sandwiching the newly cut leather. Now the cleaning rod can be inserted properly.
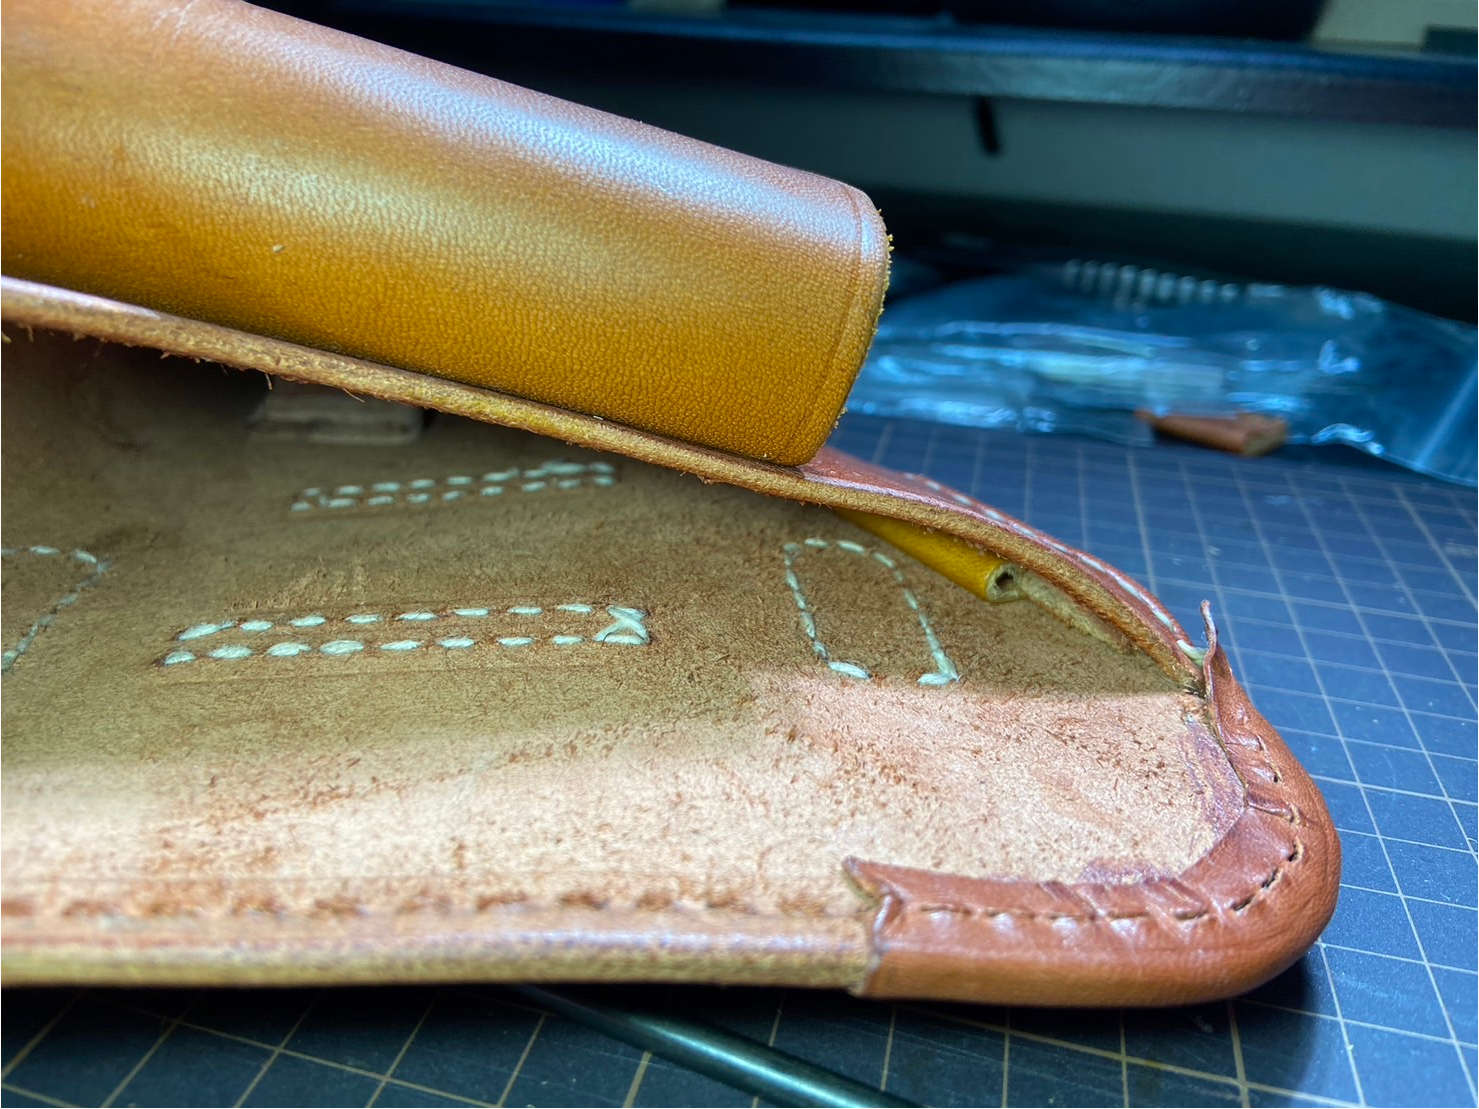
I decided to redo the stitching on the main body by removing the lid as well to maintain consistency in the texture of the thread throughout.
In leather crafting, it’s common practice to first punch holes and then sew. This method makes it less prone to mistakes compared to regular sewing, in my opinion. Especially when redoing the stitching after disassembly, since the original holes can be reused, it doesn’t take much effort.
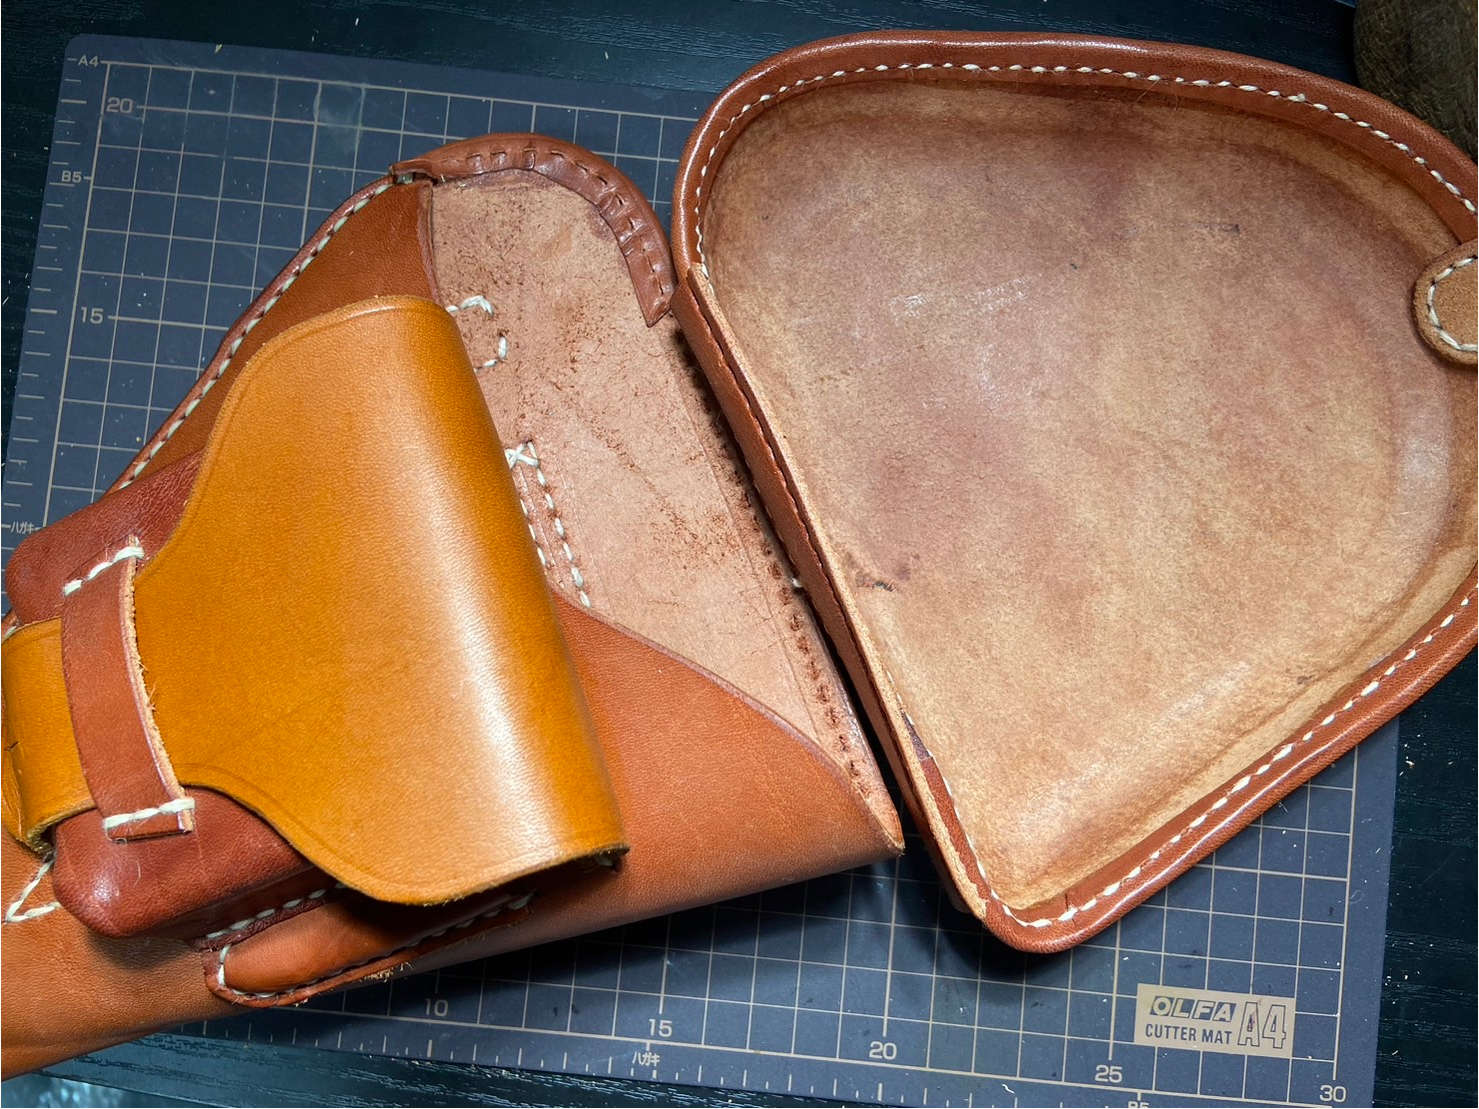
Completion
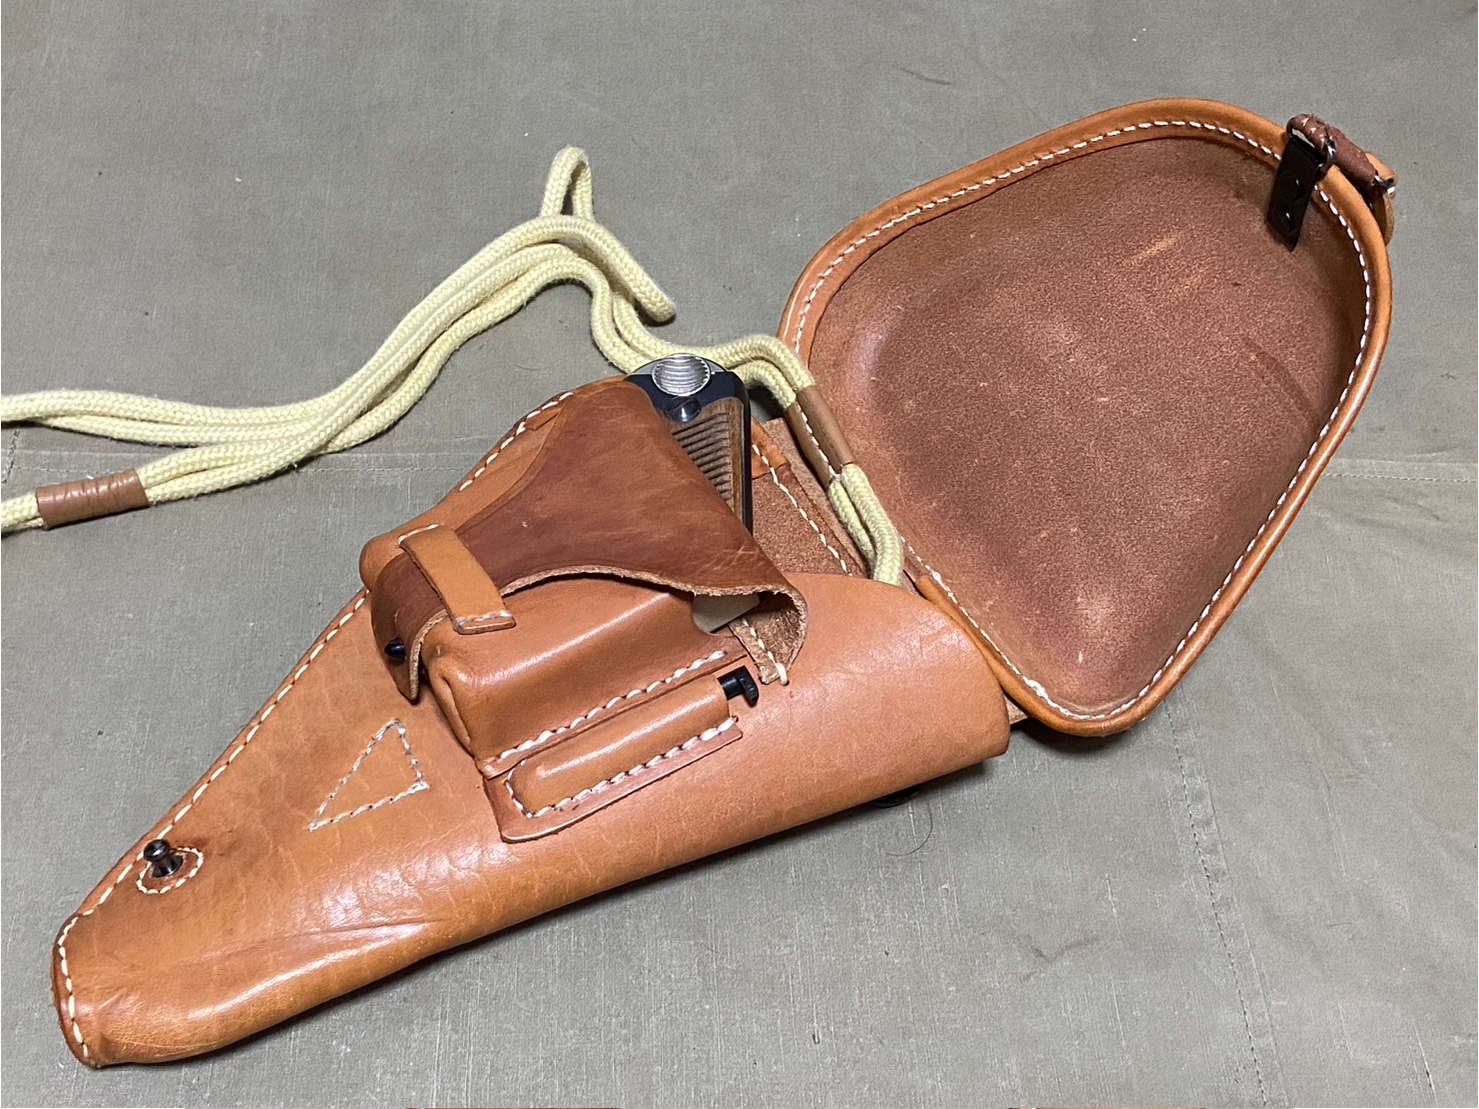
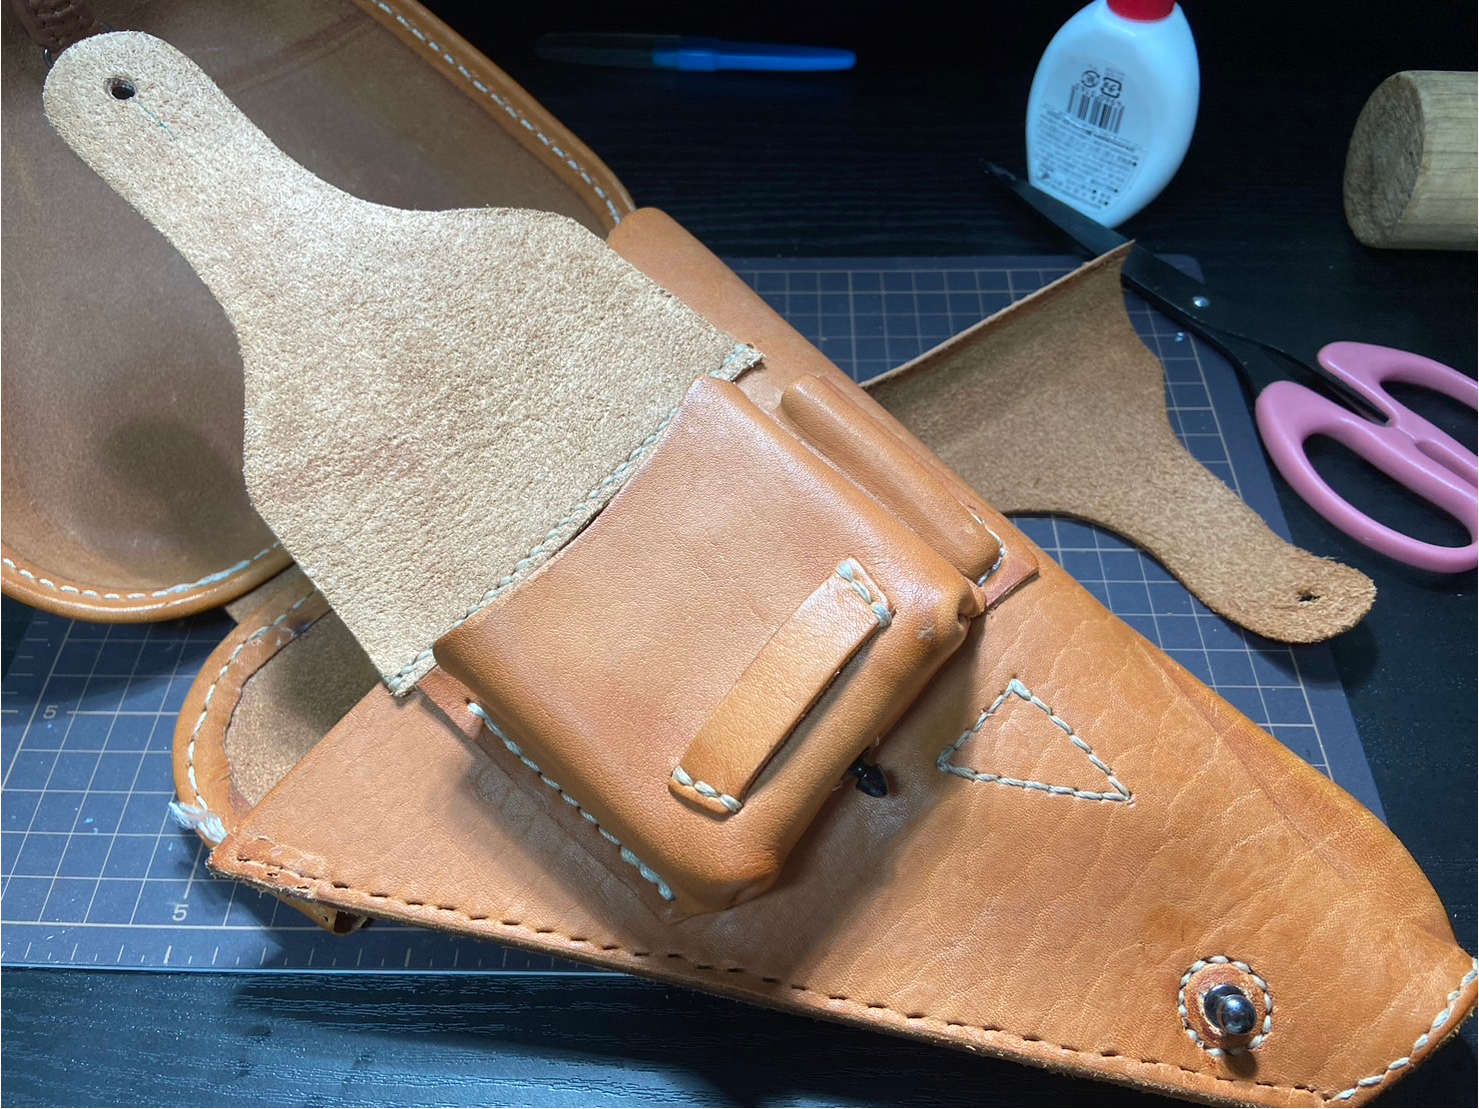
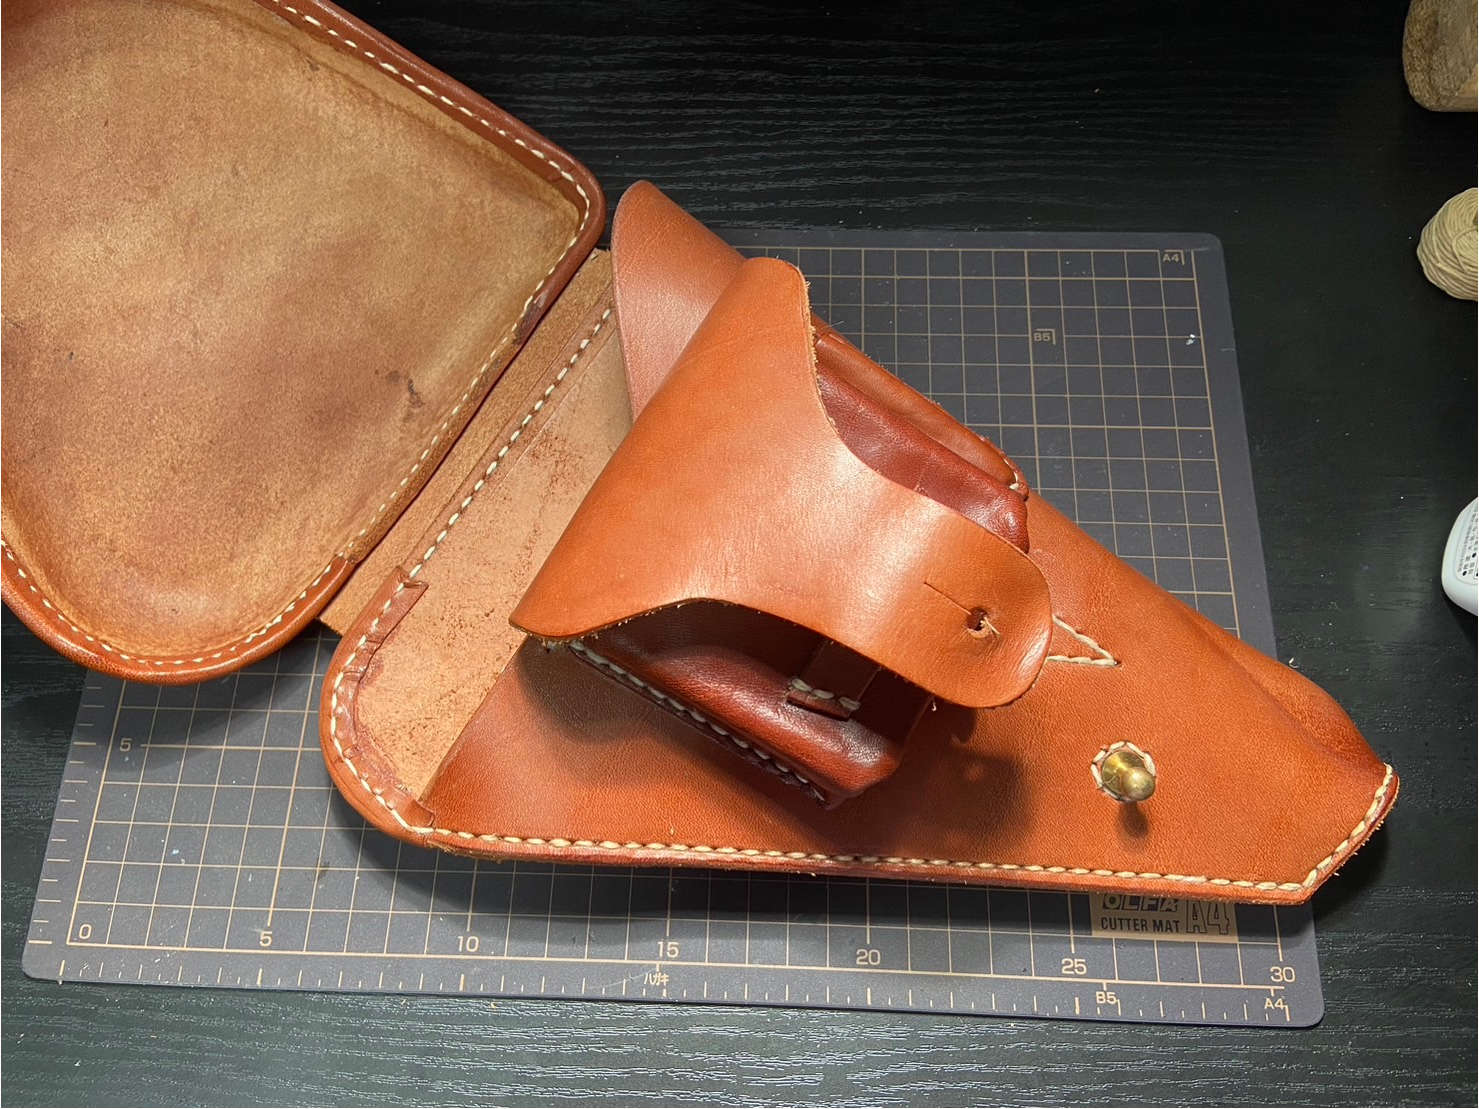
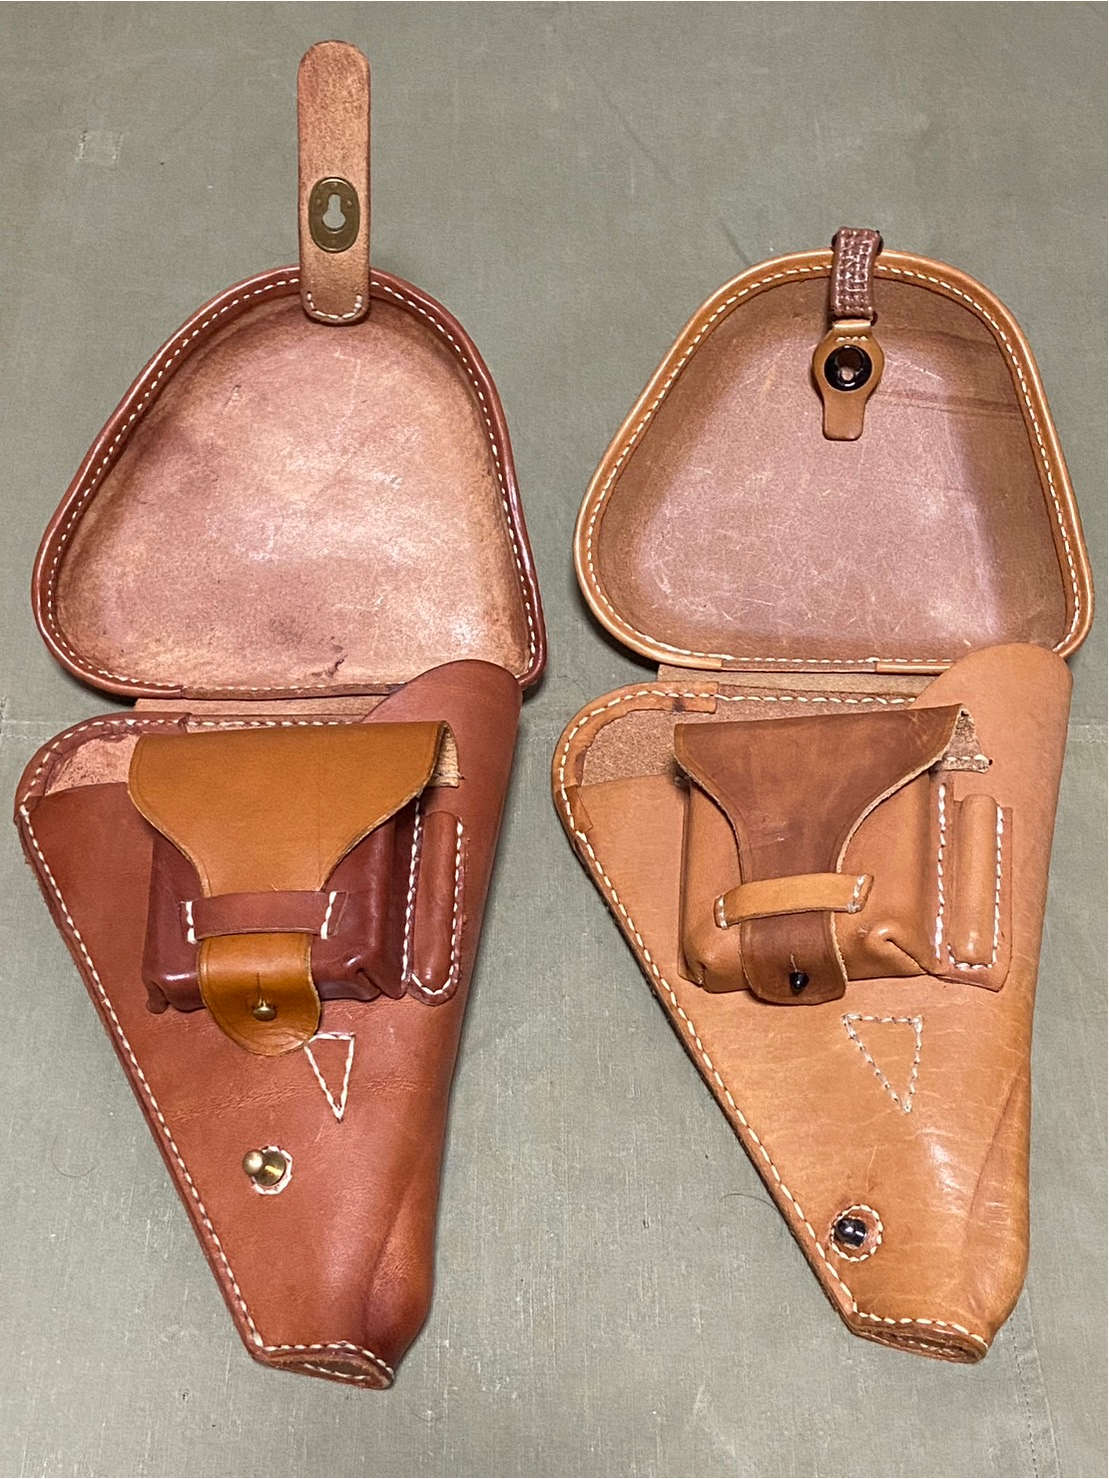
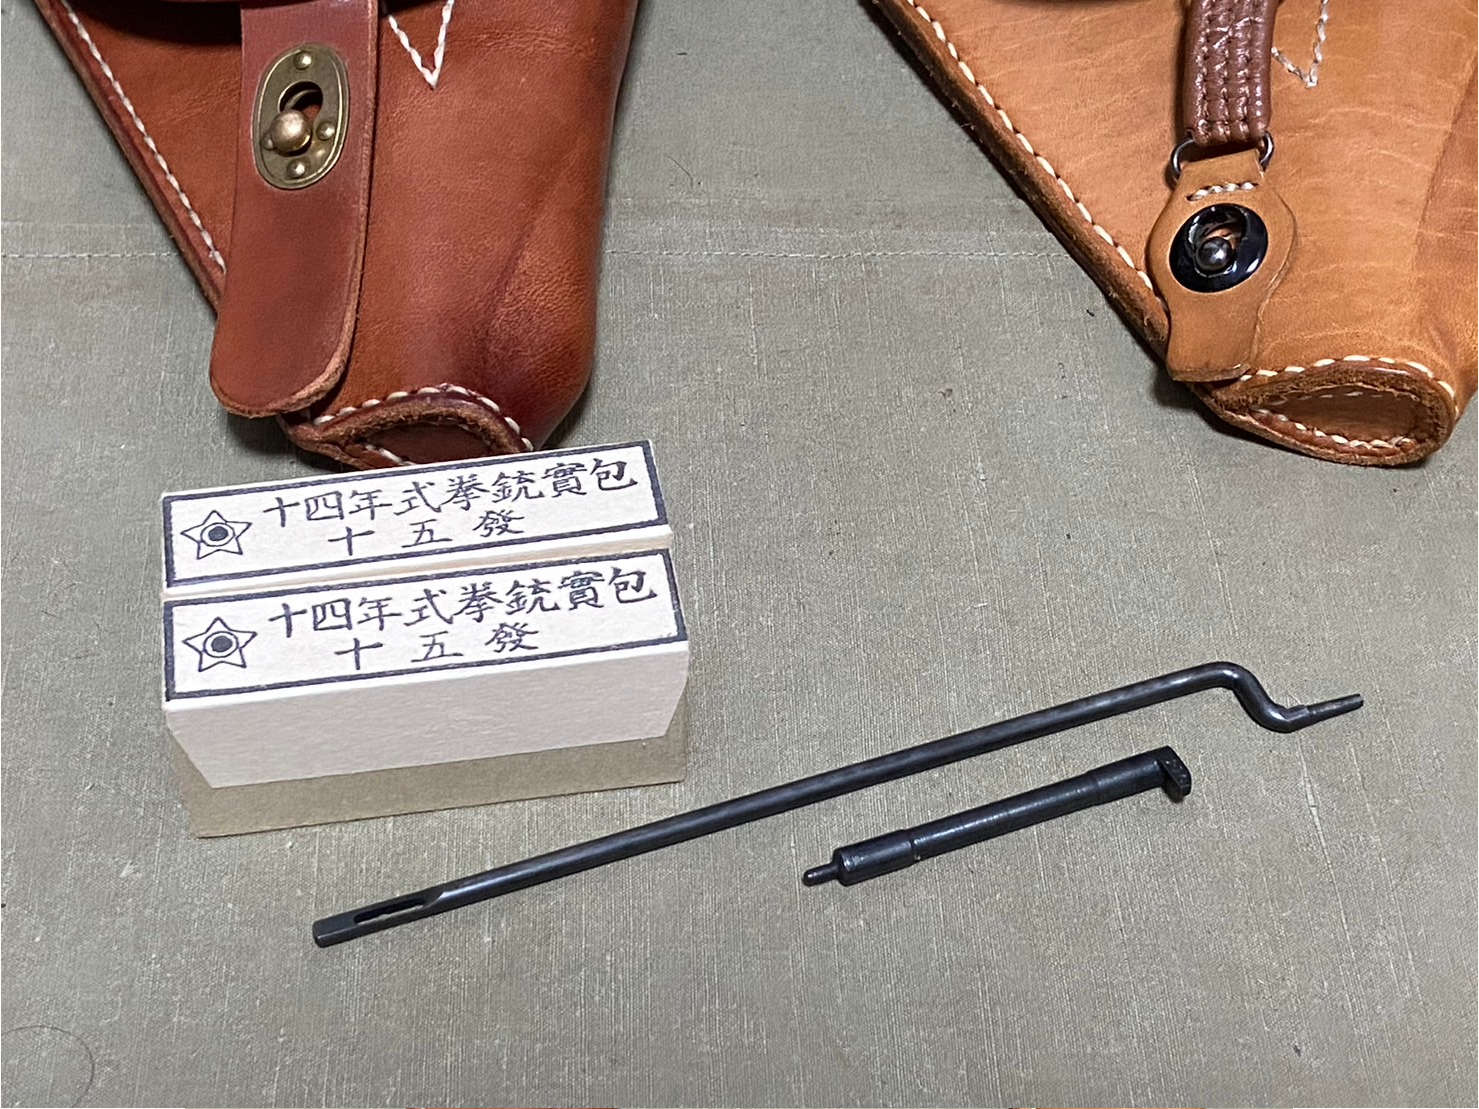
The modifications to the main body are now complete. With this, the holster can accommodate a set of three items: the paper box for cartridges, the cleaning rod, and the firing pin.
The paper box for cartridges is from Dekunobo, as introduced in a recent article. Unfortunately, I managed to buy up the last of the stock. As mentioned earlier, even if you cover balsa wood cut to the appropriate size with ballpoint paper, it still gives off the right vibe. Plus, it’s lightweight.
The cleaning rod and firing pin are from Mochimochi-do‘s offerings. I happened to come across a post where stock was available, so I made the purchase. While there are replica cleaning rods available from overseas, firing pins are not as commonly seen, making them quite valuable.
Completion Photo of the Type 14 Nambu Pistol Holster Early Model
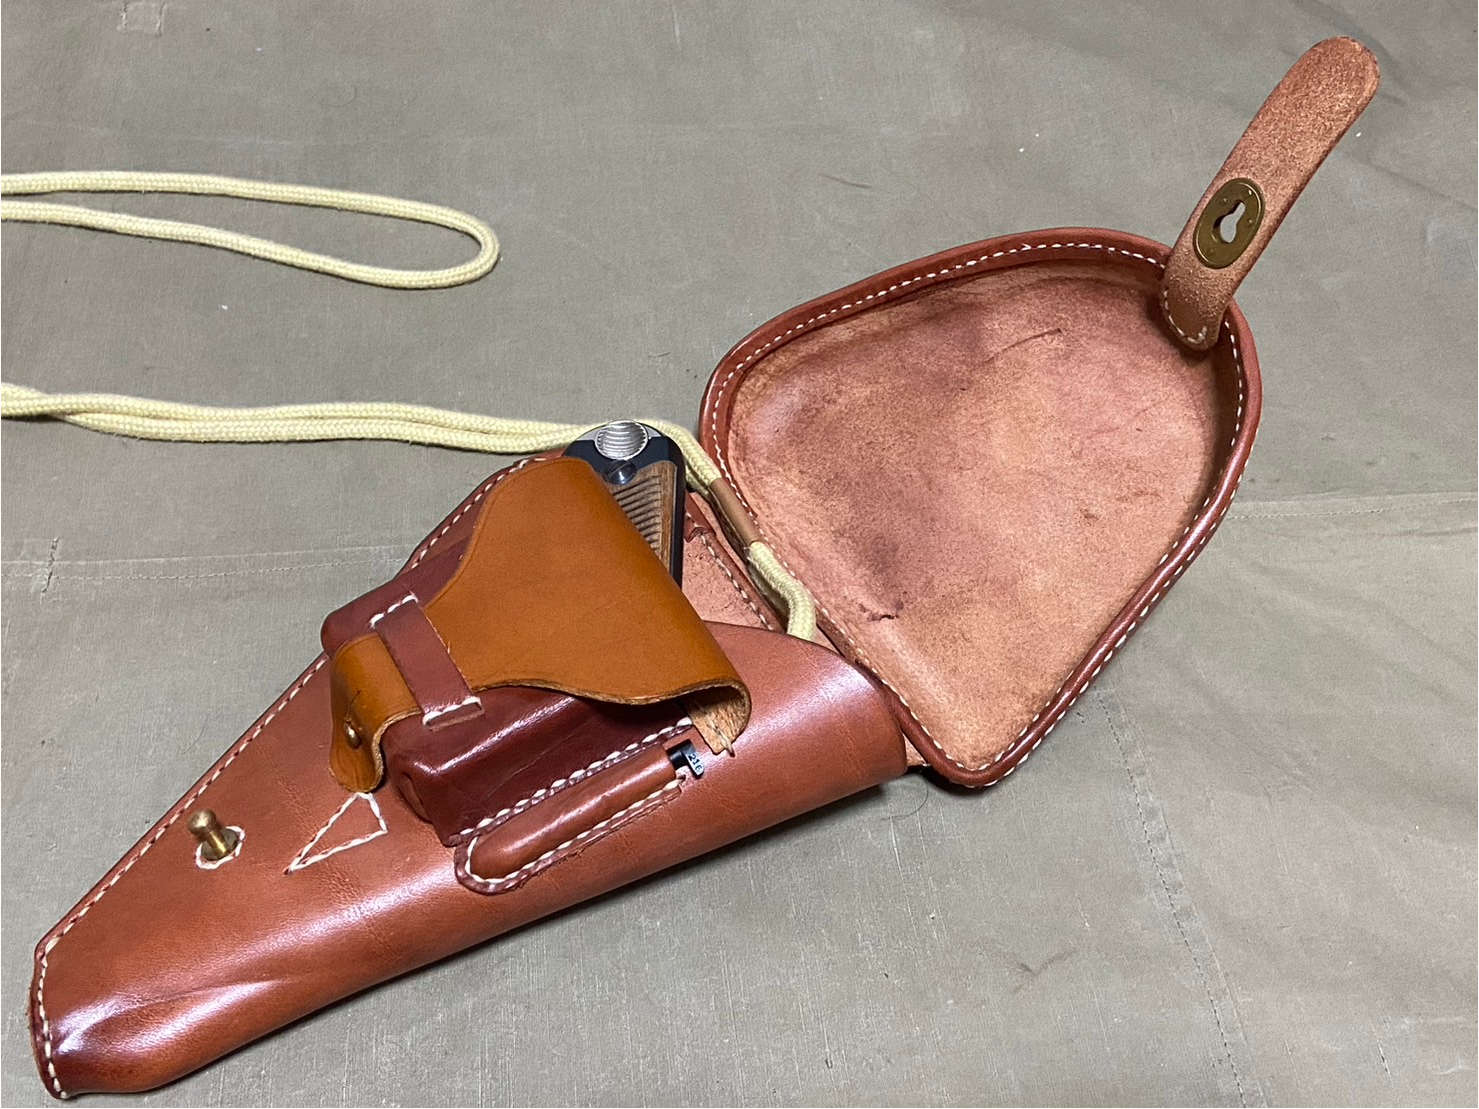
Completion Photo of the Type 14 Nambu Pistol Holster Late Model