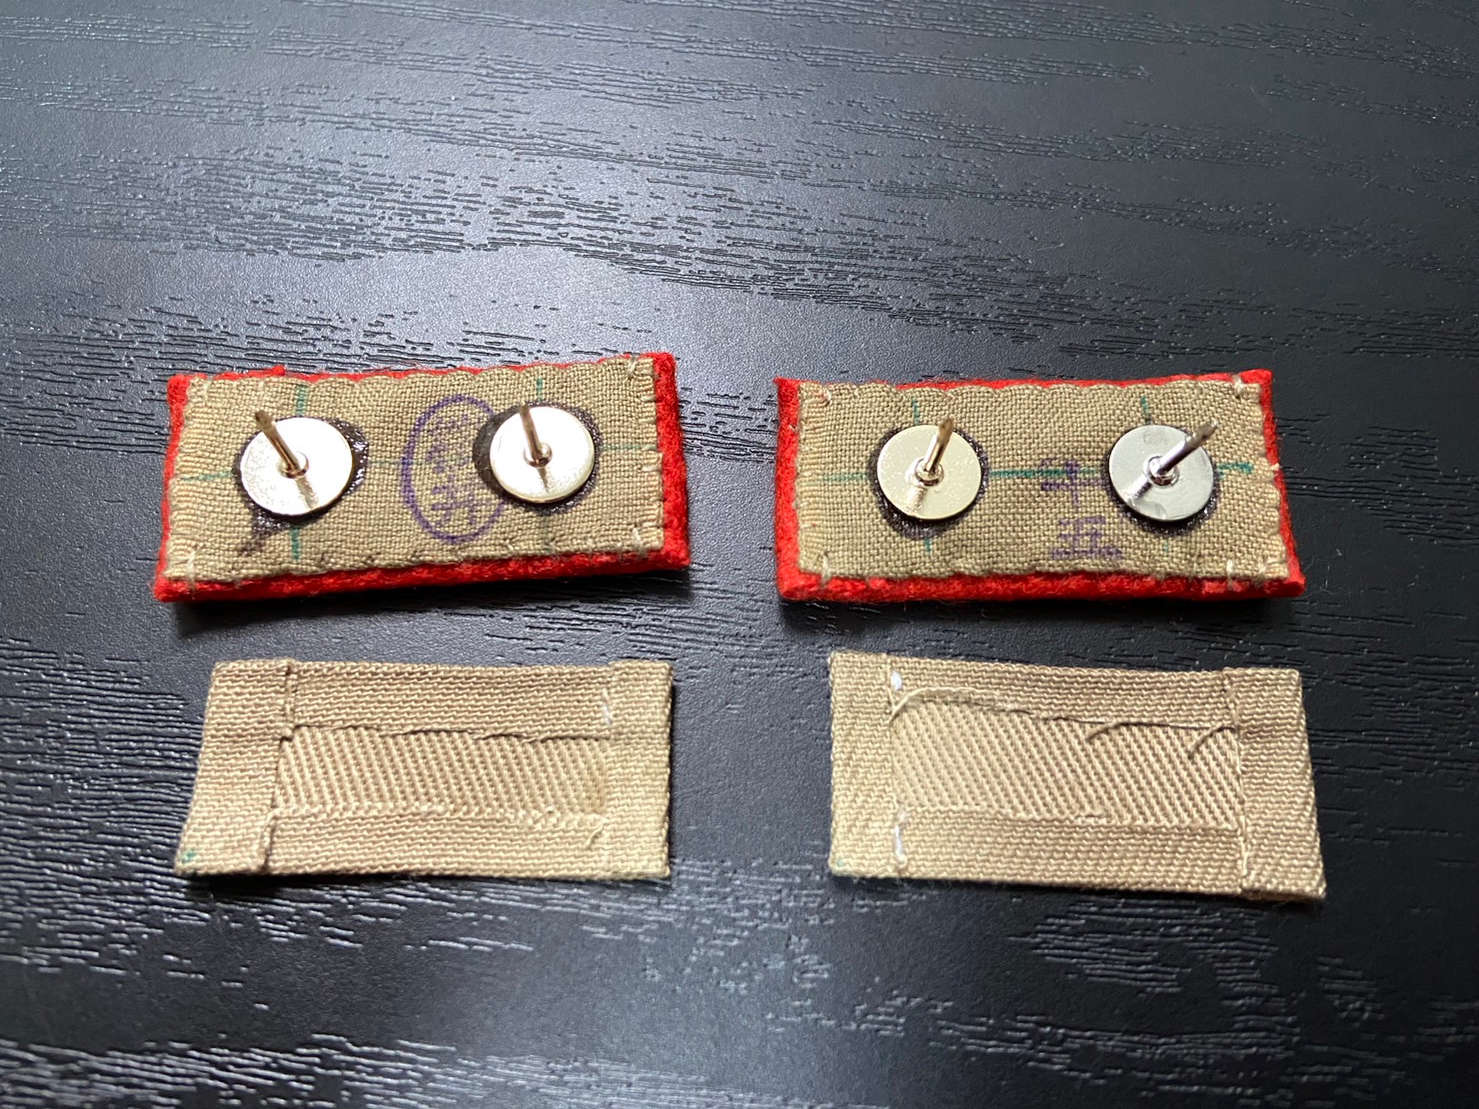
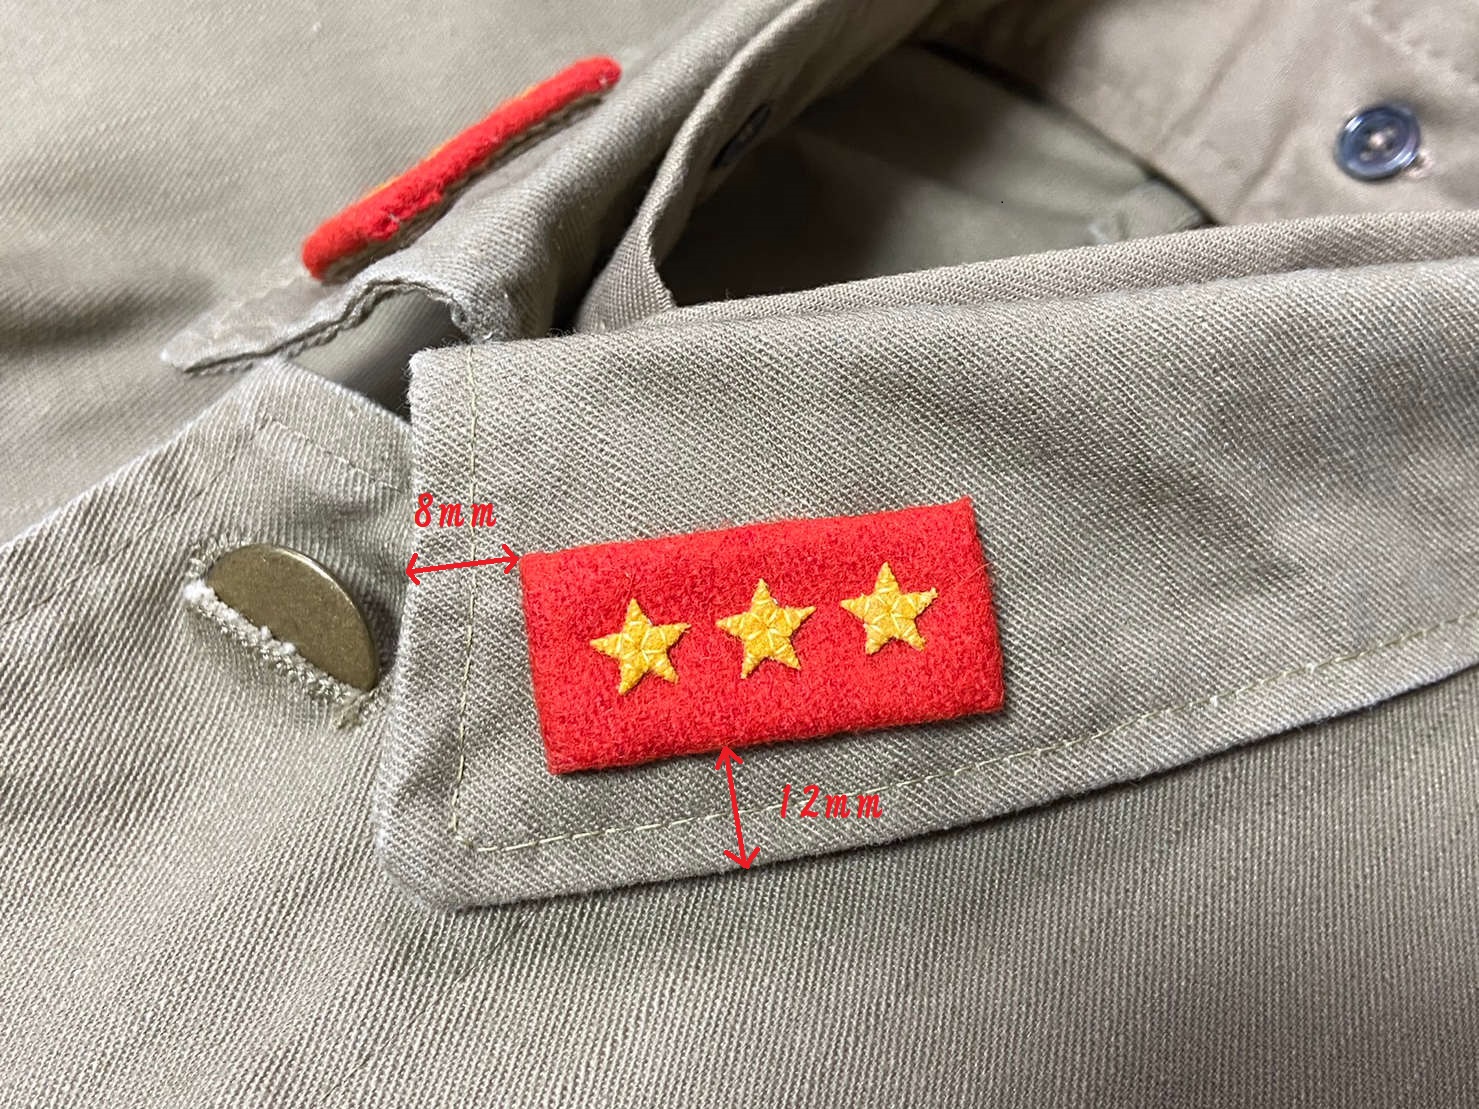
I will introduce a method for modifying the officially designated rank insignia known as “Zabuton” (cushion/座布団), which was standardized in 1938 (Showa 13), into pin badges.
When enjoying various military uniforms of different ranks, it can be quite cumbersome to sew on rank insignias onto the collars every time. Not only is it inconvenient, but repeatedly threading the needle can also cause damage to the rank insignias themselves. While enthusiasts might not approve, feel free to give it a try as it won’t be noticeable at a glance. You can create it through crafting using only adhesive without the need for needles and thread.
By the way, from 1942 (Showa 17) onward, collar insignias made of woven fabric, called “Oridashi” (織出) were introduced. However, as long as there was stock, the ”Zabuton” insignias continued to be used. Moreover, it is said that veteran soldiers intentionally preferred “Zabuton”, so even if you have “Zabuton” rank insignias on your uniform from the latter part of the Greater East Asian War, it shouldn’t cause much discomfort.
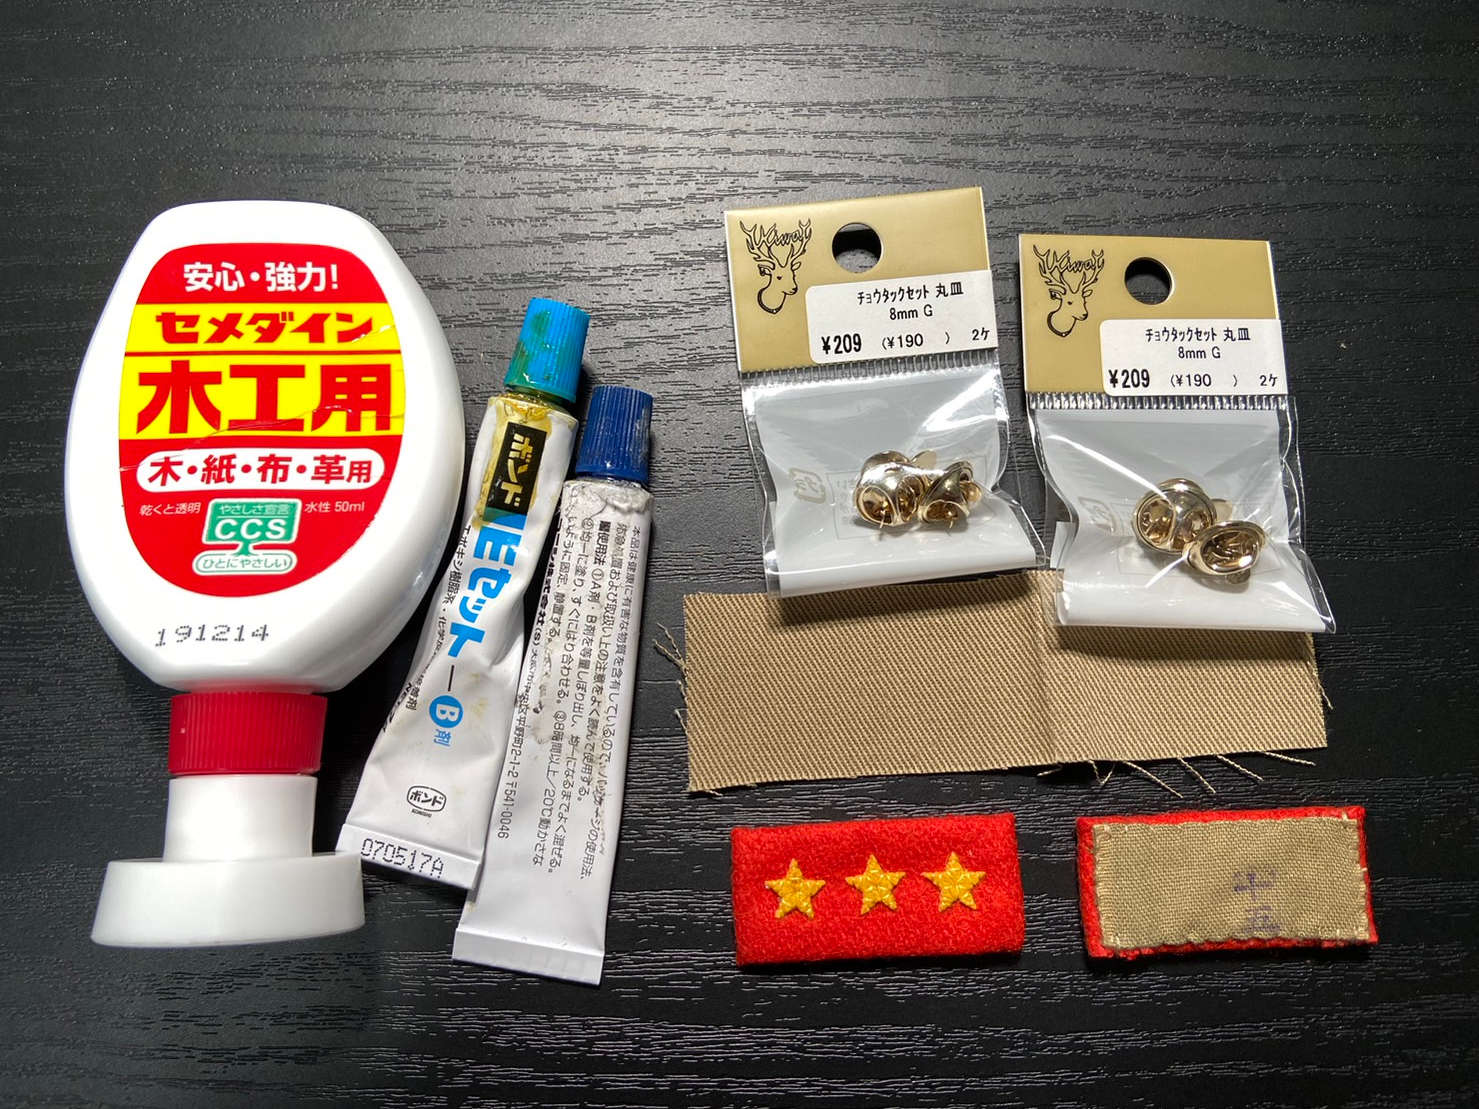
Things to Prepare
This time, I will be transforming the Nori made Private First Class (Jōtō-hei/上等兵) rank insignia into pin badges.
- “Zabuton” rank insignia
- Pin and fastener for pin badge
- Fabric scraps (leftover material from making collar cloth, etc.)
- Epoxy resin adhesive
- Wood glue
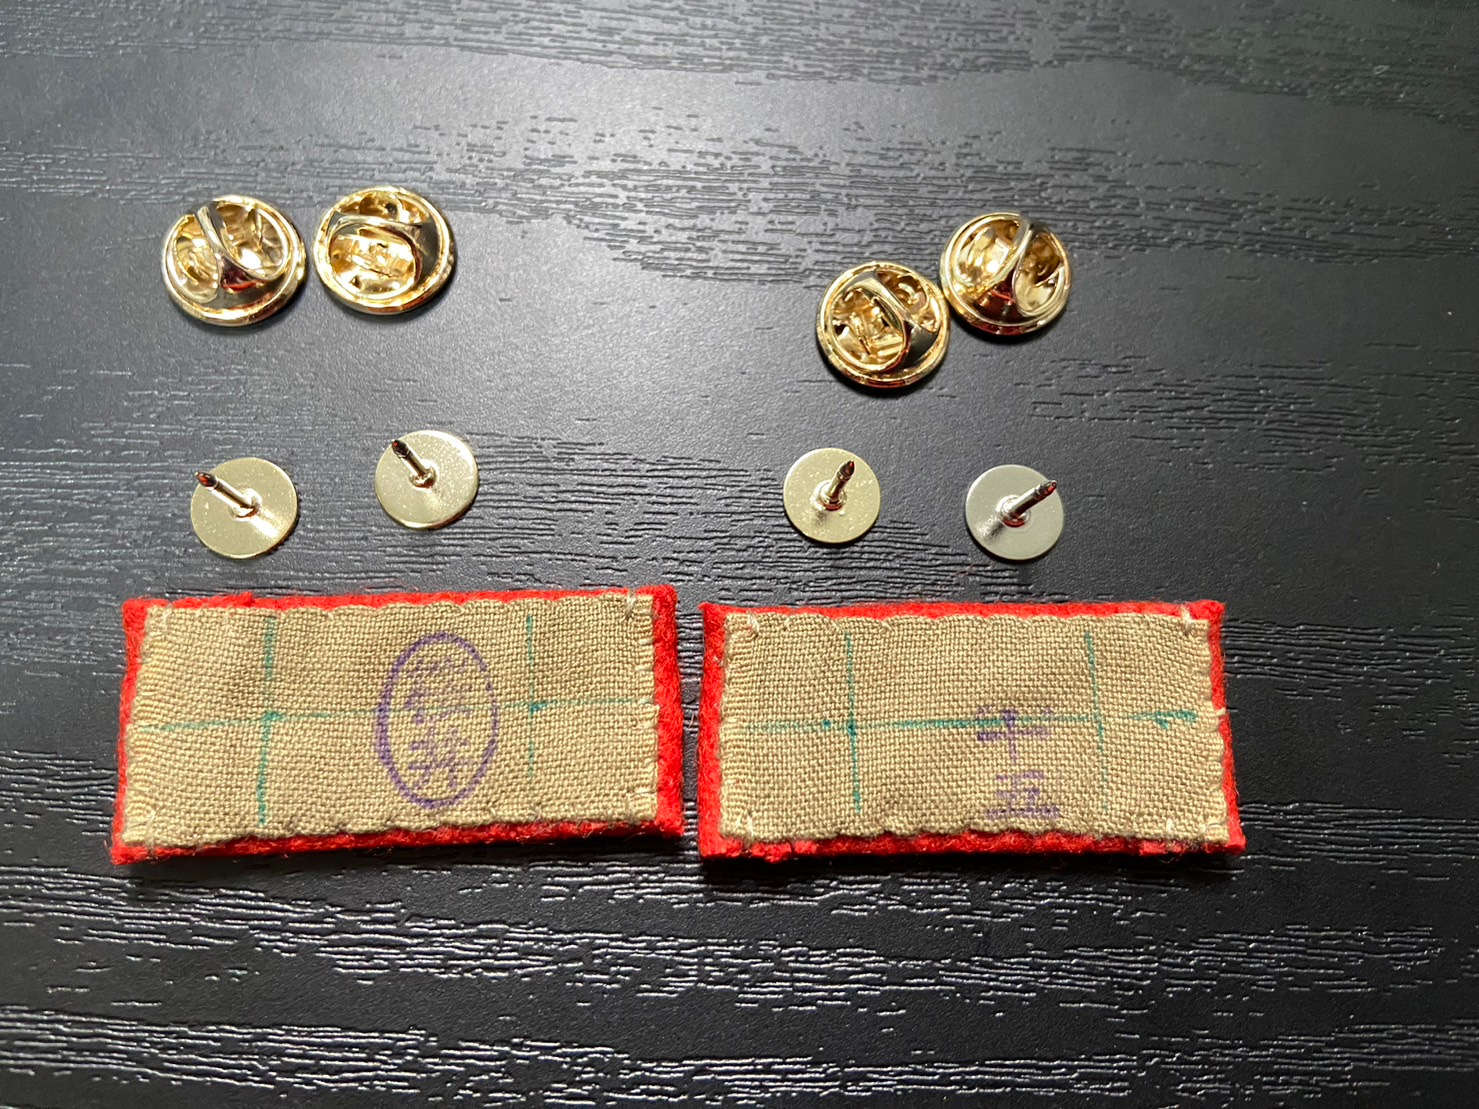
Determine the Placement of the Pins
Roughly determine the position for attaching the pins. If the pins are attached at random, it can lead to difficulties in positioning when replacing rank insignias, with the risk of misalignment. Therefore, it is advisable to align the spacing between pins with other rank insignias for consistency.
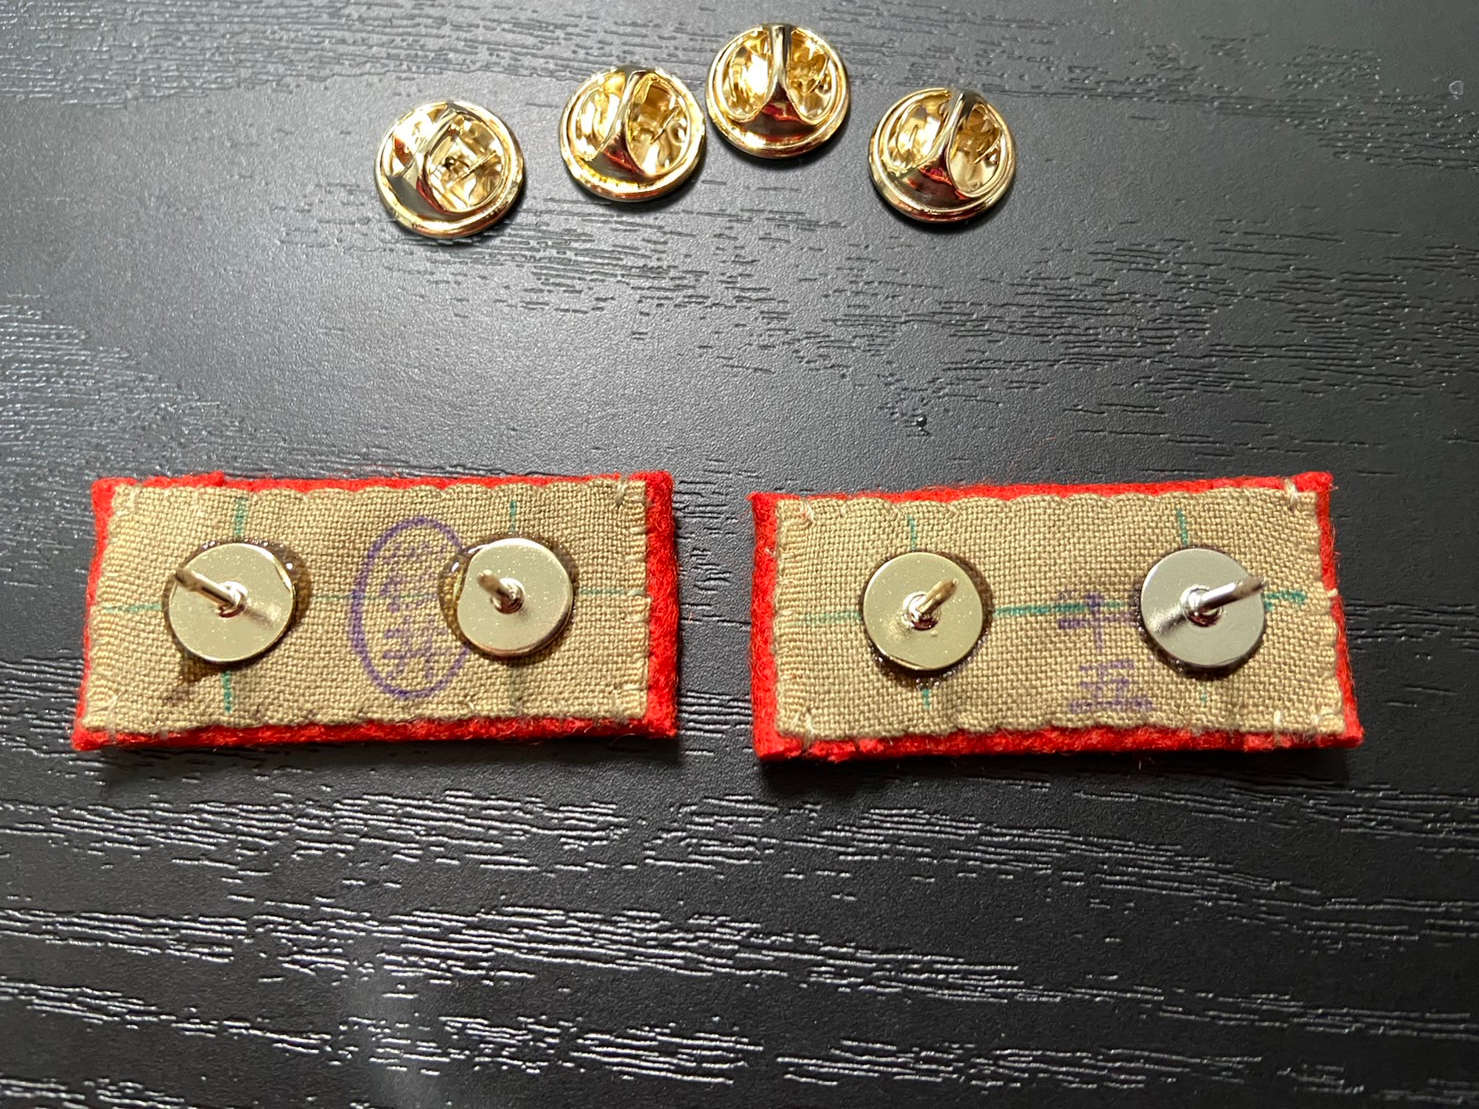
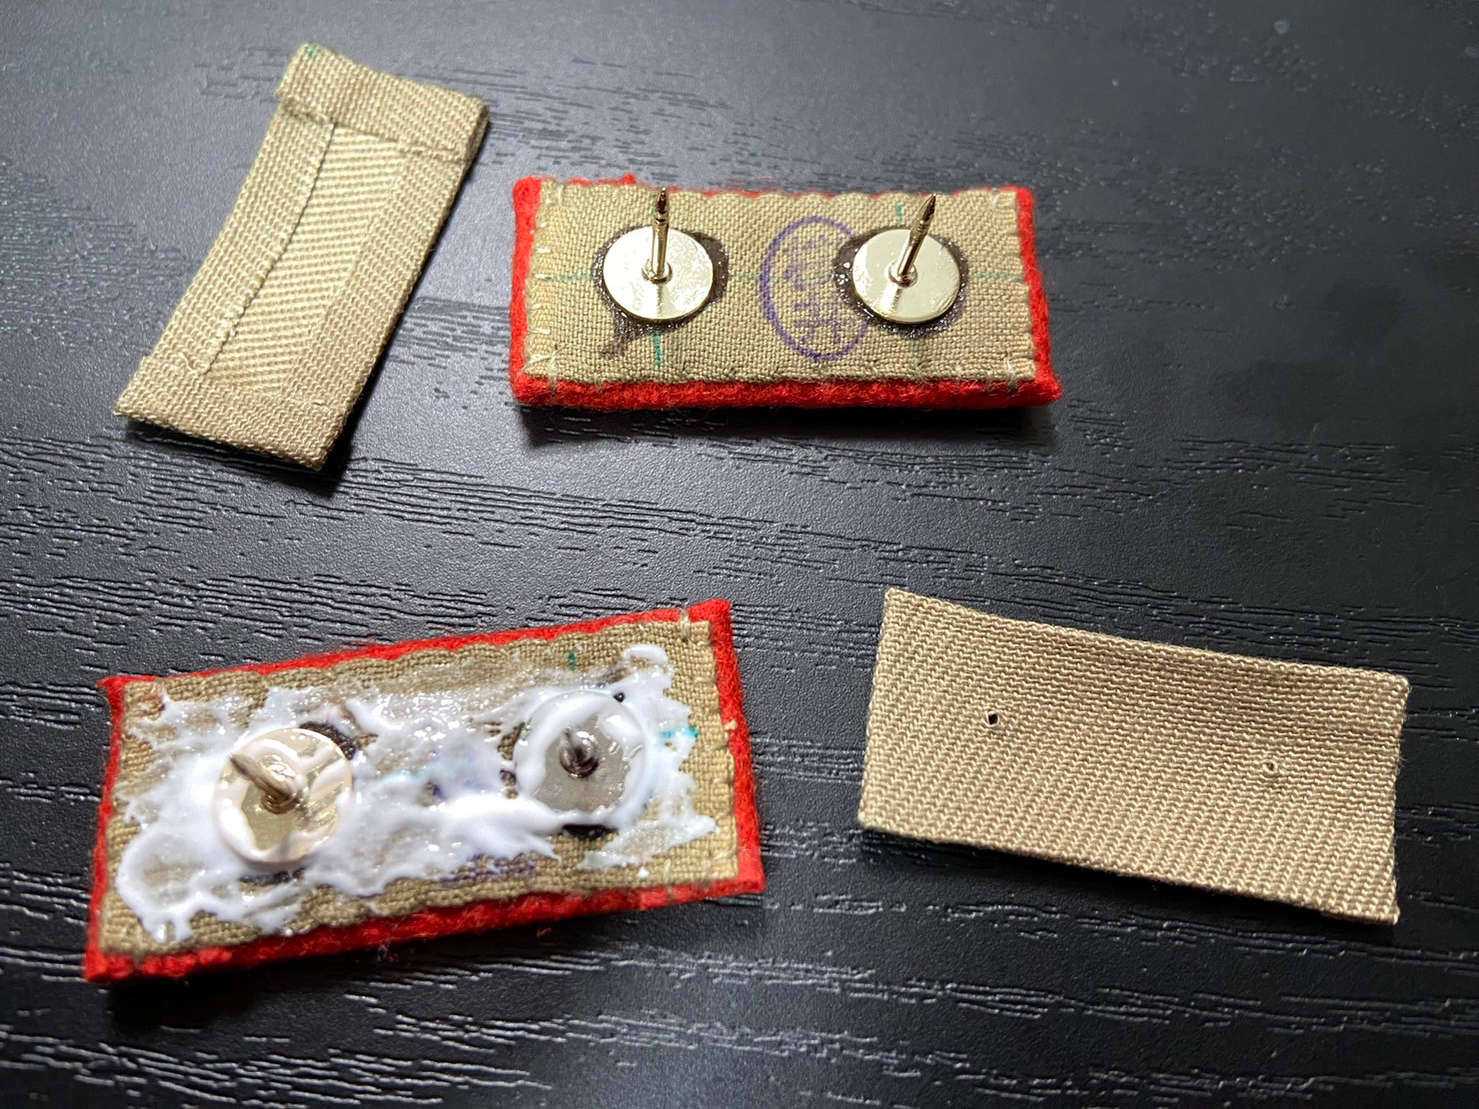
Adhere the Pins Using Epoxy Resin Adhesive
Epoxy resin adhesive initiates hardening when two types of bonding agents are mixed. Apply it firmly to the bottom of the pin and attach it to the rank insignia. Although it becomes extremely strong after hardening, keep in mind that it takes several hours to fully cure.
If you have the time, I recommend you to let it sit in this state for about 3 hours before moving on to the next step. If you are in a hurry, you can proceed to the next step without waiting.
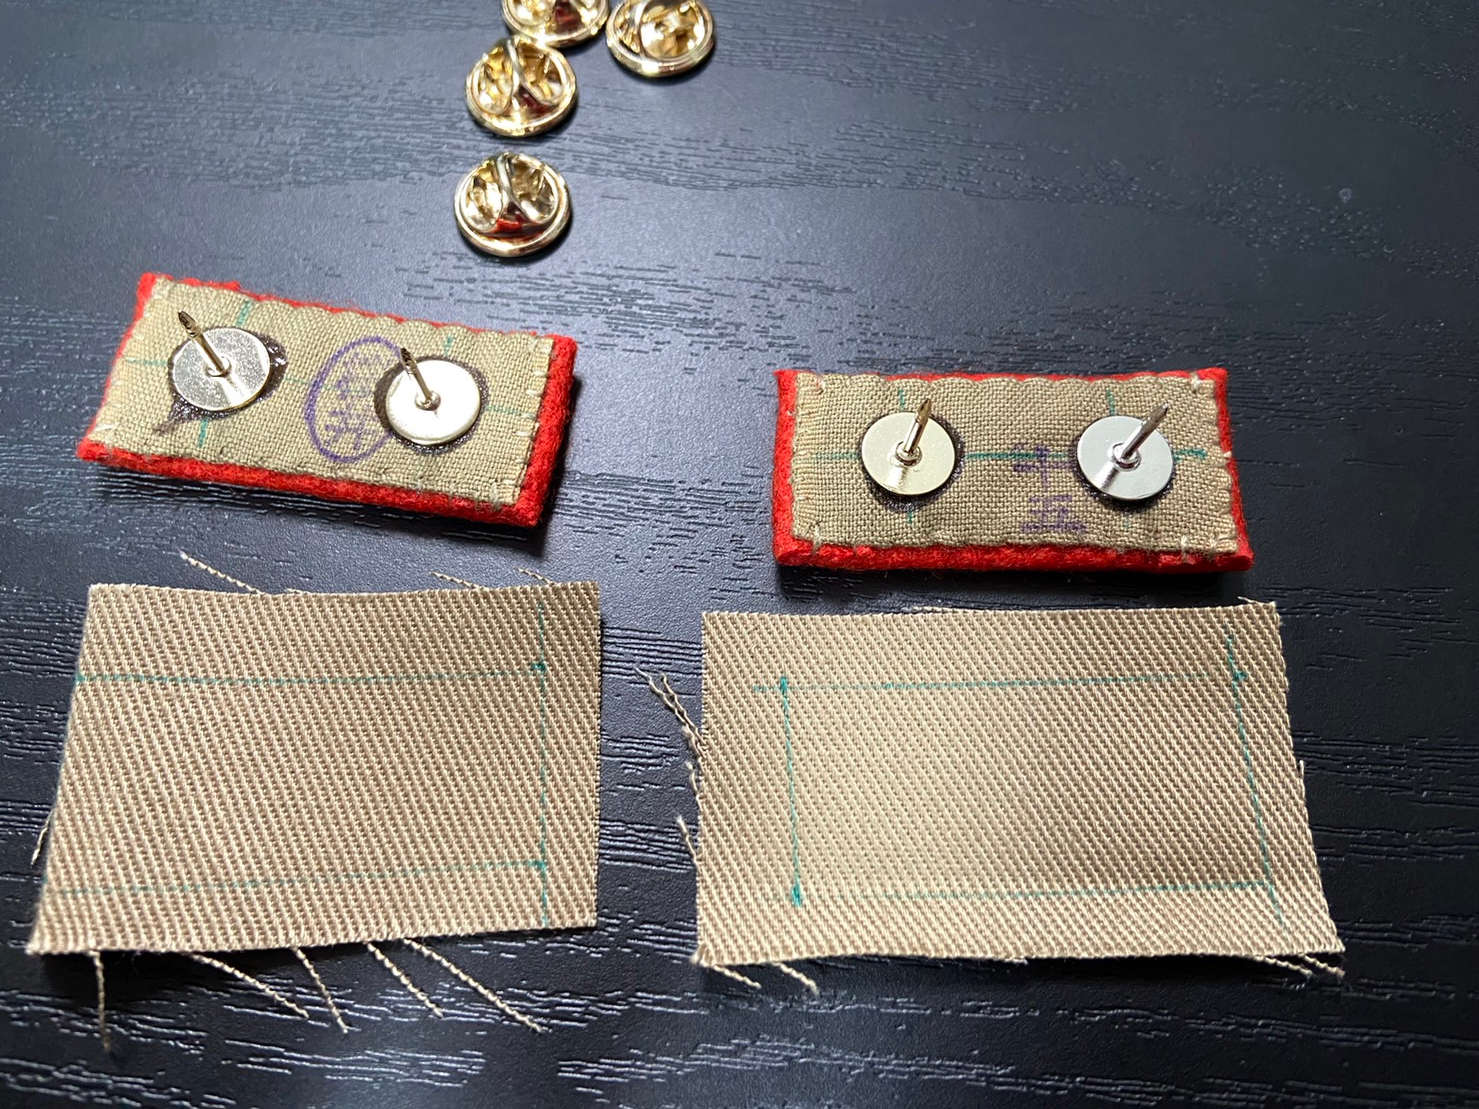
Create a New Backing.
Reinforce by adhering a new backing over the pins.
After cutting the fabric scrap to the appropriate size, fold the edges and glue them with wood glue to prevent unraveling from the edges.
Adhering the Backing
Apply wood glue thoroughly and affix the backing. Be cautious not to apply too much, as it may seep out and soil the rank insignia. Ensure a strong bond by pressing firmly, letting the wood glue penetrate the fabric like a sponge.
After adhesion, let it sit undisturbed for at least 12 hours to allow for complete curing.
Complete!
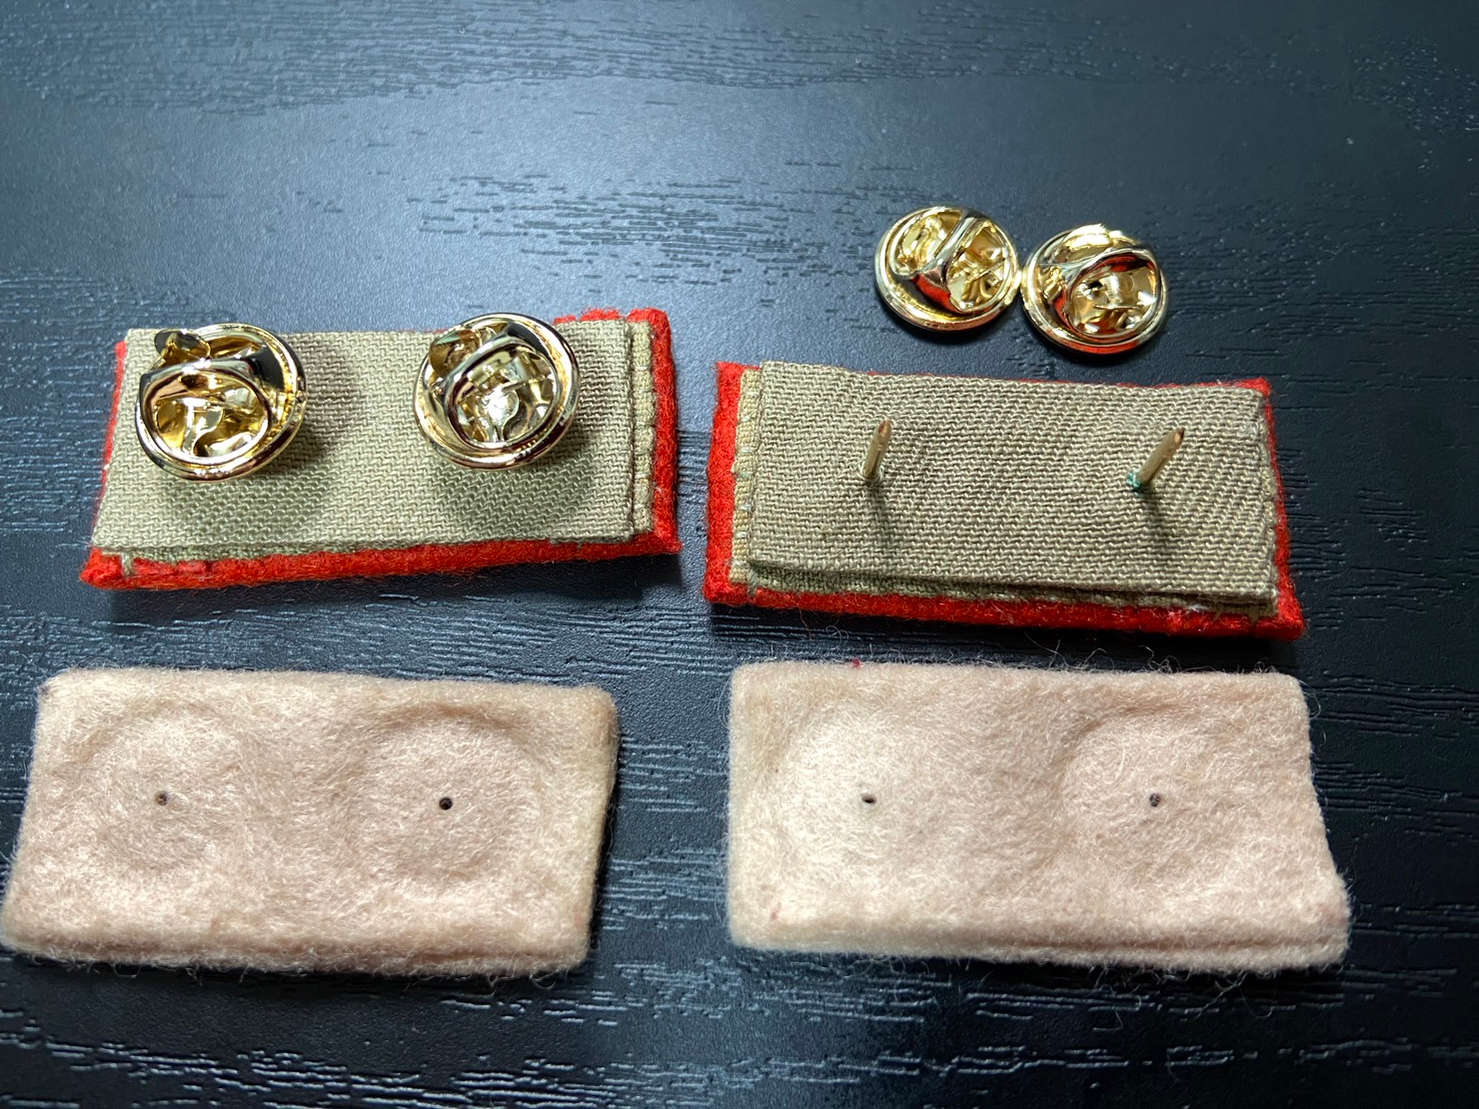
It’s finished once the adhesive has dried. While stitching around the backing would add extra strength, the adhesive alone provides sufficient durability, so it should be fine without sewing around the edges.
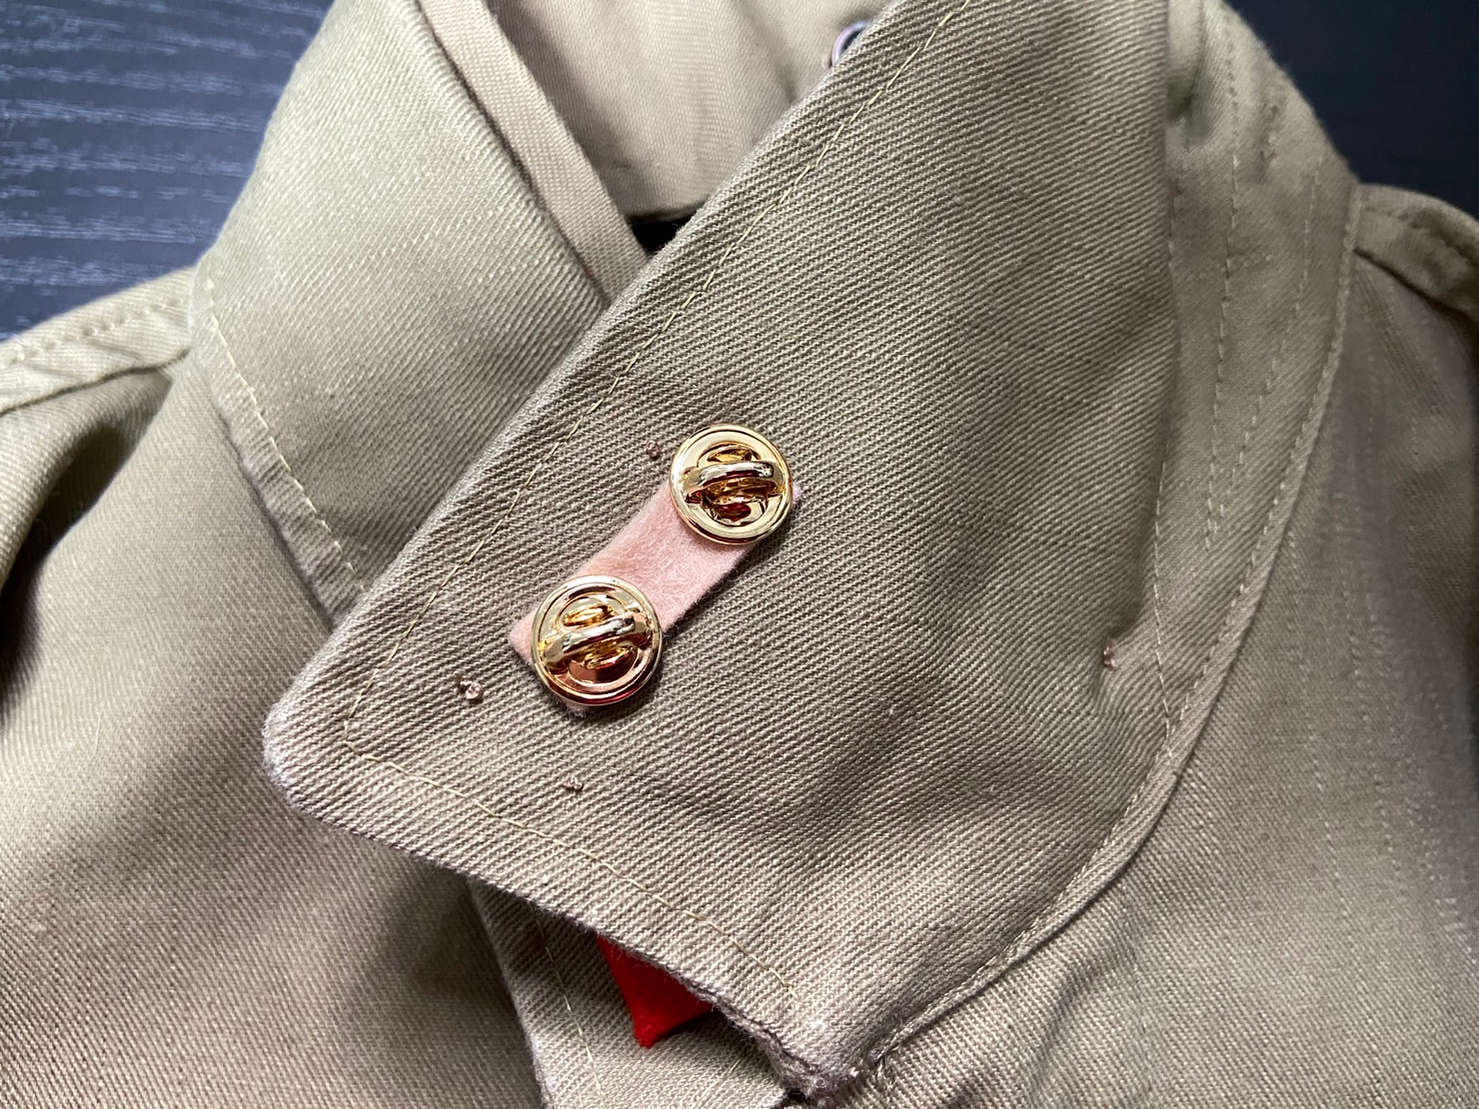
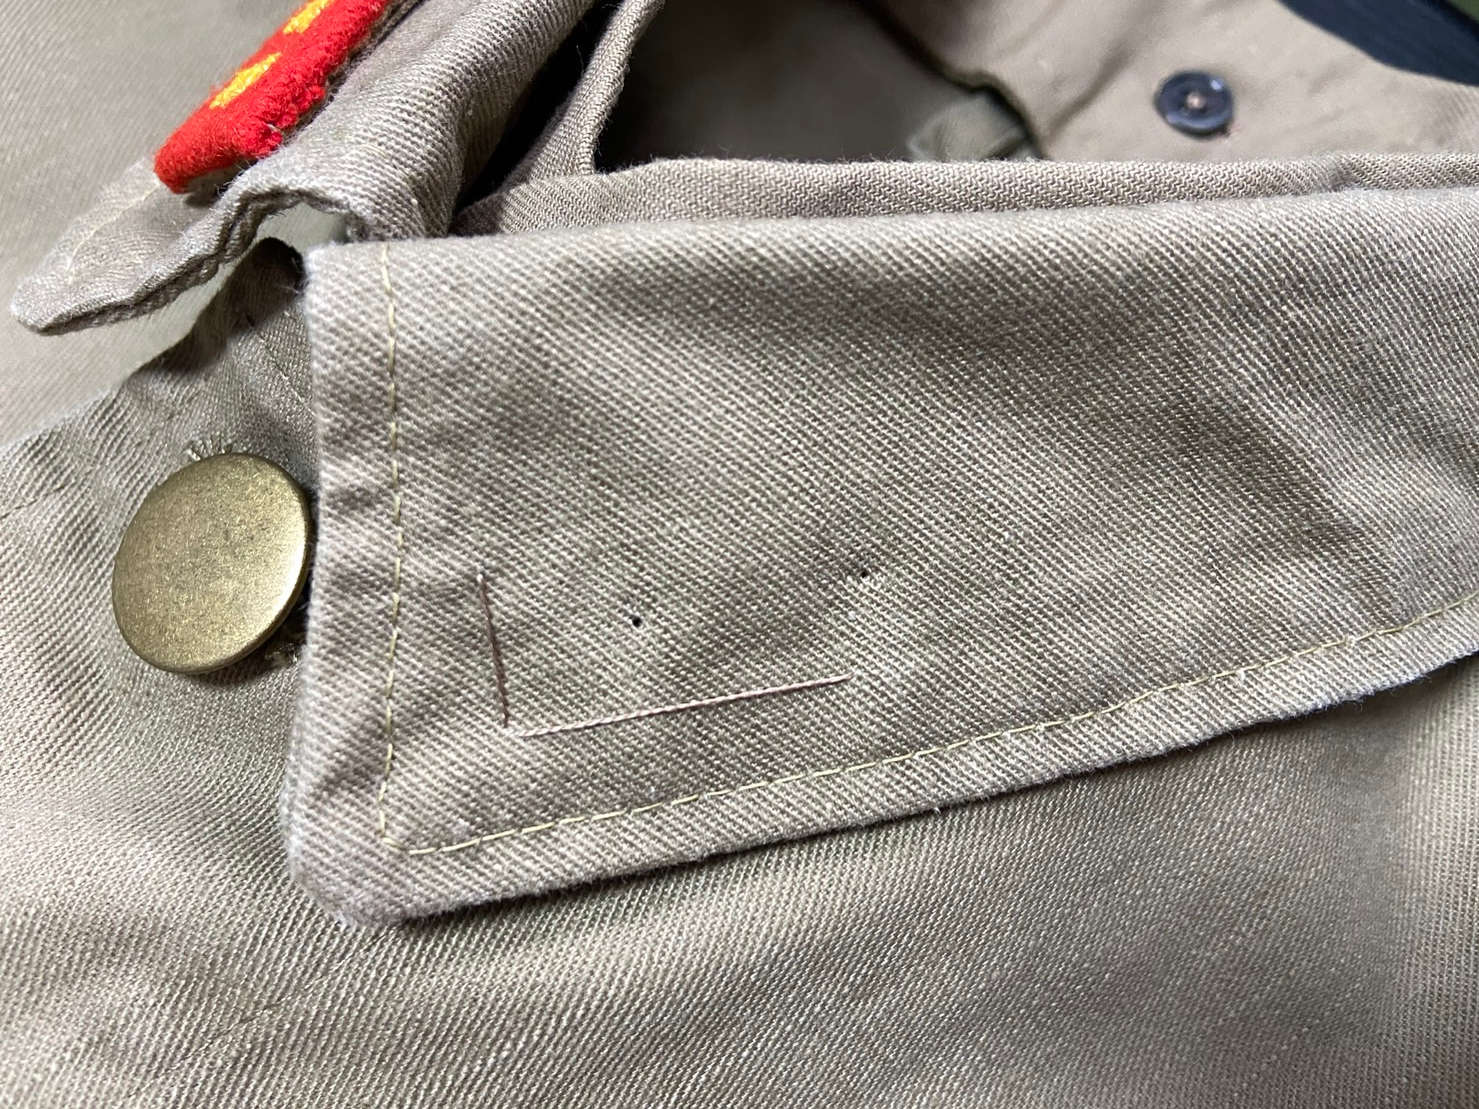
When attaching it to the collar, sandwiching a doubled-up piece of felt on the back will secure it firmly. Additionally, for positioning, it’s helpful to mark the locations with threads, 8mm from the side and 12mm from the bottom.
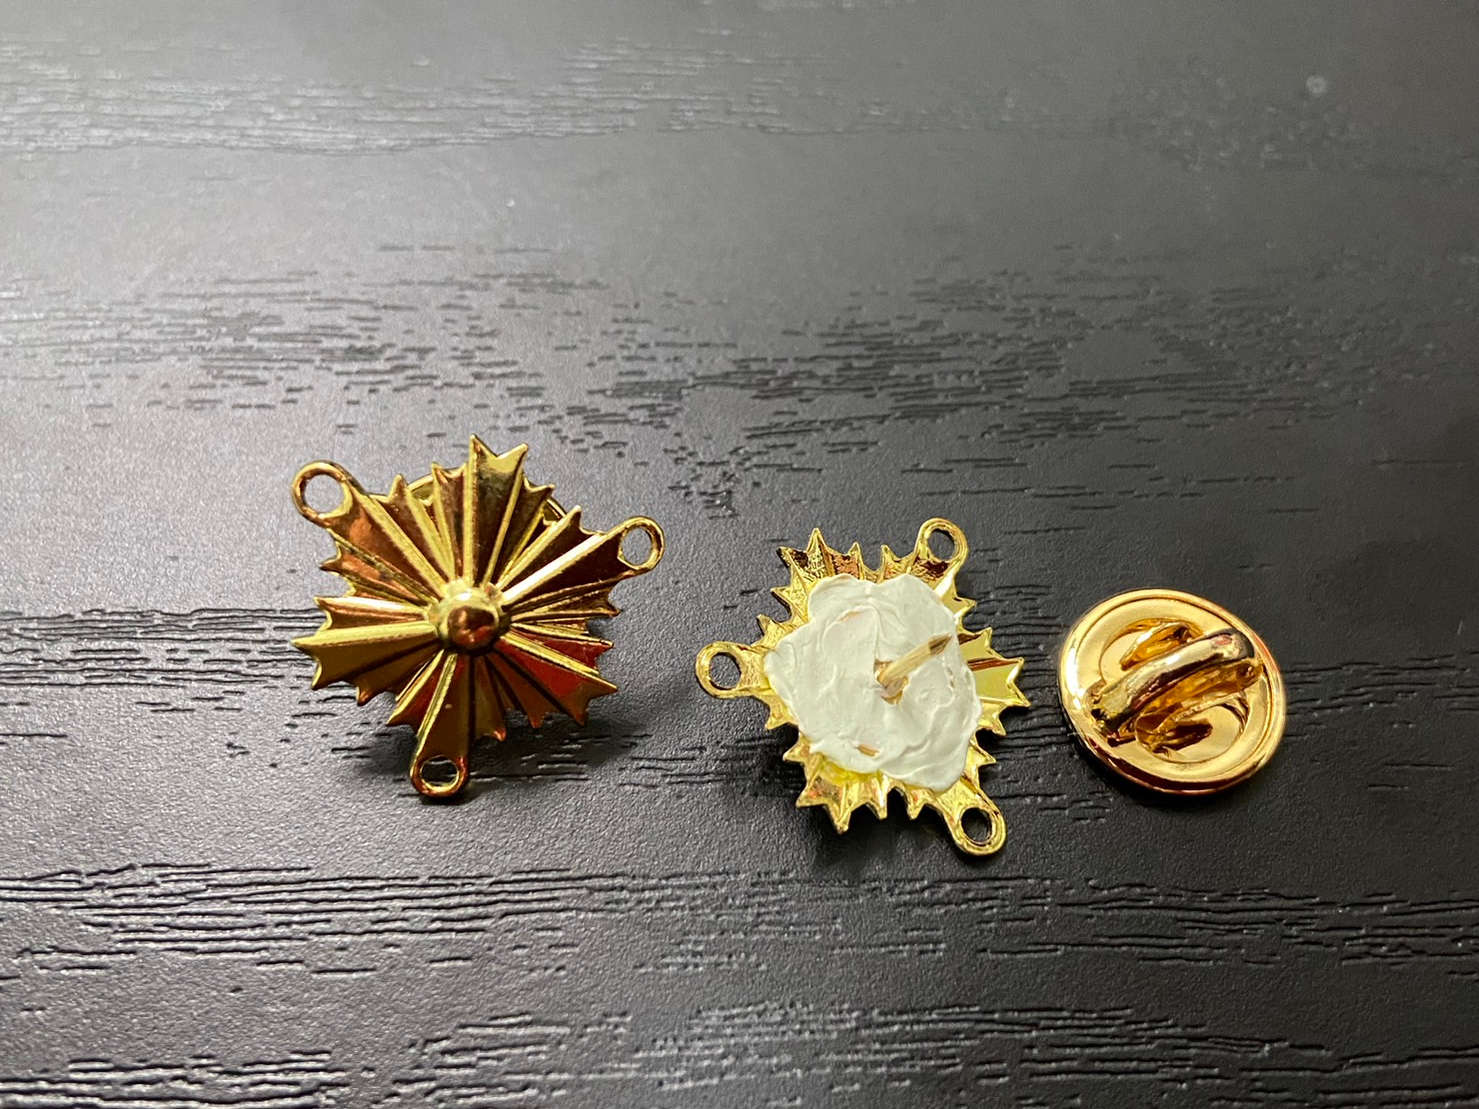
By the way, I’ve also converted military police badges into pin badges using a similar method. For the military police badges, I replaced the fabric backing with epoxy putty for stabilization.
