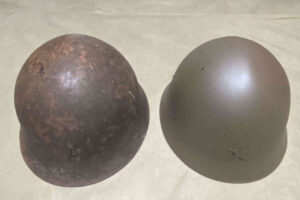
By around 1940–1941 (Shōwa 15–16), shortages of military supplies had become increasingly apparent, and substitute materials began to be used in various weapons and equipment. For example, this historical document1 contains a list of substitute materials used in different types of military equipment, along with survey results on the production capacities of the factories manufacturing them.
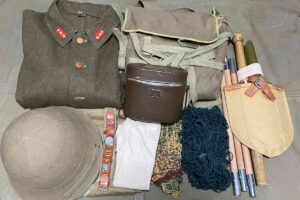
In terms of clothing, metal buttons that had been used previously were replaced with alternatives made of materials such as bakelite and wood. Here, we introduce some examples of these substitute buttons.
First, bakelite buttons.
Bakelite is a thermosetting resin known as phenolic resin, and it was the world’s first synthetic plastic, discovered in 1872. While common plastics are thermoplastics that soften and melt when heated, bakelite has the property of hardening when heat is applied.
Due to its excellent heat resistance and electrical insulation properties, it was once widely used in a variety of consumer goods. As seen in the Army Ordnance Headquarters document mentioned earlier, bakelite was also used in certain components of various military equipment.
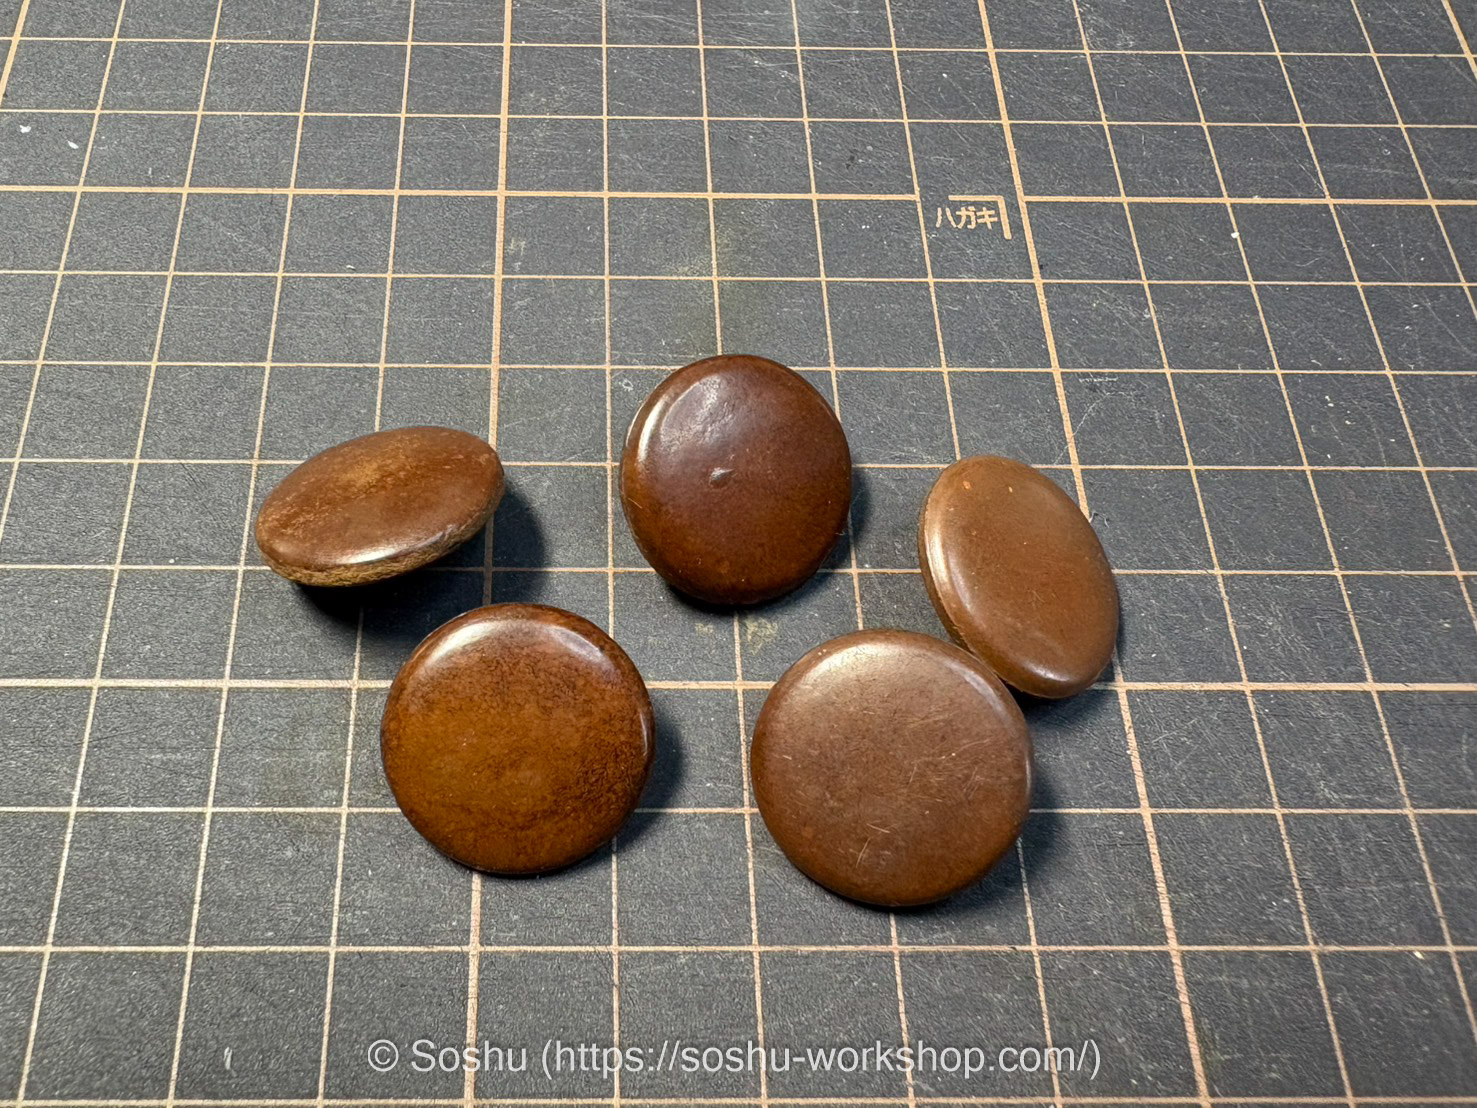
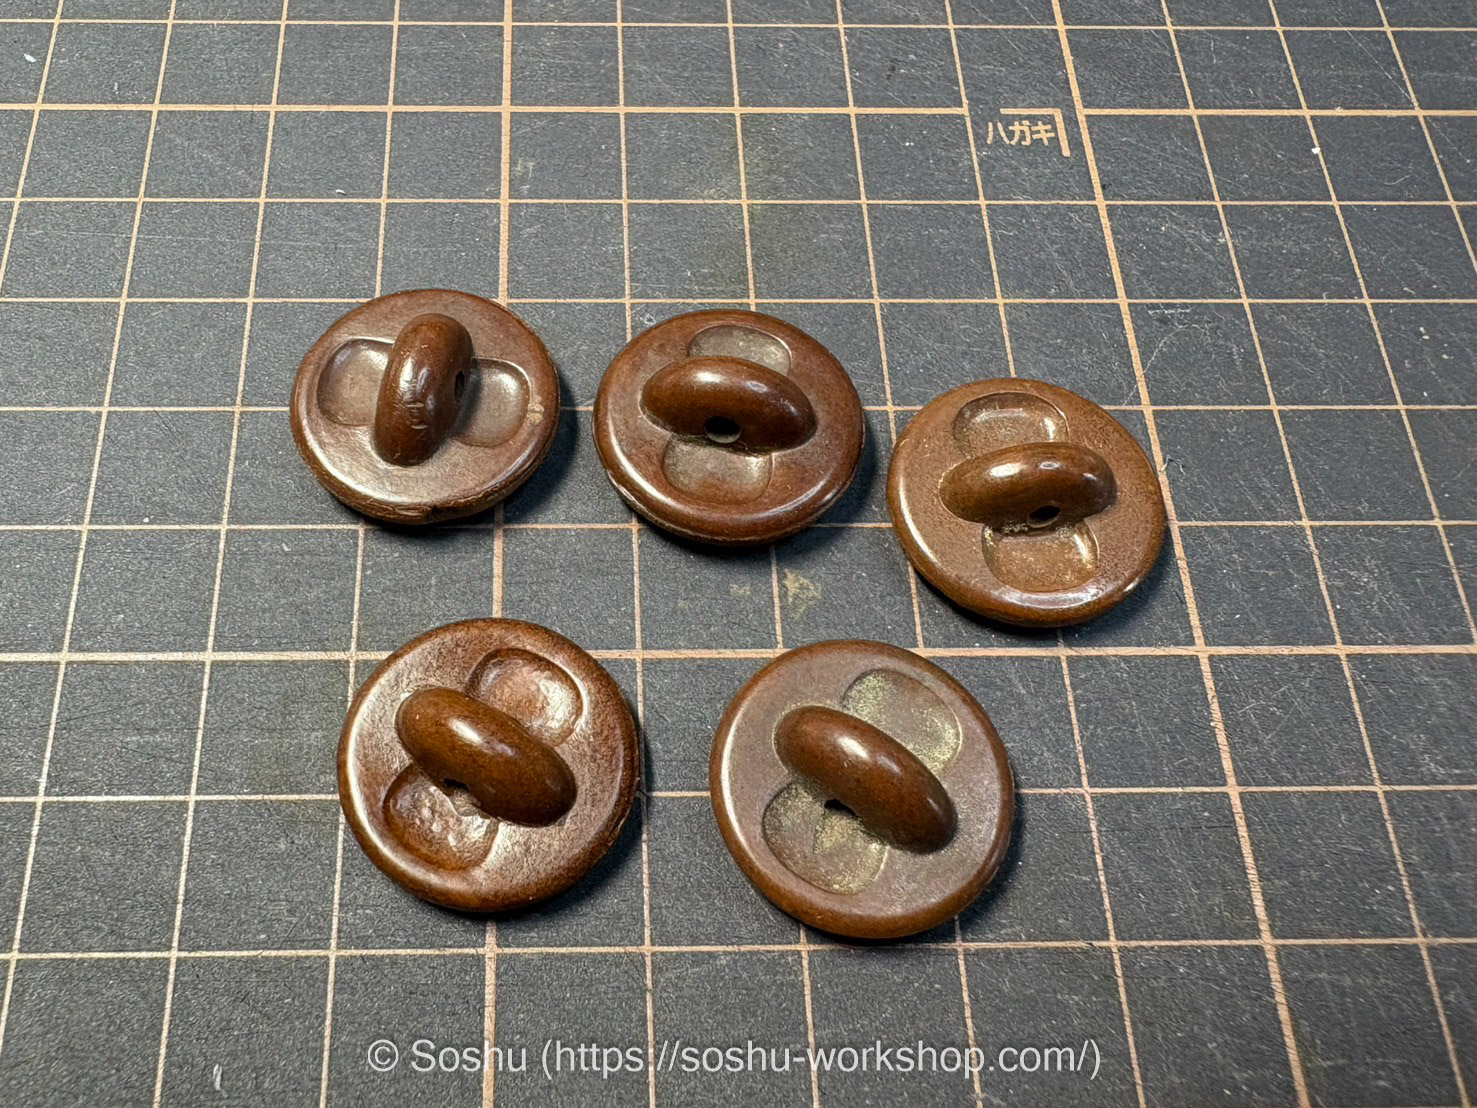
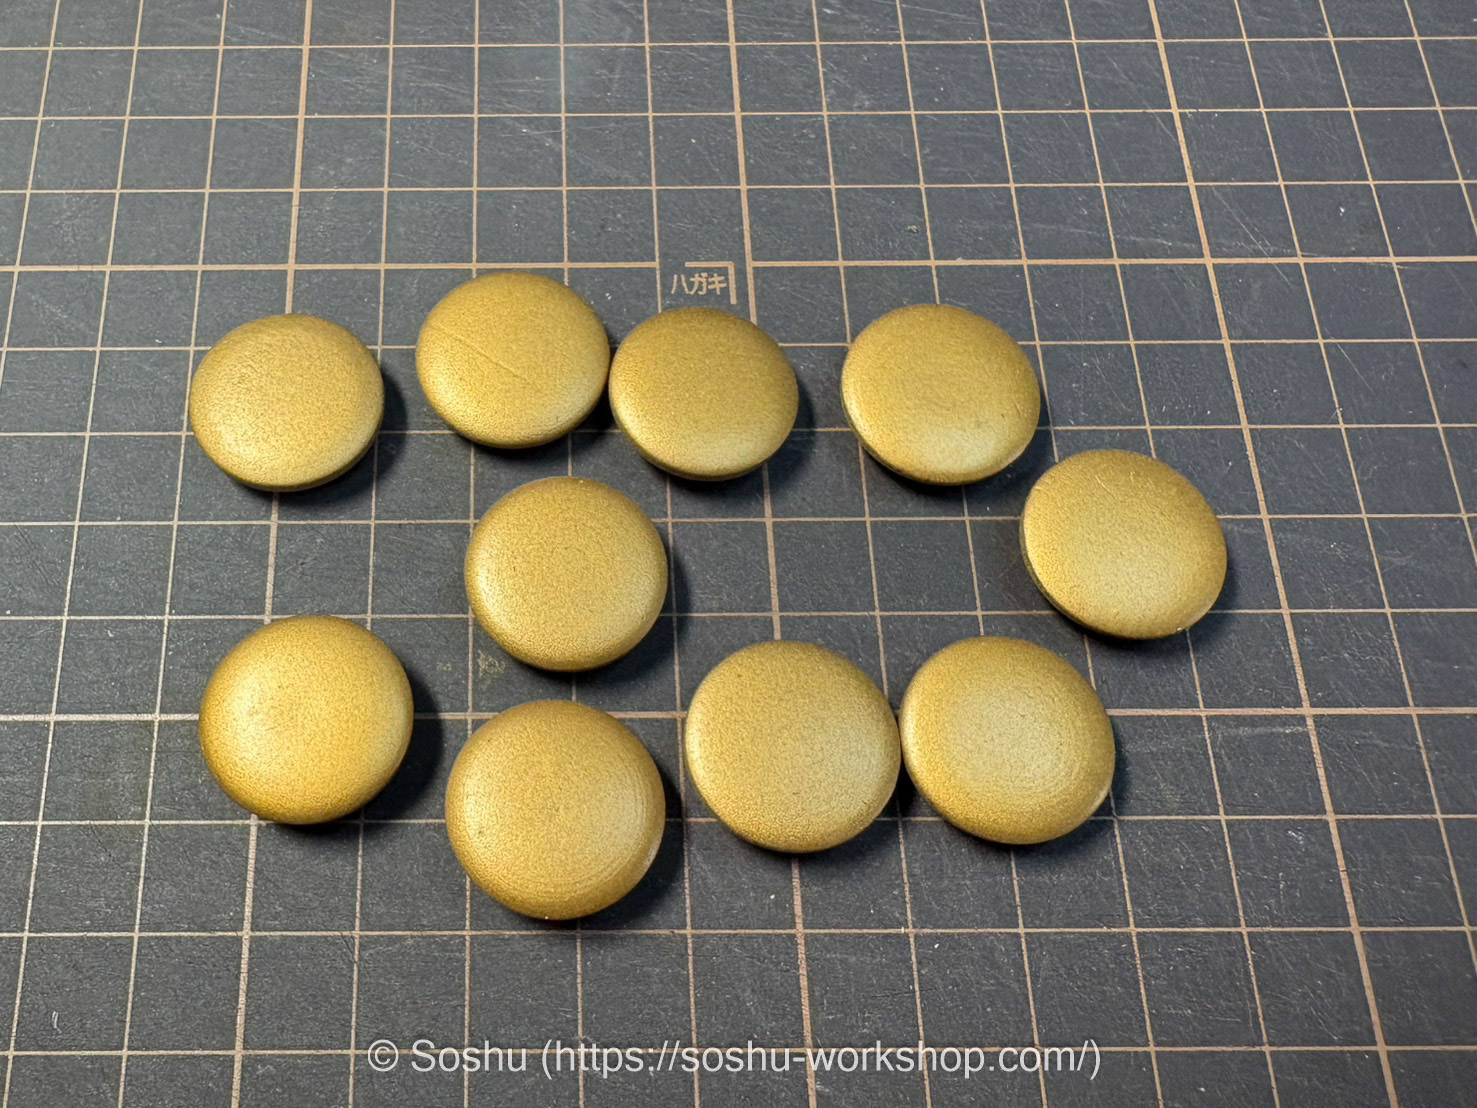
The buttons shown below are of relatively good quality and are thought to date from an earlier period. Pure bakelite resin has an amber color, so these examples were likely colored through the addition of pigments.
They are 20 mm diameter buttons used to fasten the front opening of a military tunic, and their surfaces have a semi-gloss finish.
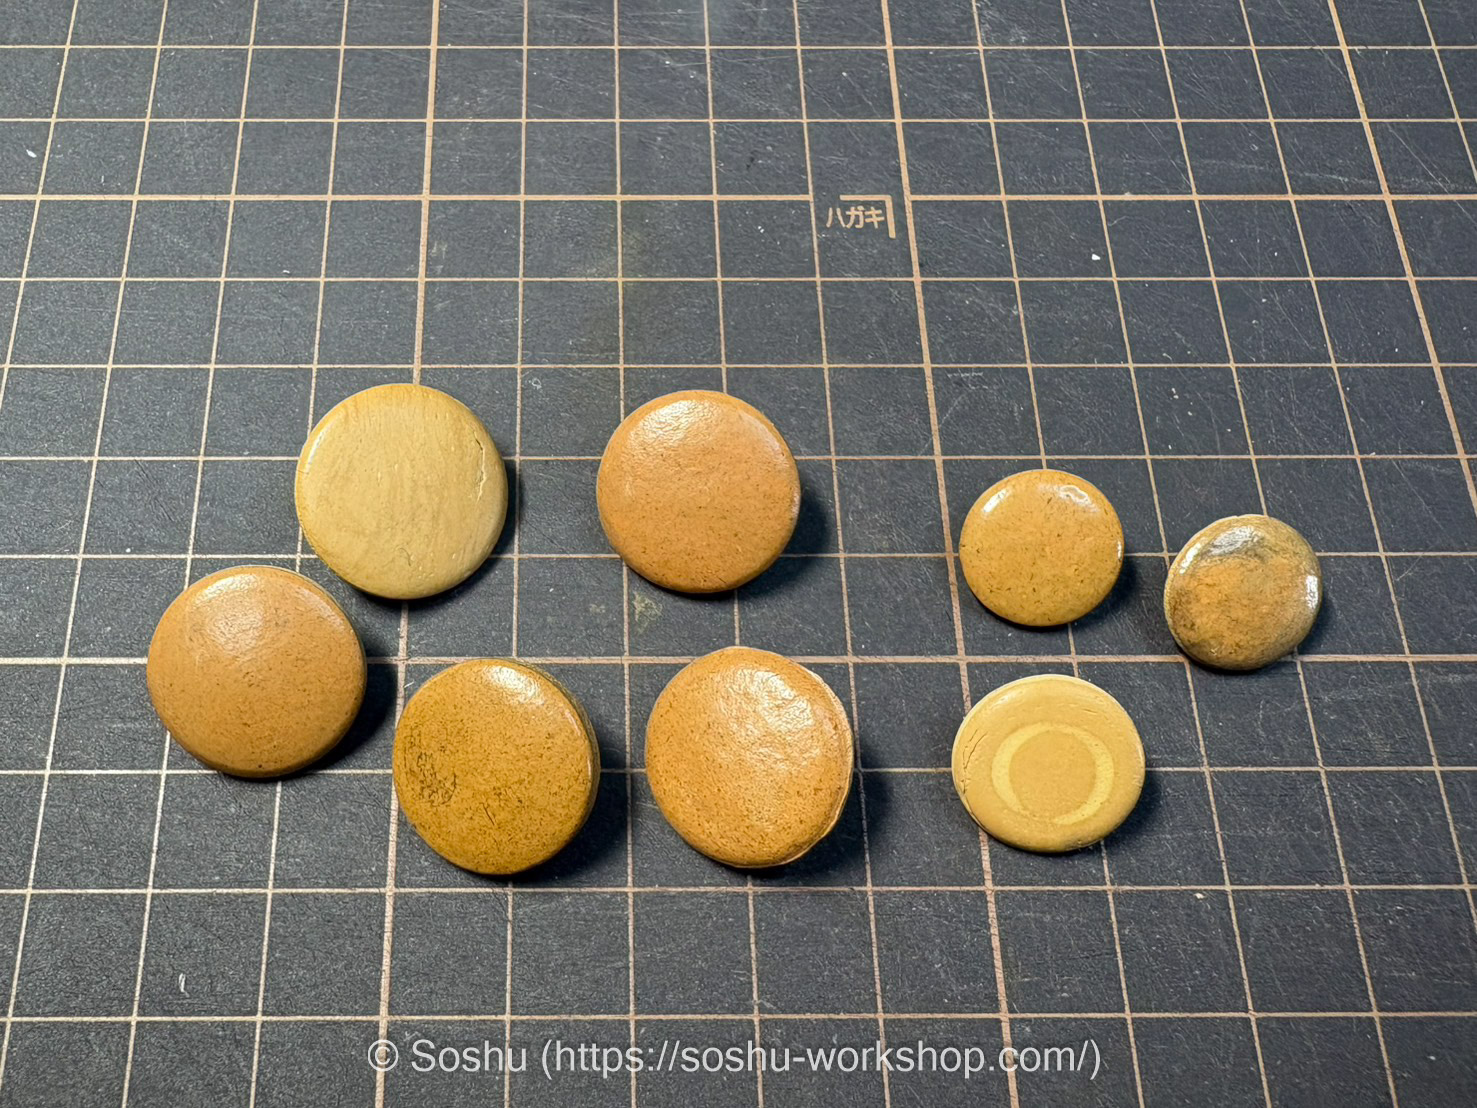
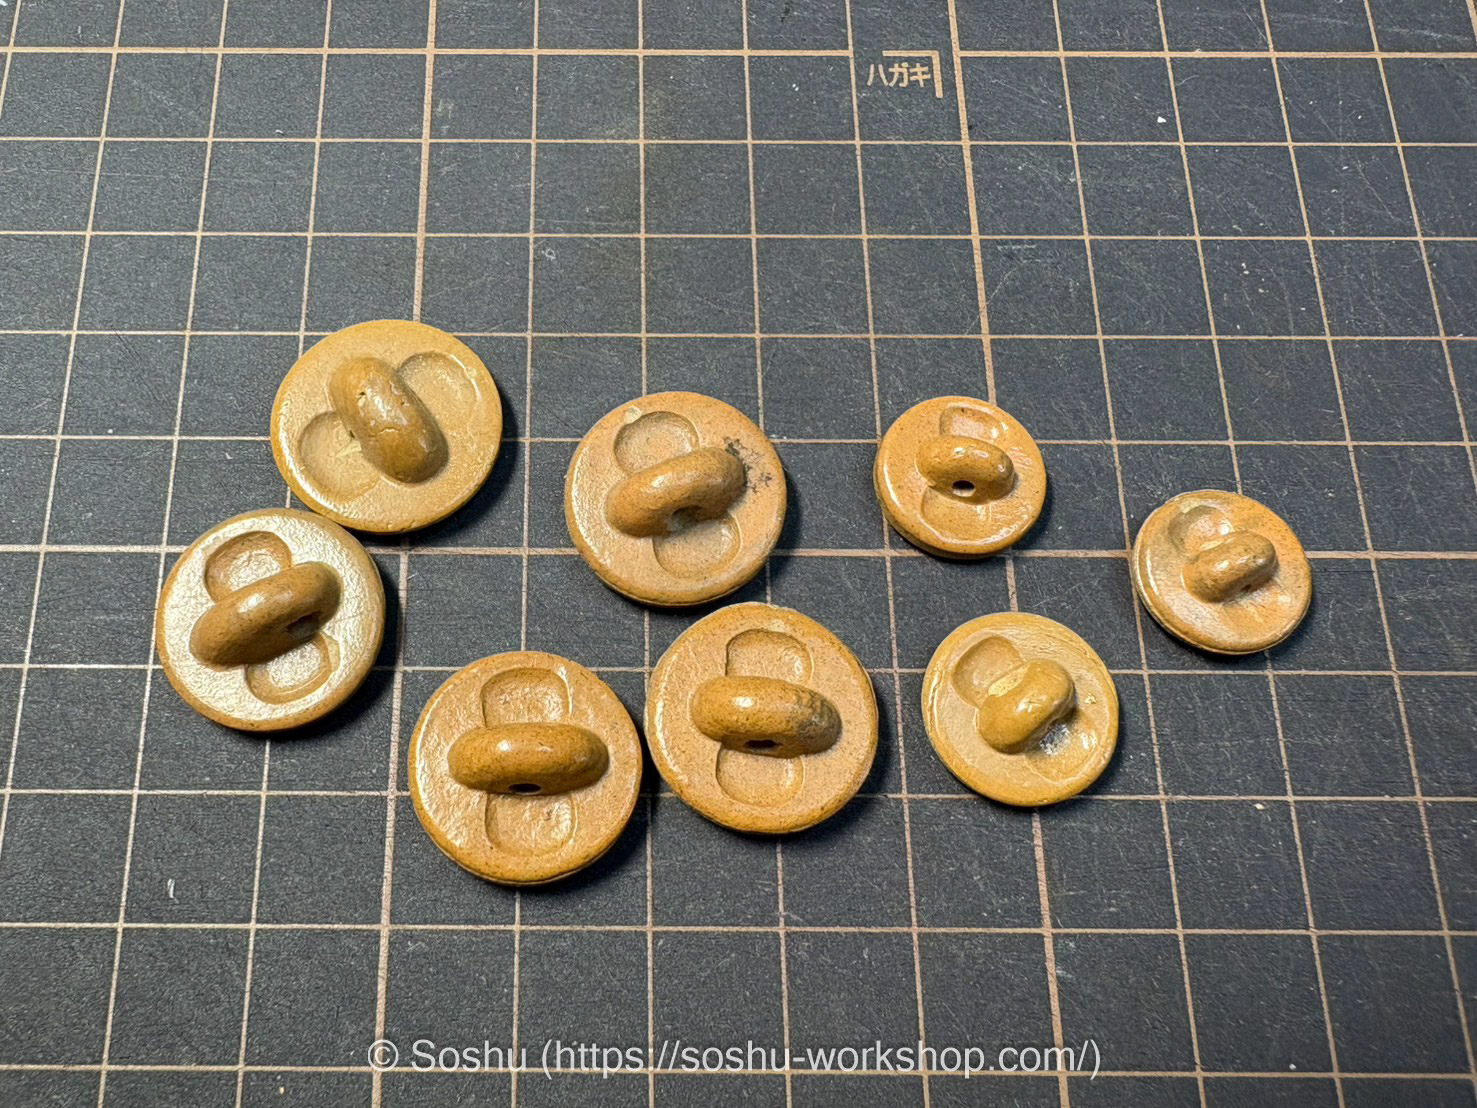
These are also bakelite buttons, but their quality is inferior compared to the previous example.
The surfaces and edges are rough, and the low level of manufacturing precision is clearly evident.
The set consists of five 20 mm buttons and three 15 mm buttons—corresponding to the number required for a single military tunic.
If these were faithfully reproduced and sold as replicas, they might well draw complaints regarding their quality.
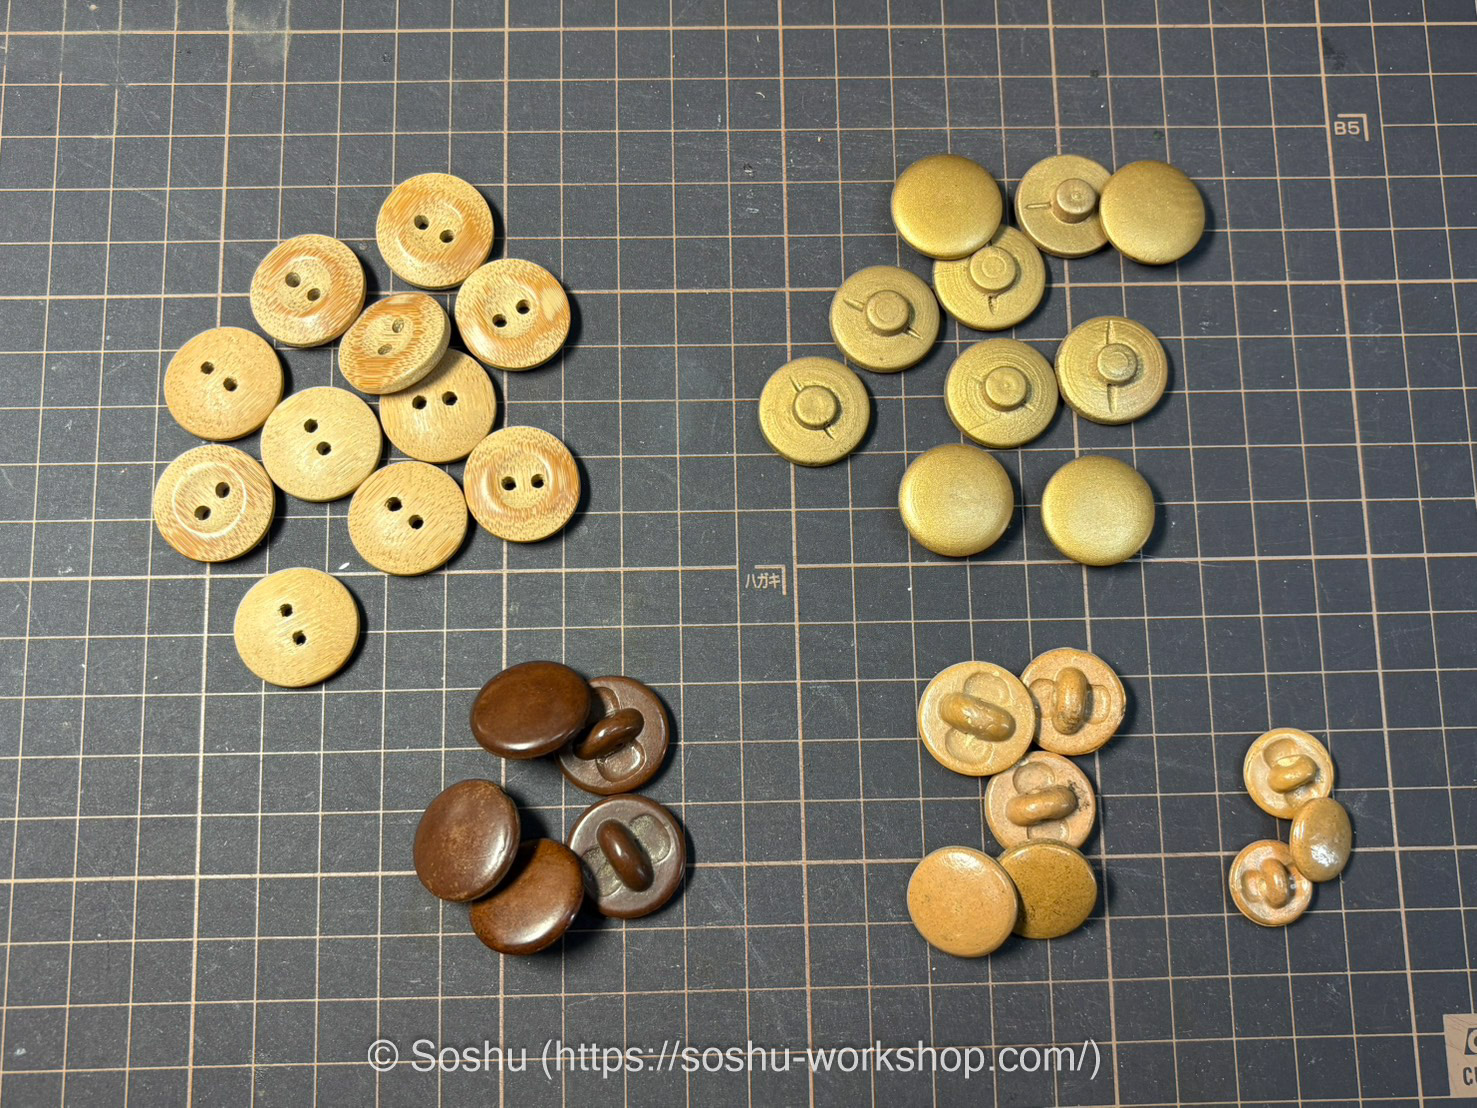
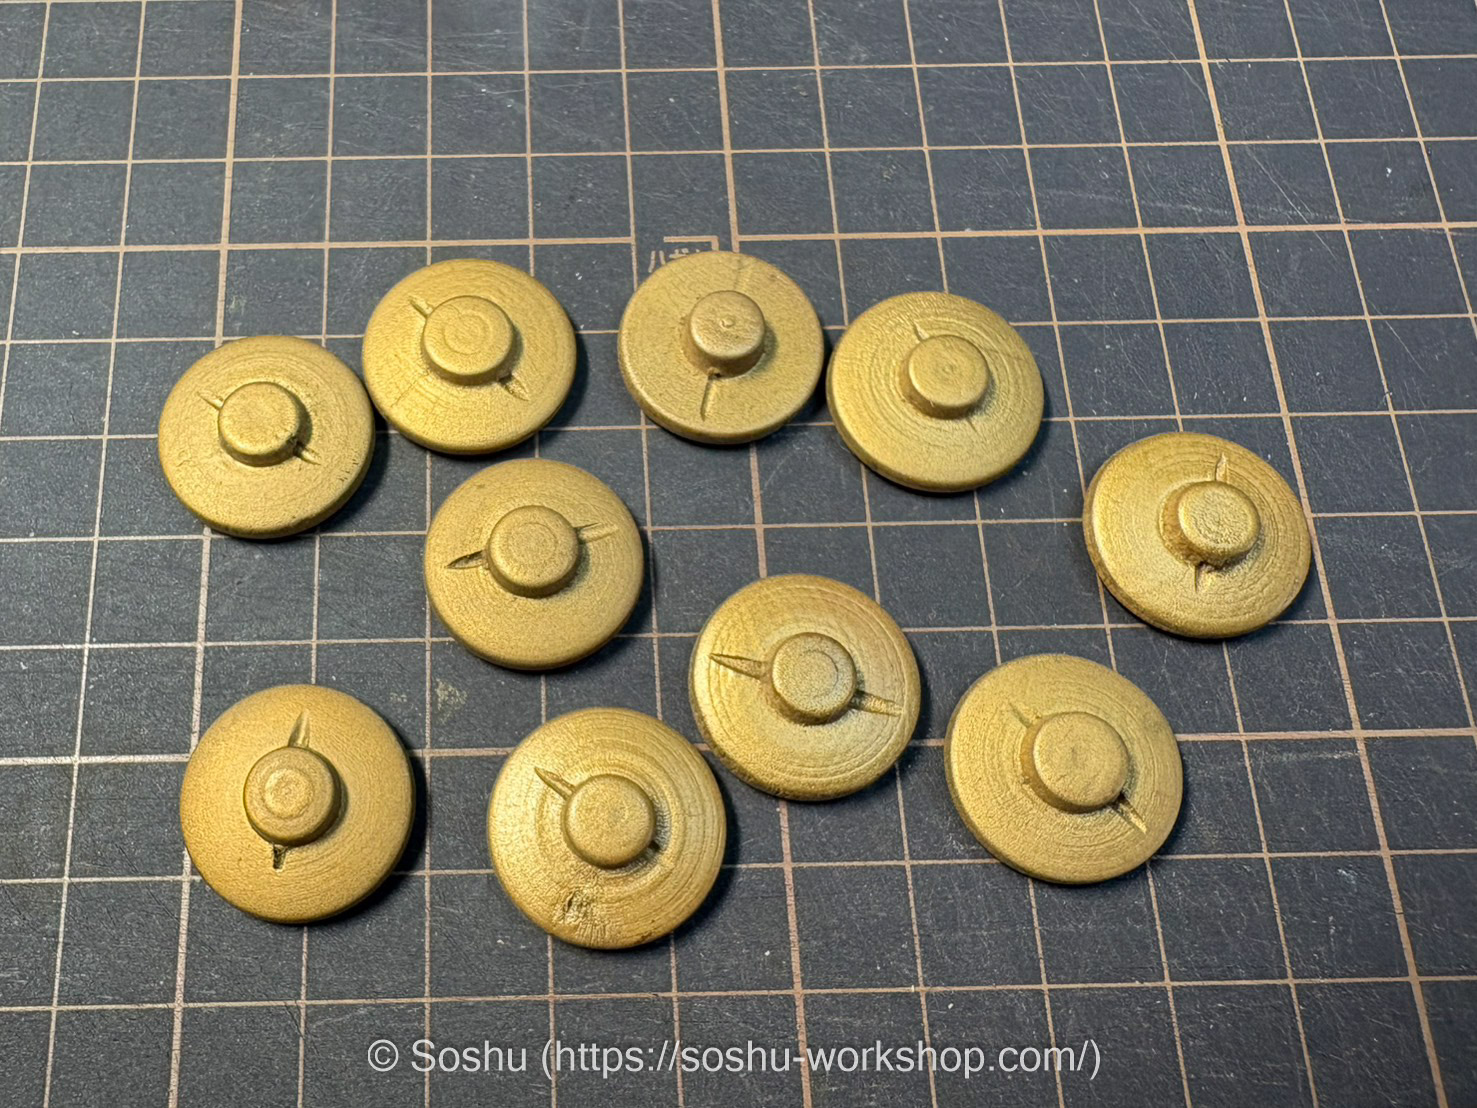
These are wooden buttons. On close inspection, traces of the wood grain and concentric machining marks can be observed.
While the front surfaces, which are visible when worn, are relatively well finished, the reverse sides are quite crudely worked. The fronts have been coated with a matte gold paint.
They are 20 mm buttons used to fasten the front of a military tunic.
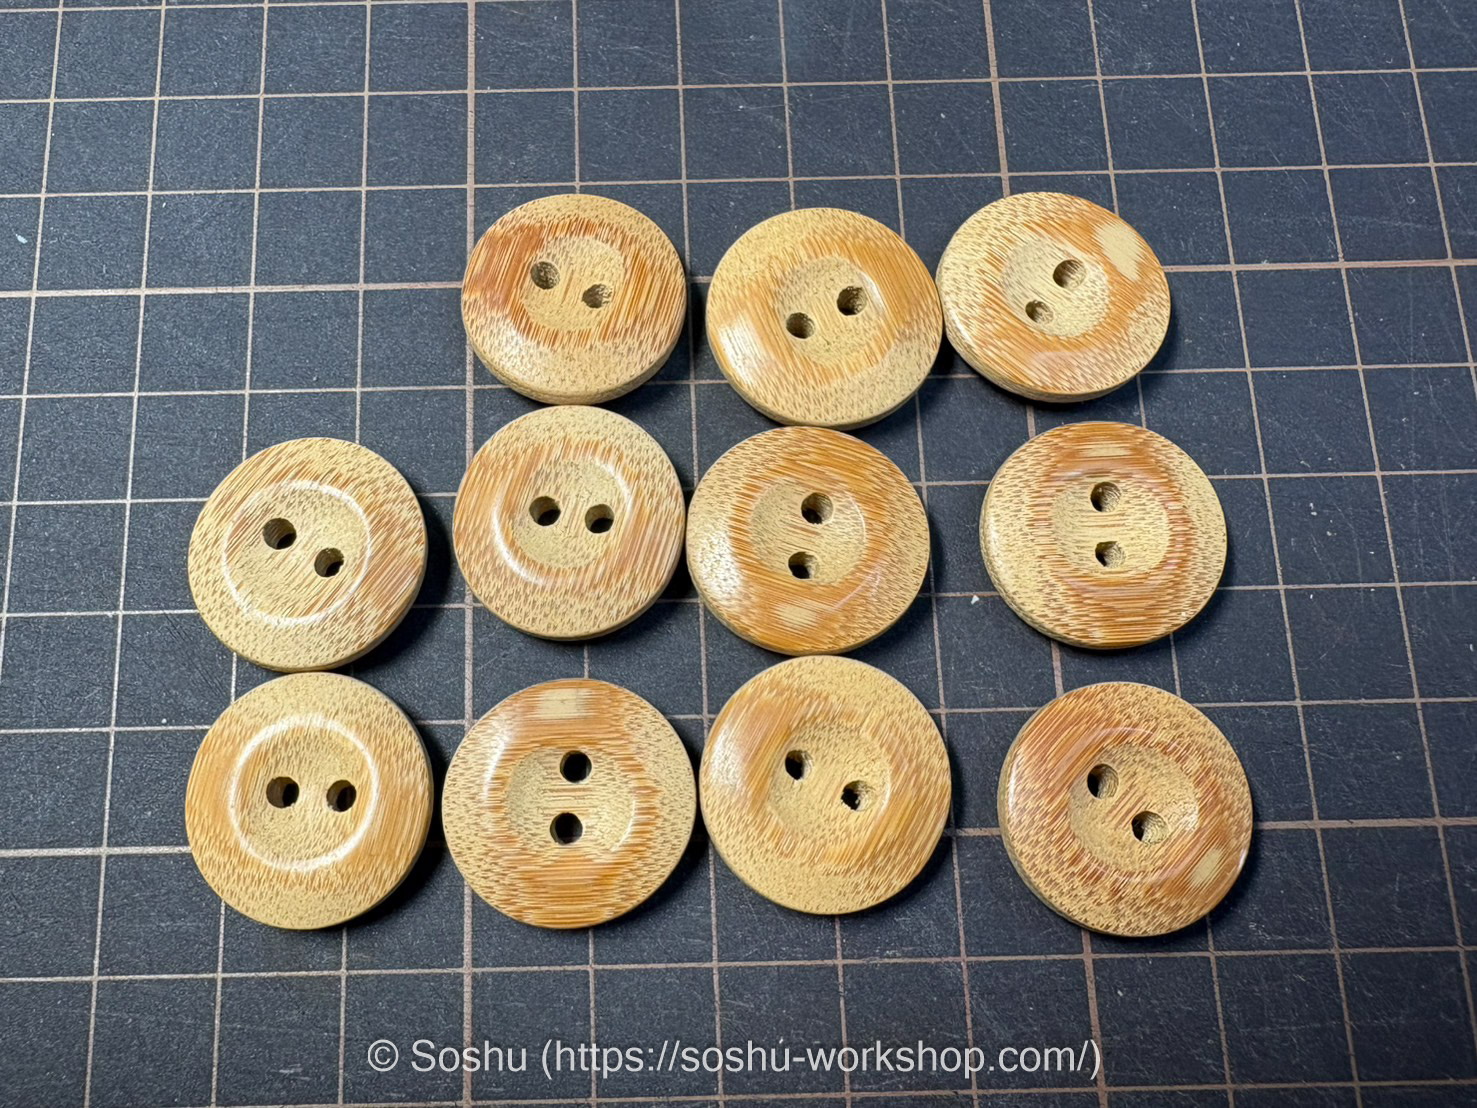
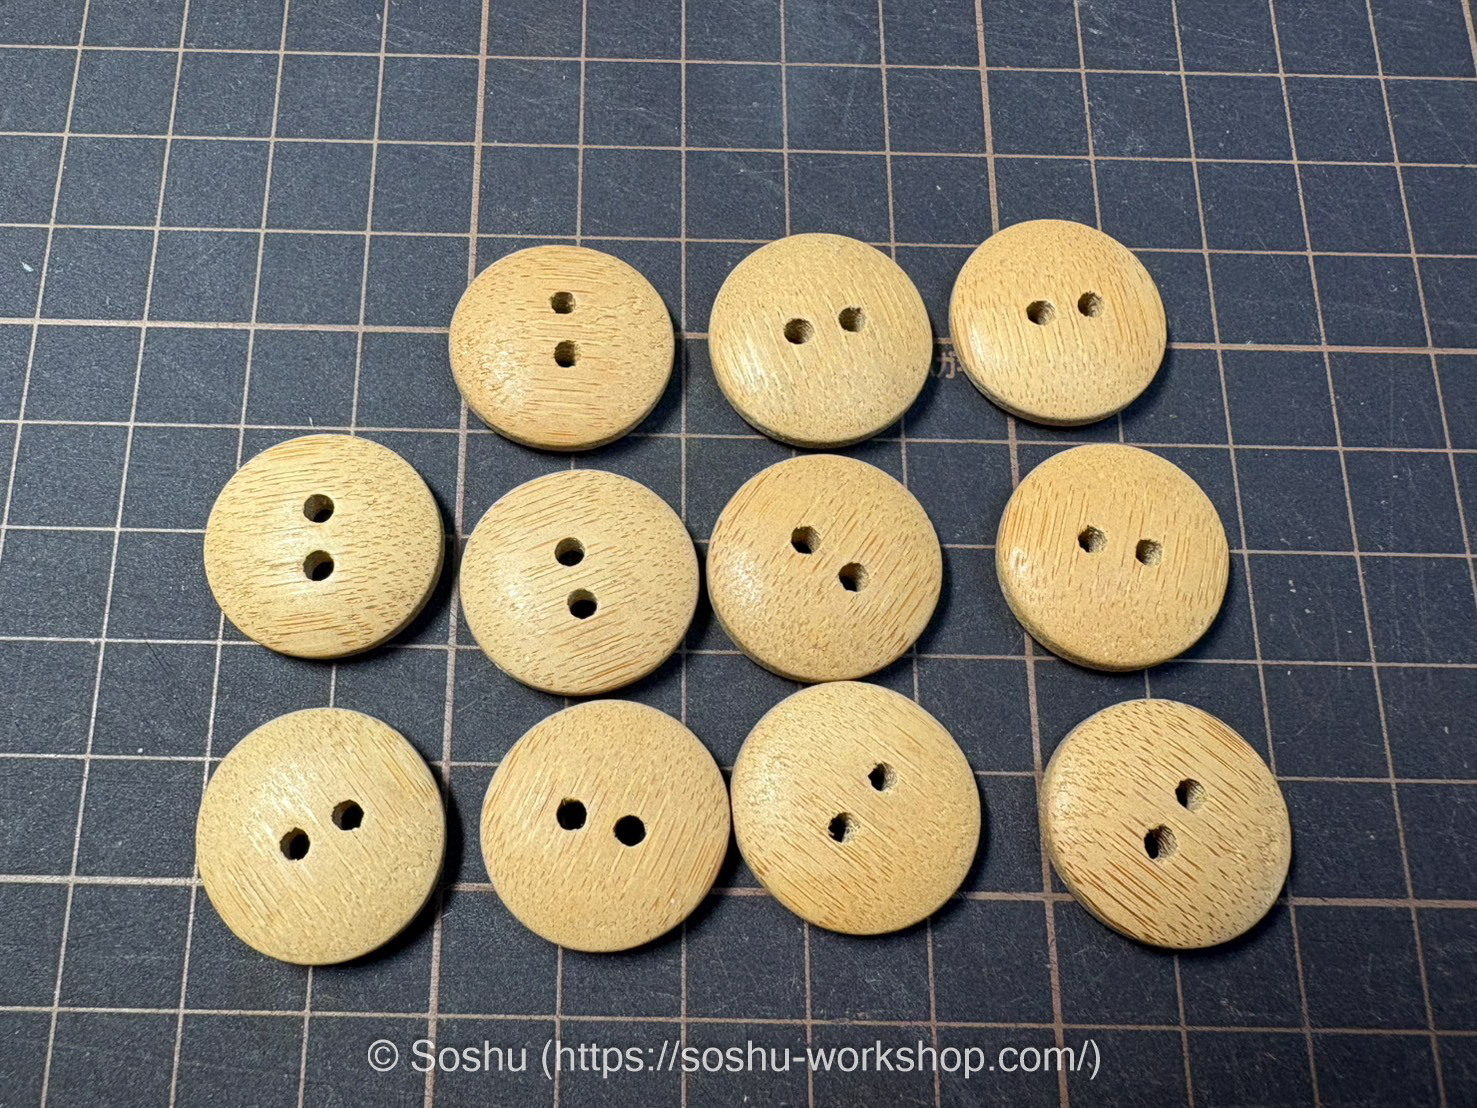
These are buttons used not for military tunics, but for garments such as the Tanker Overalls. Based on the pattern and texture visible on the surface, they are thought to be made of bamboo.
The surfaces appear to be coated with a varnish-like finish, giving them a glossy appearance and a smooth feel.
Now, we come to the main subject. The reason I have been introducing these substitute buttons is that I am currently working on producing replica bakelite buttons.
In collaboration with my sister, I am making a Shōwa 13 (1938) pattern tropical uniform, but I have been unable to obtain suitable bakelite buttons to match it. In the past, resin buttons were available from S&Graf, but they have since disappeared from the product listings. They are currently available from HIKISHOP, but acquiring a full set for one garment costs over 5,500 yen even before shipping. At that price point, it would be difficult to set a realistic retail price for a finished product, so I decided to attempt making them myself.
To that end, I introduced a 3D printer and a 3D scanner. Of course, this was not solely for these buttons—I have other items I plan to produce as well, so this was an investment with those in mind. Since I intend to create full-scale (1:1) reproductions, I chose a large, high-end model.
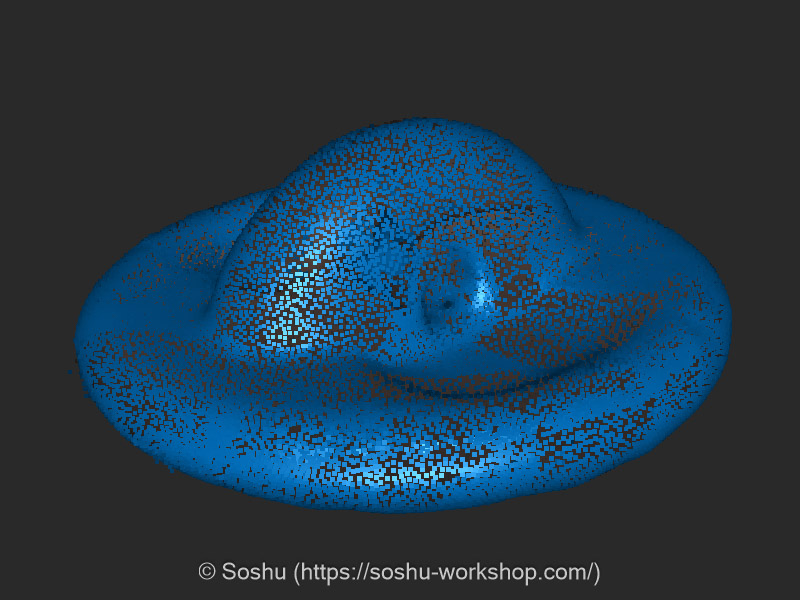
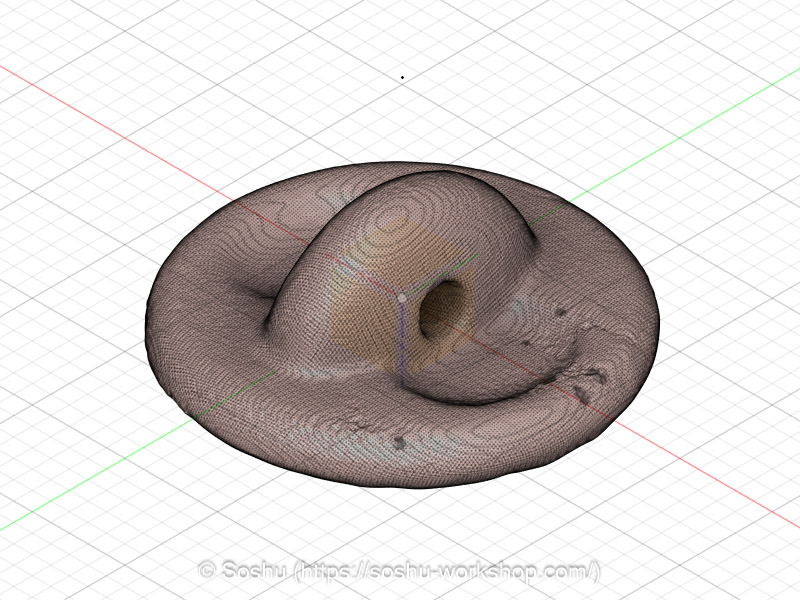
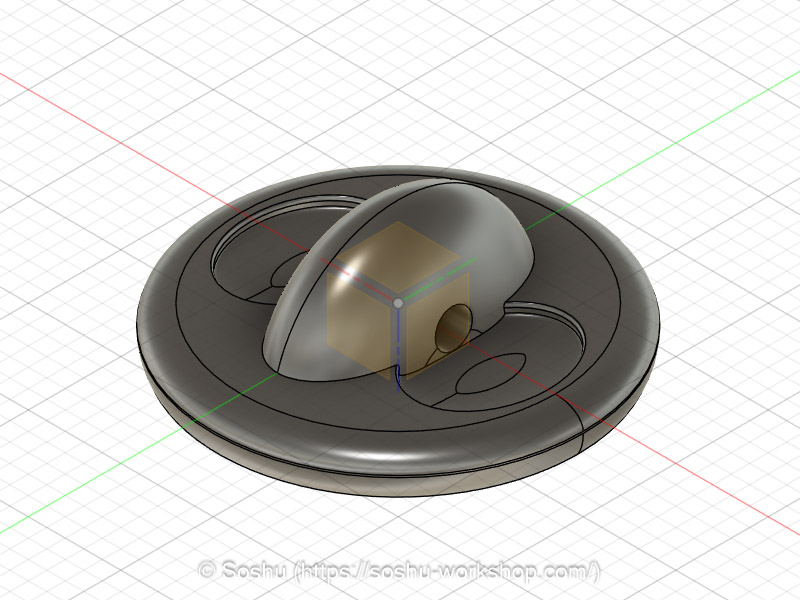
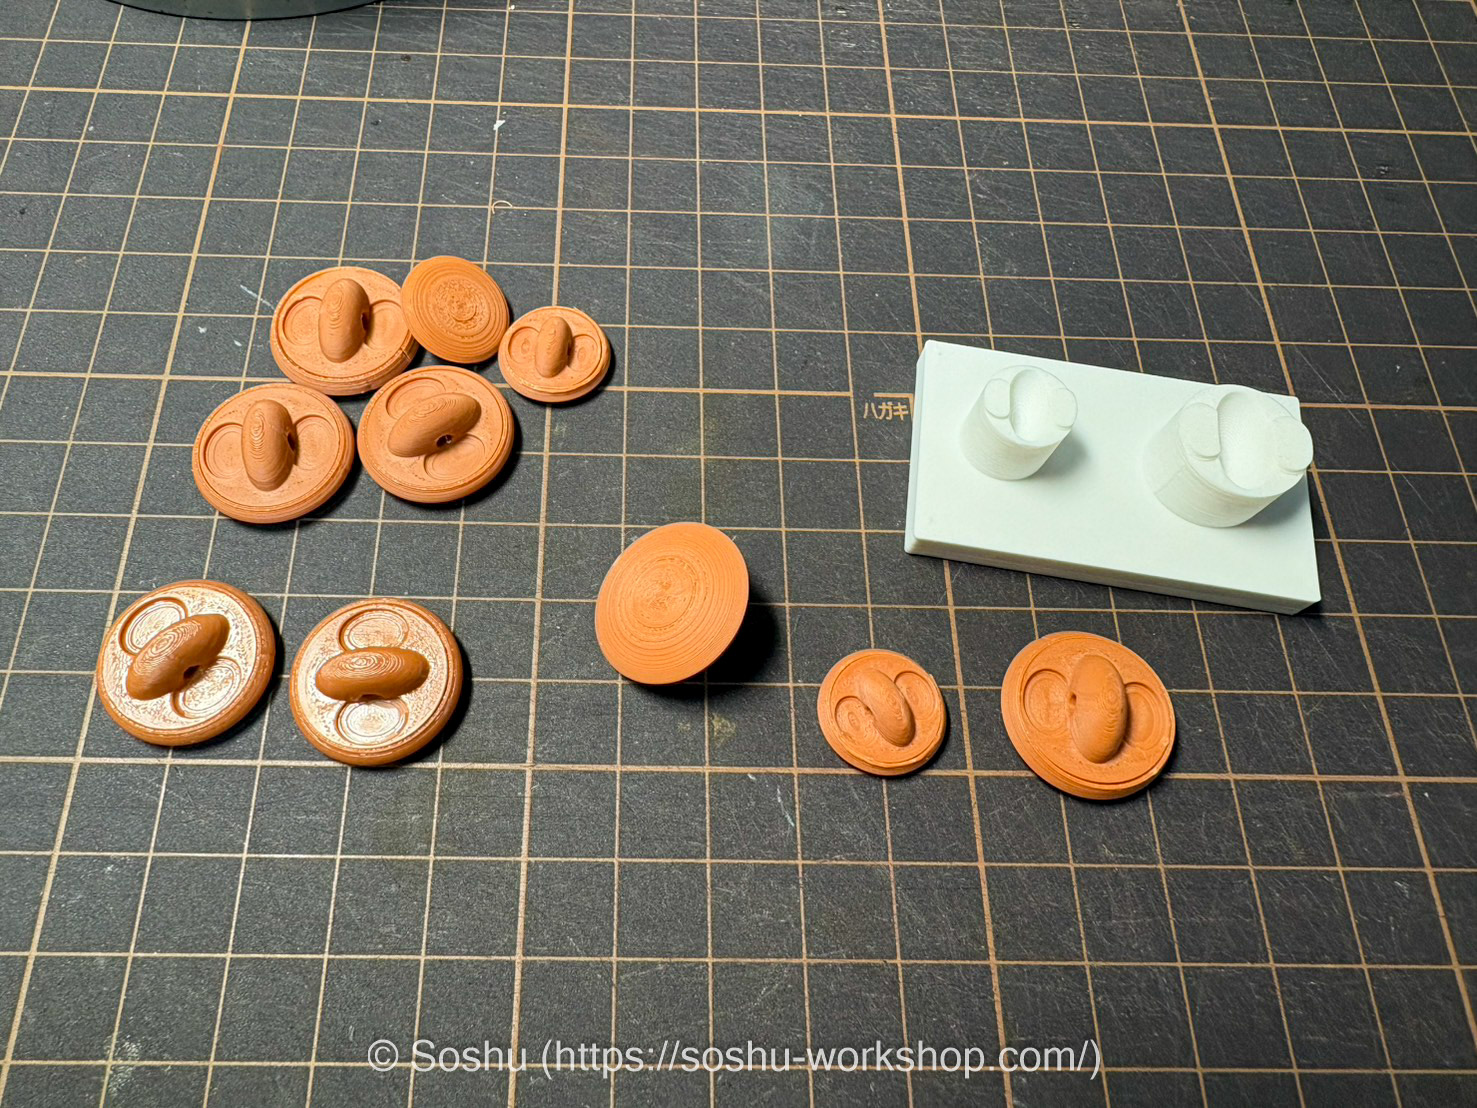
Here are the data of an actual button captured with a 3D scanner, along with a 3D model created by tracing it in CAD. Although it was my first time using CAD, my background as an IT engineer meant that it did not take long to learn.
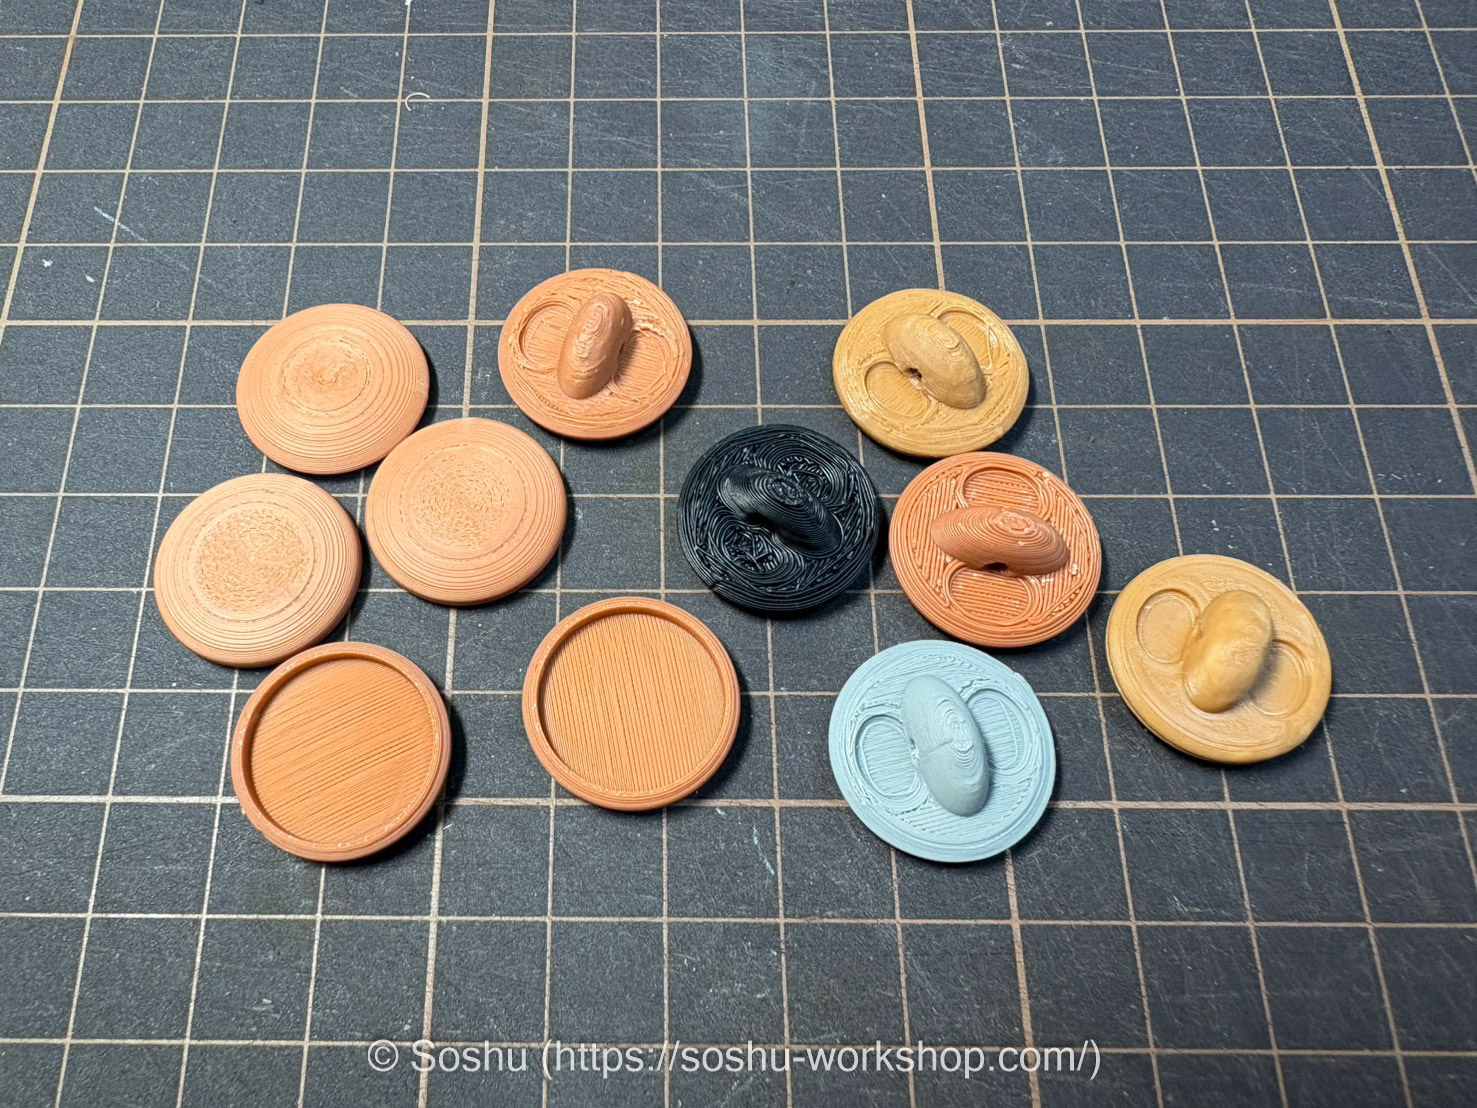
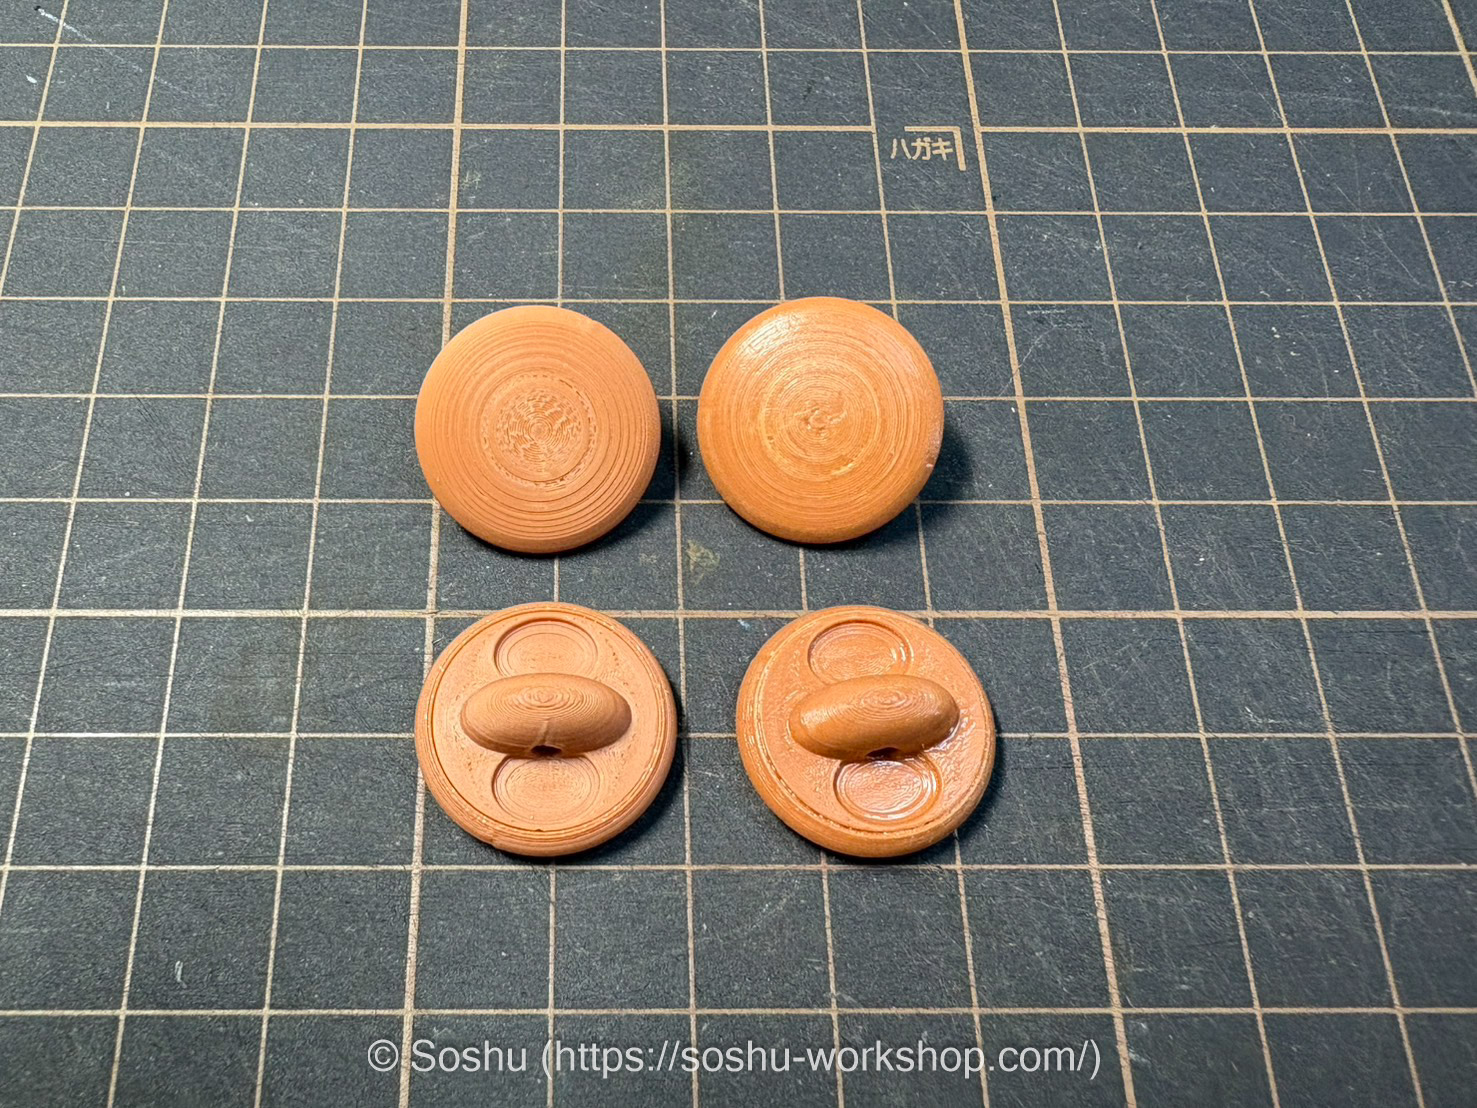
These are the first series of prototypes. Initially, I printed the 3D-scanned data as-is, but the surface was too rough for practical use, so I decided to create a new 3D model from scratch.
These reflect various trials, such as changing the print orientation and splitting the model, in order to minimize visible layer lines.
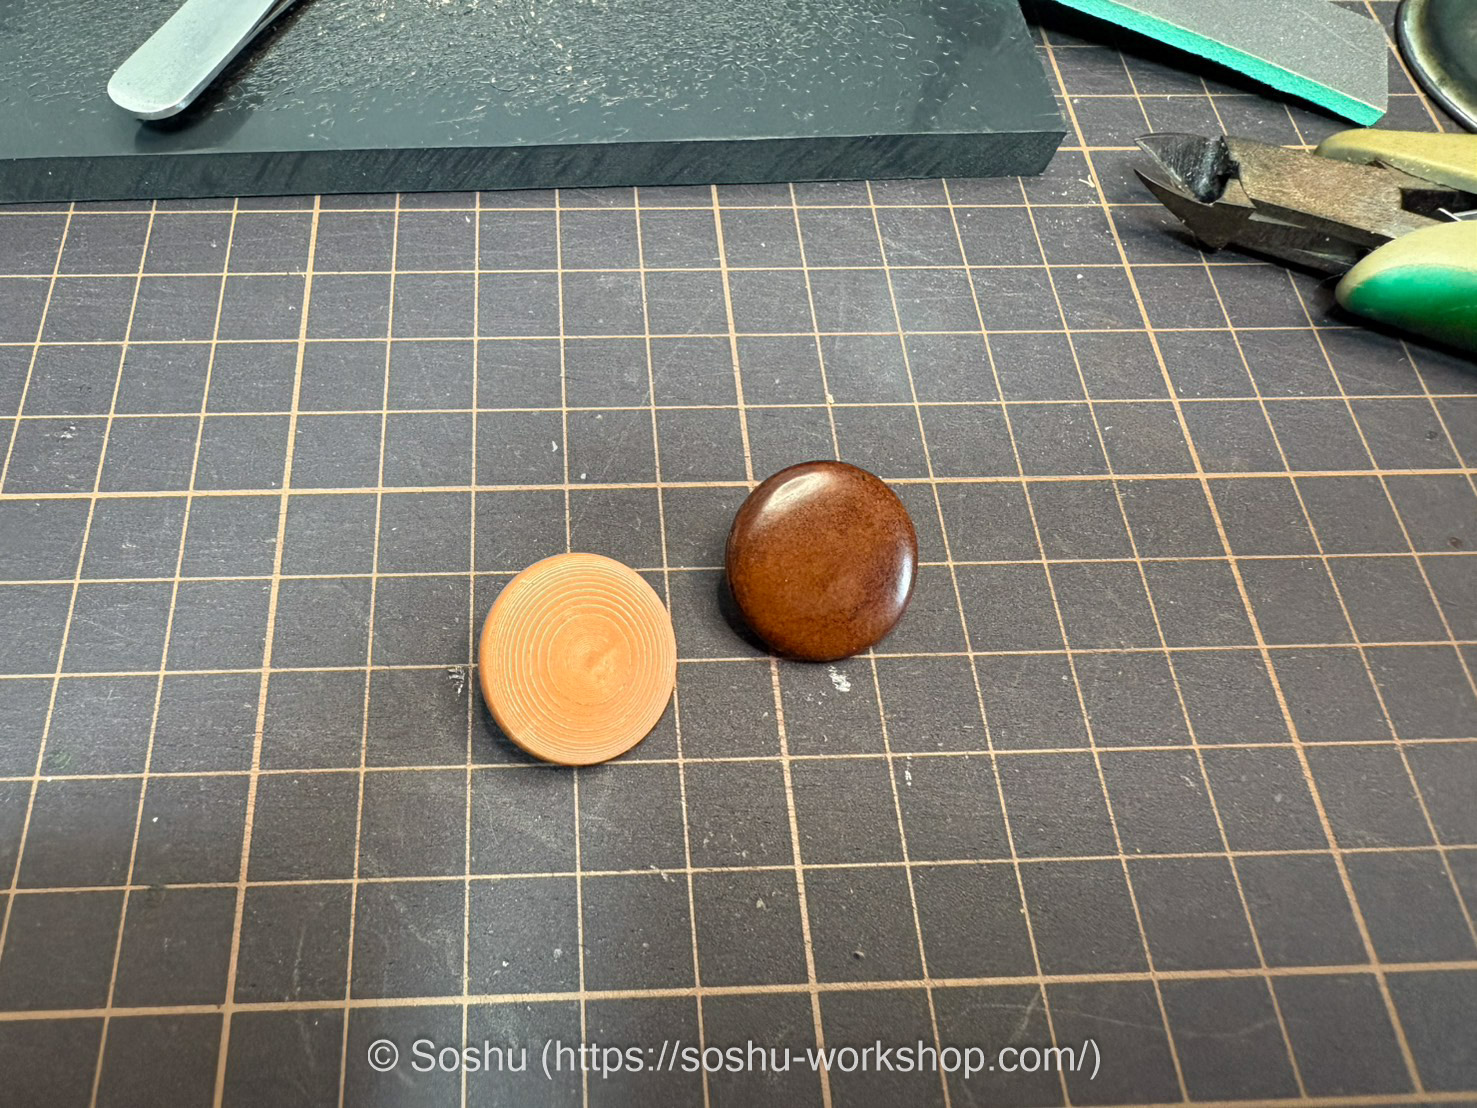
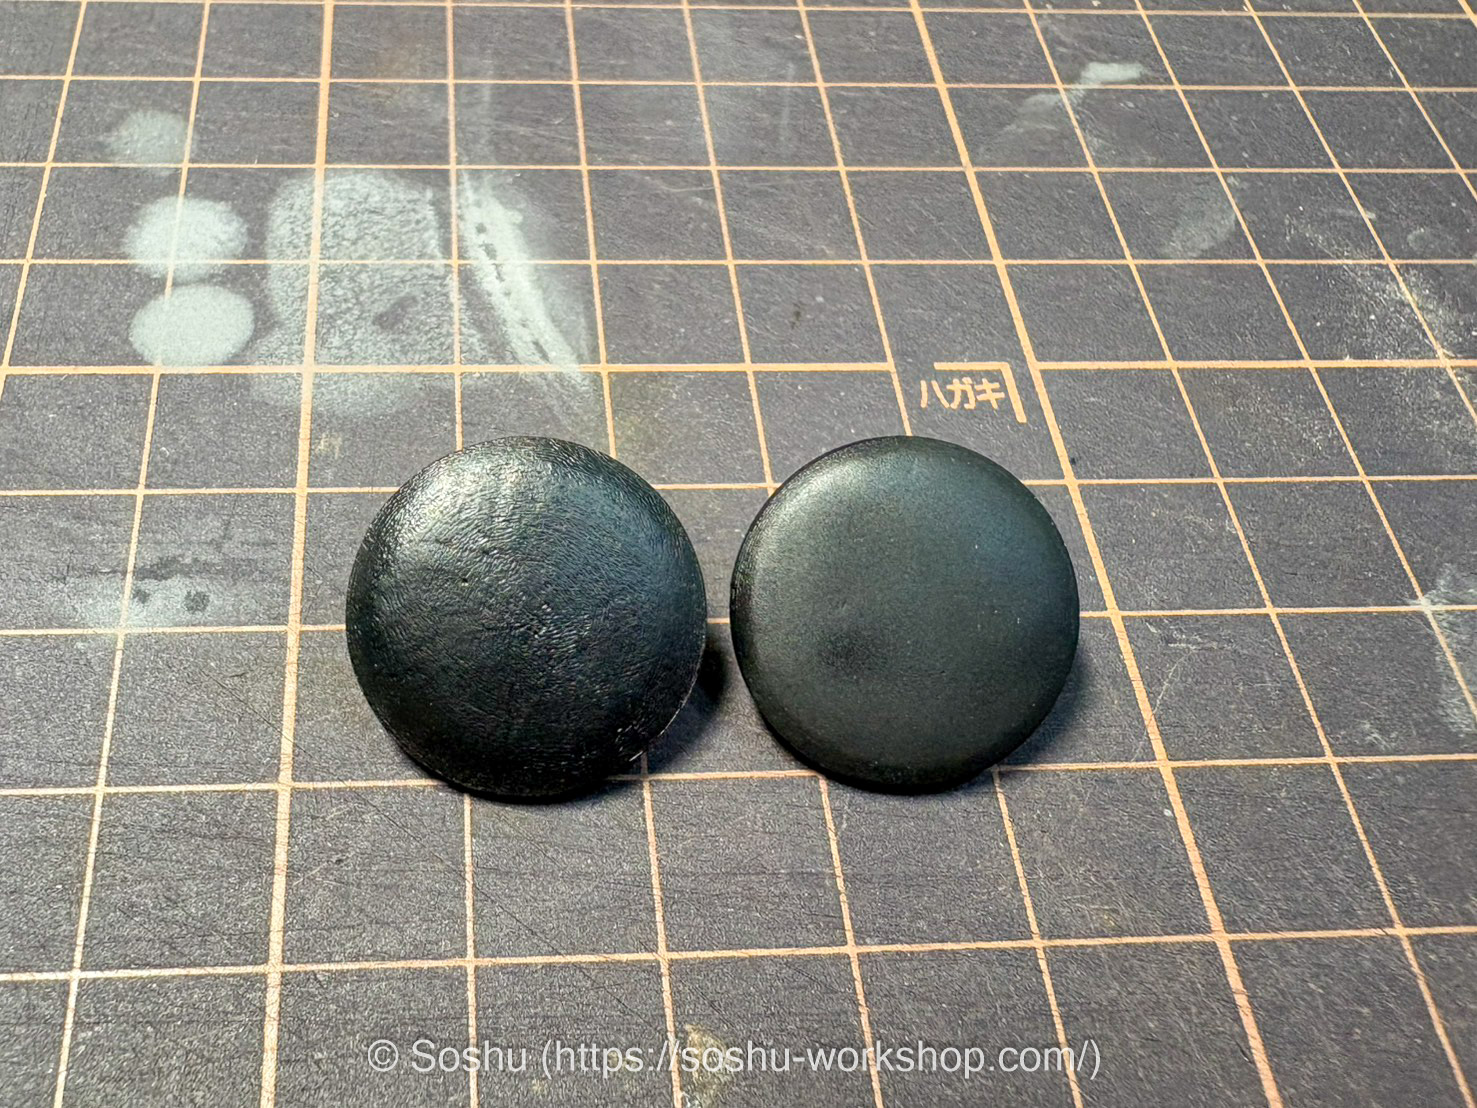
No matter how much I refined the process, it was not possible to completely eliminate the layer lines on the surface. In the end, I finish each piece by hand.
Using a combination of a rotary tool and a pen sander, it takes about 10 minutes per button.
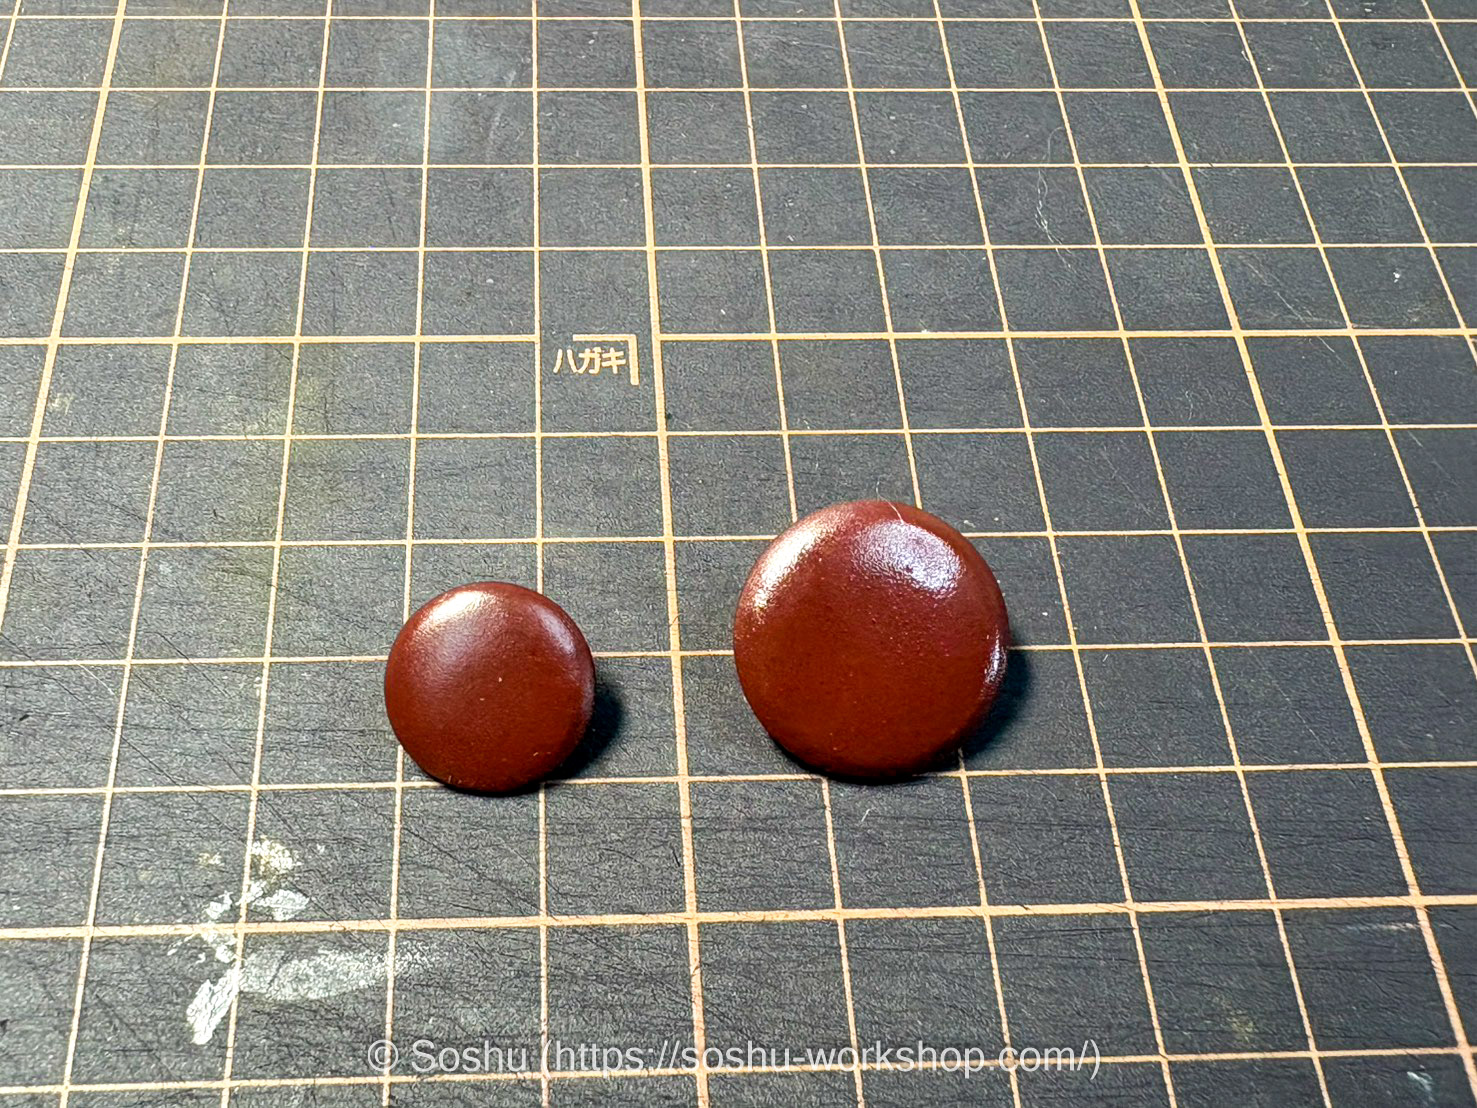
The right one has been finished, while the left one is unprocessed.
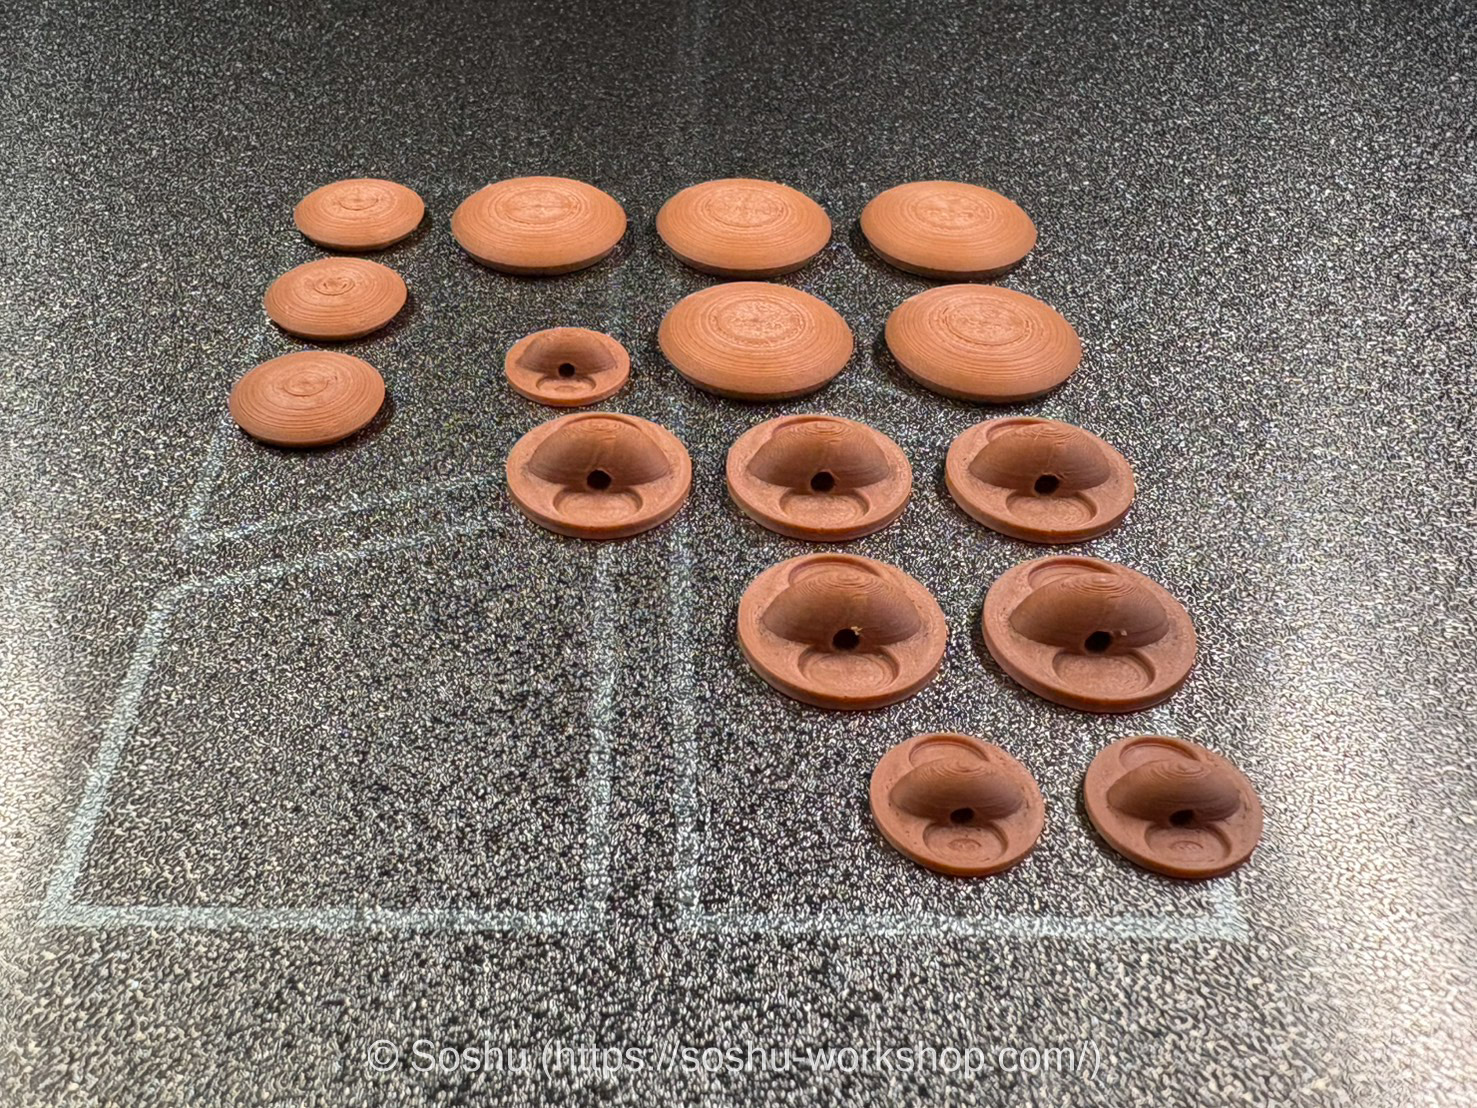
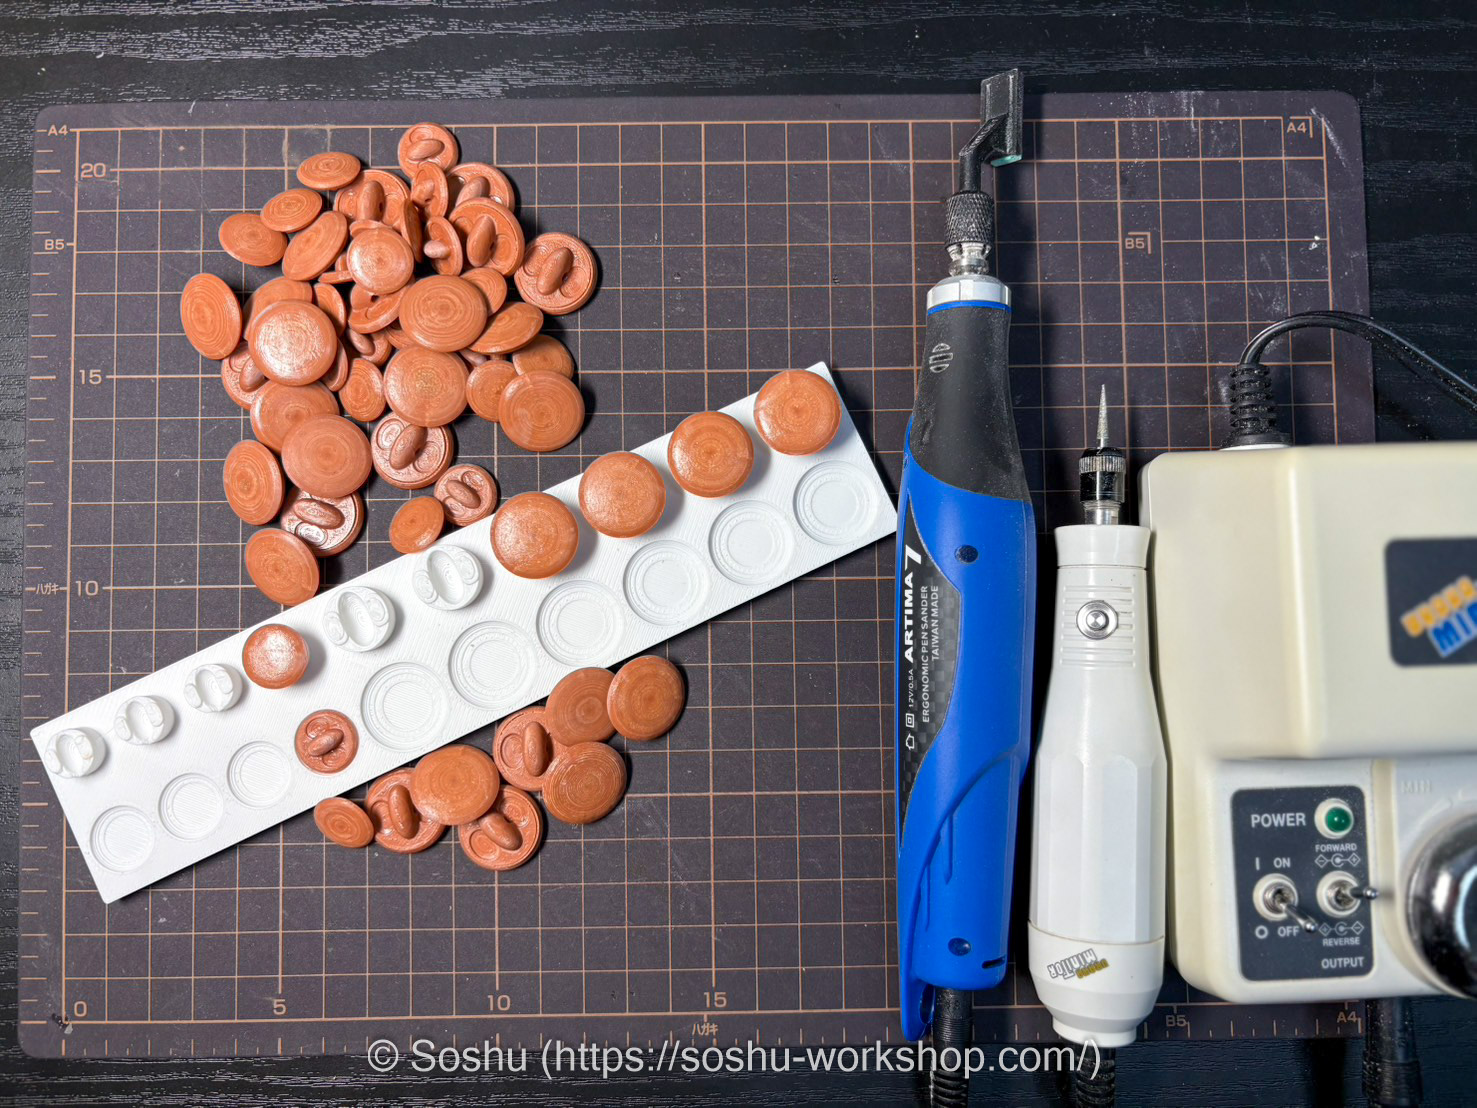
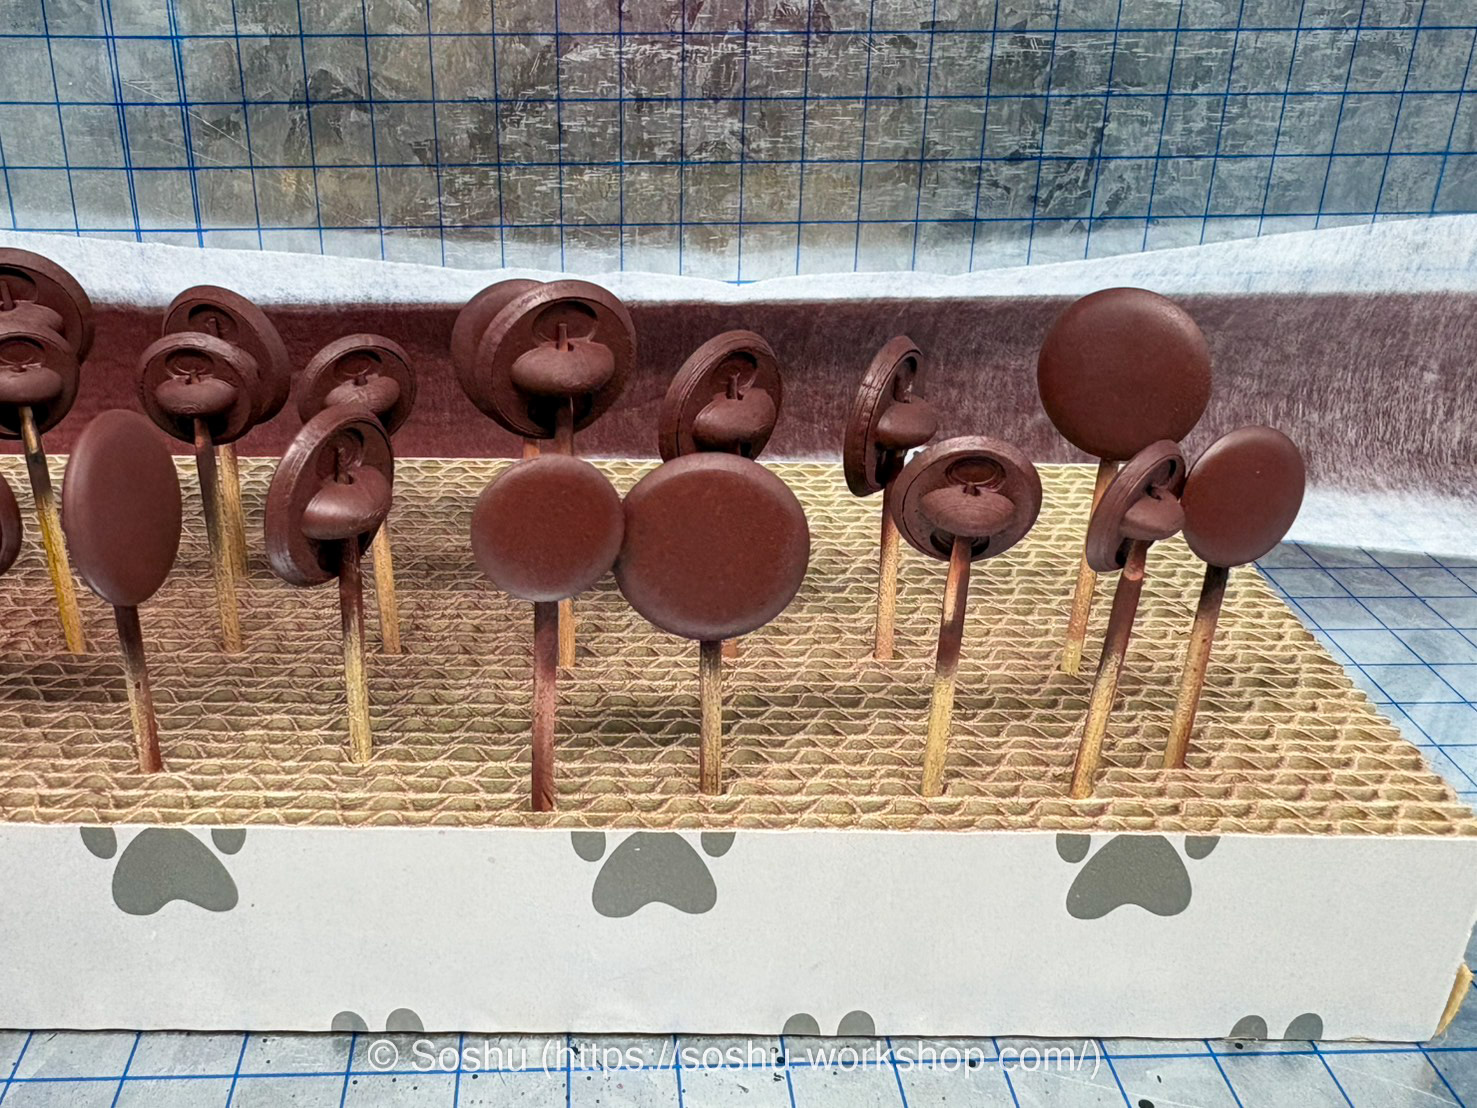
These are buttons for a single garment, produced using a 3D printer. Since I introduced a large machine, it is possible to print up to about 20 sets at once.
However, in that case the surface finishing would become a nightmare, so in practice I do not produce them in large batches.
I explored various methods for removing the layer lines characteristic of 3D printing, but ultimately concluded that there is no effective solution other than sanding and polishing. For this reason, I also designed and fabricated jigs for processing.
After that, it becomes a matter of steadily working through each piece one by one, using a rotary tool and a pen sander.
After applying the first coat of surfacer, the surface finish was still not sufficient.
The roughness resembles that seen on late-war buttons, and one could say it adds a certain authenticity. However, by modern standards, it might lead to complaints about quality.
For that reason, I decided to apply putty once more and refinish the surface.
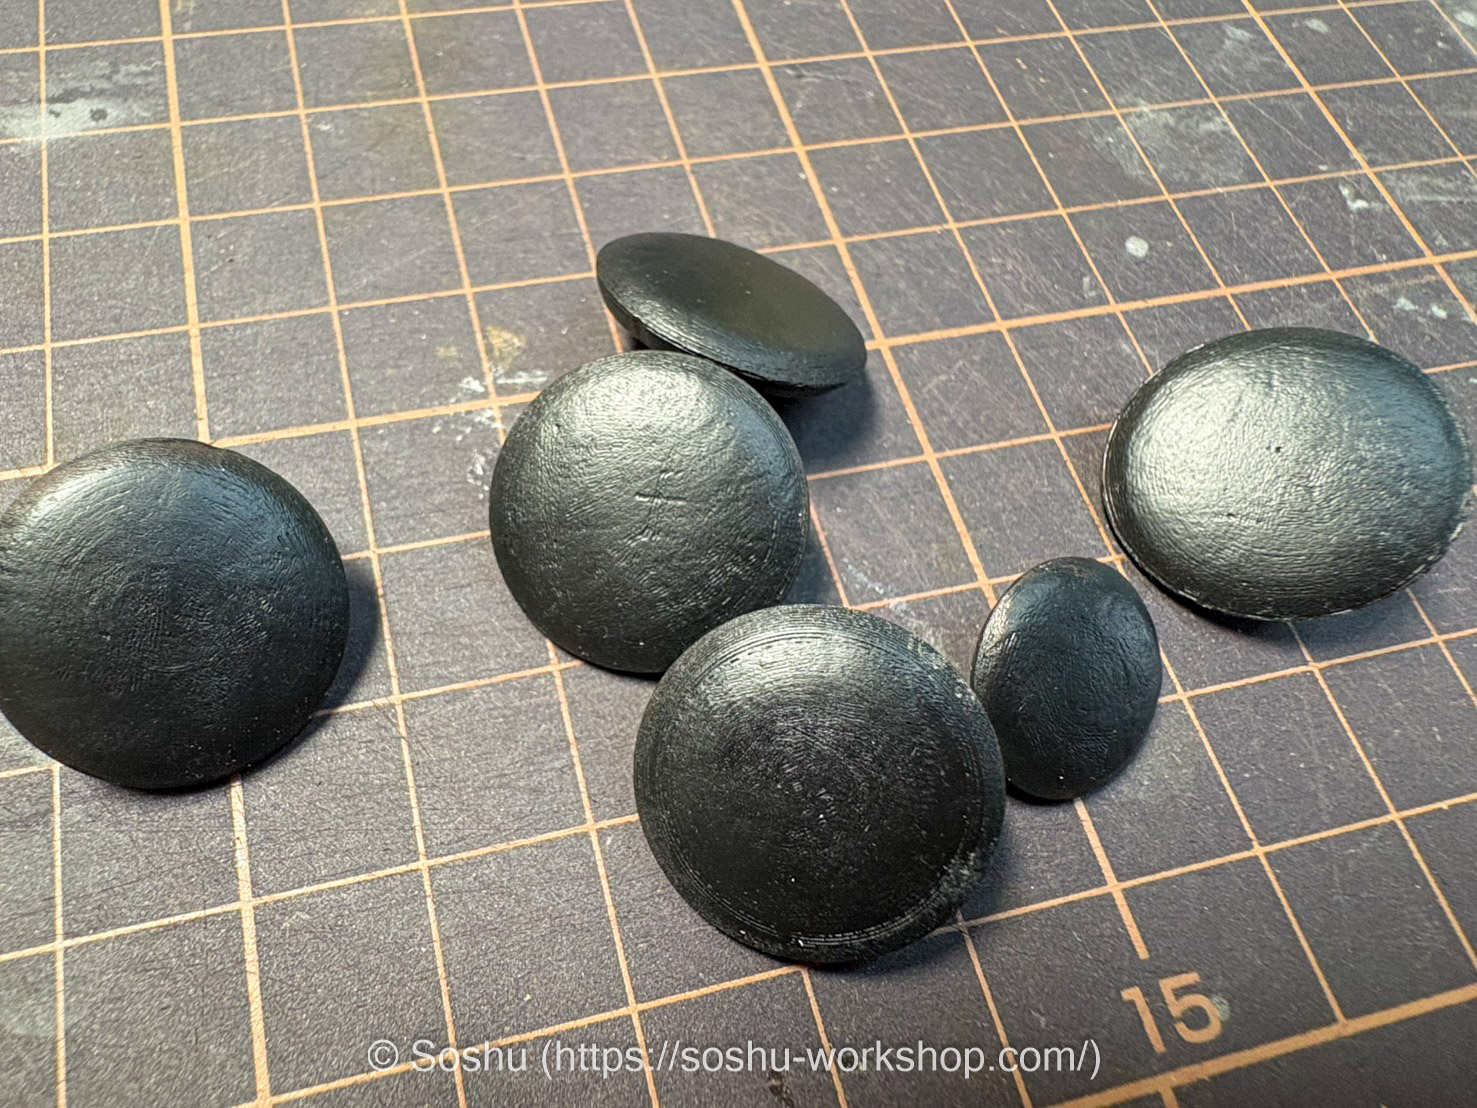

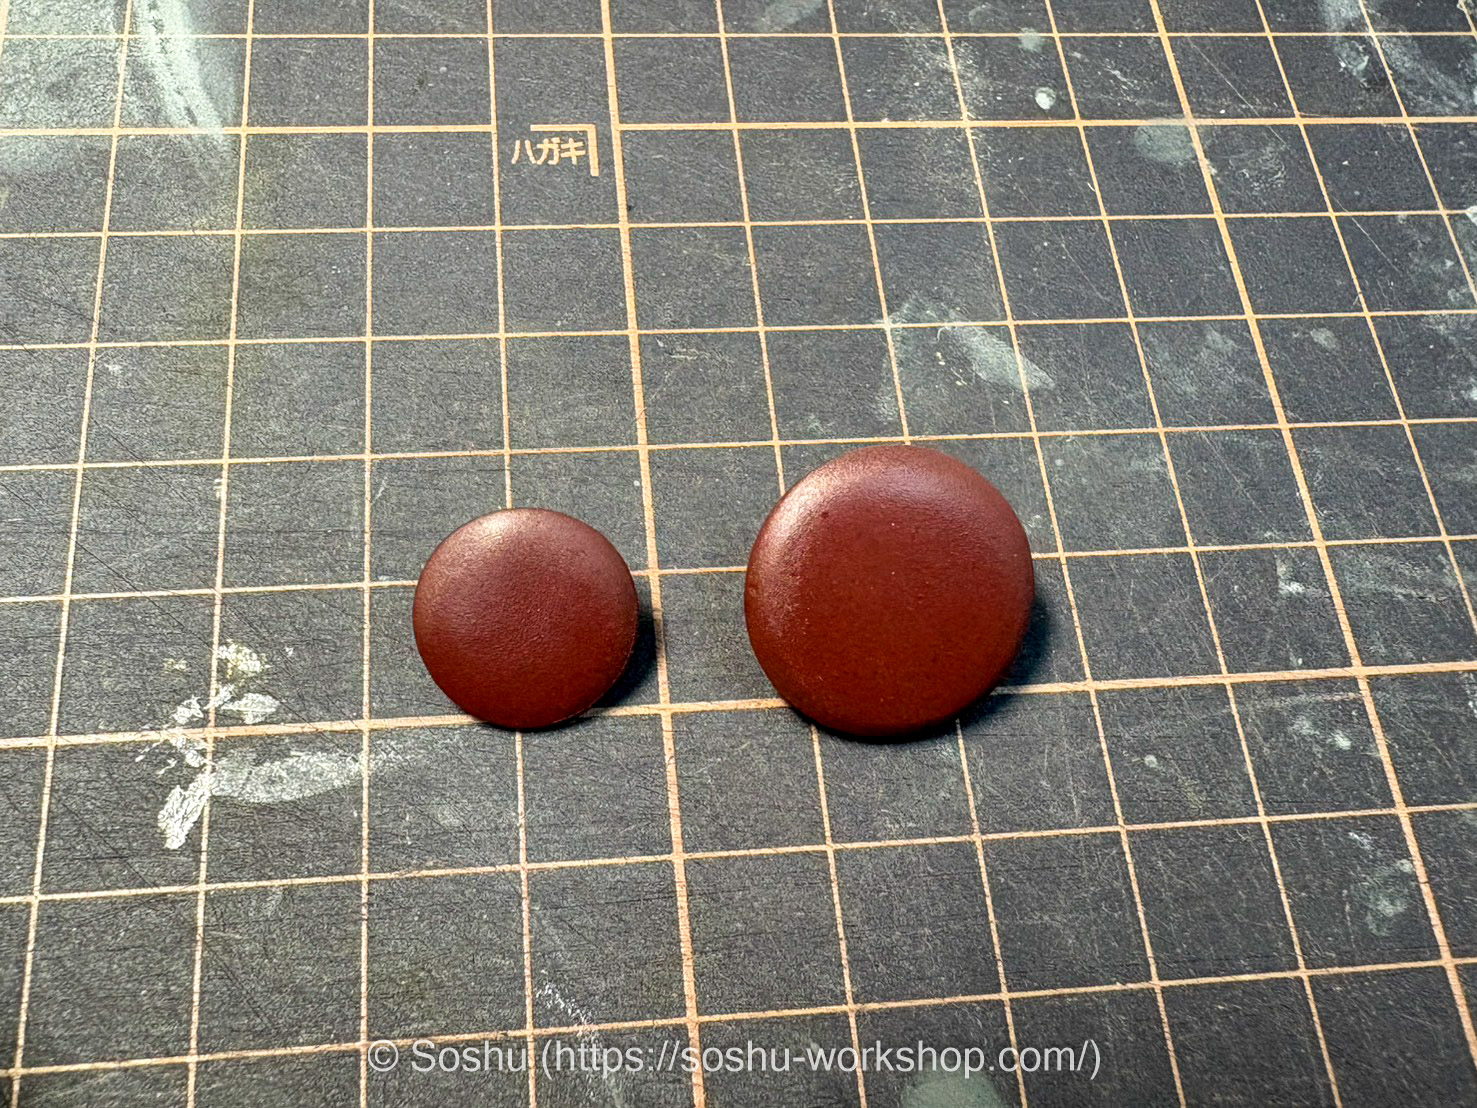
After sanding once again, this is the result after applying the second coat of surfacer.
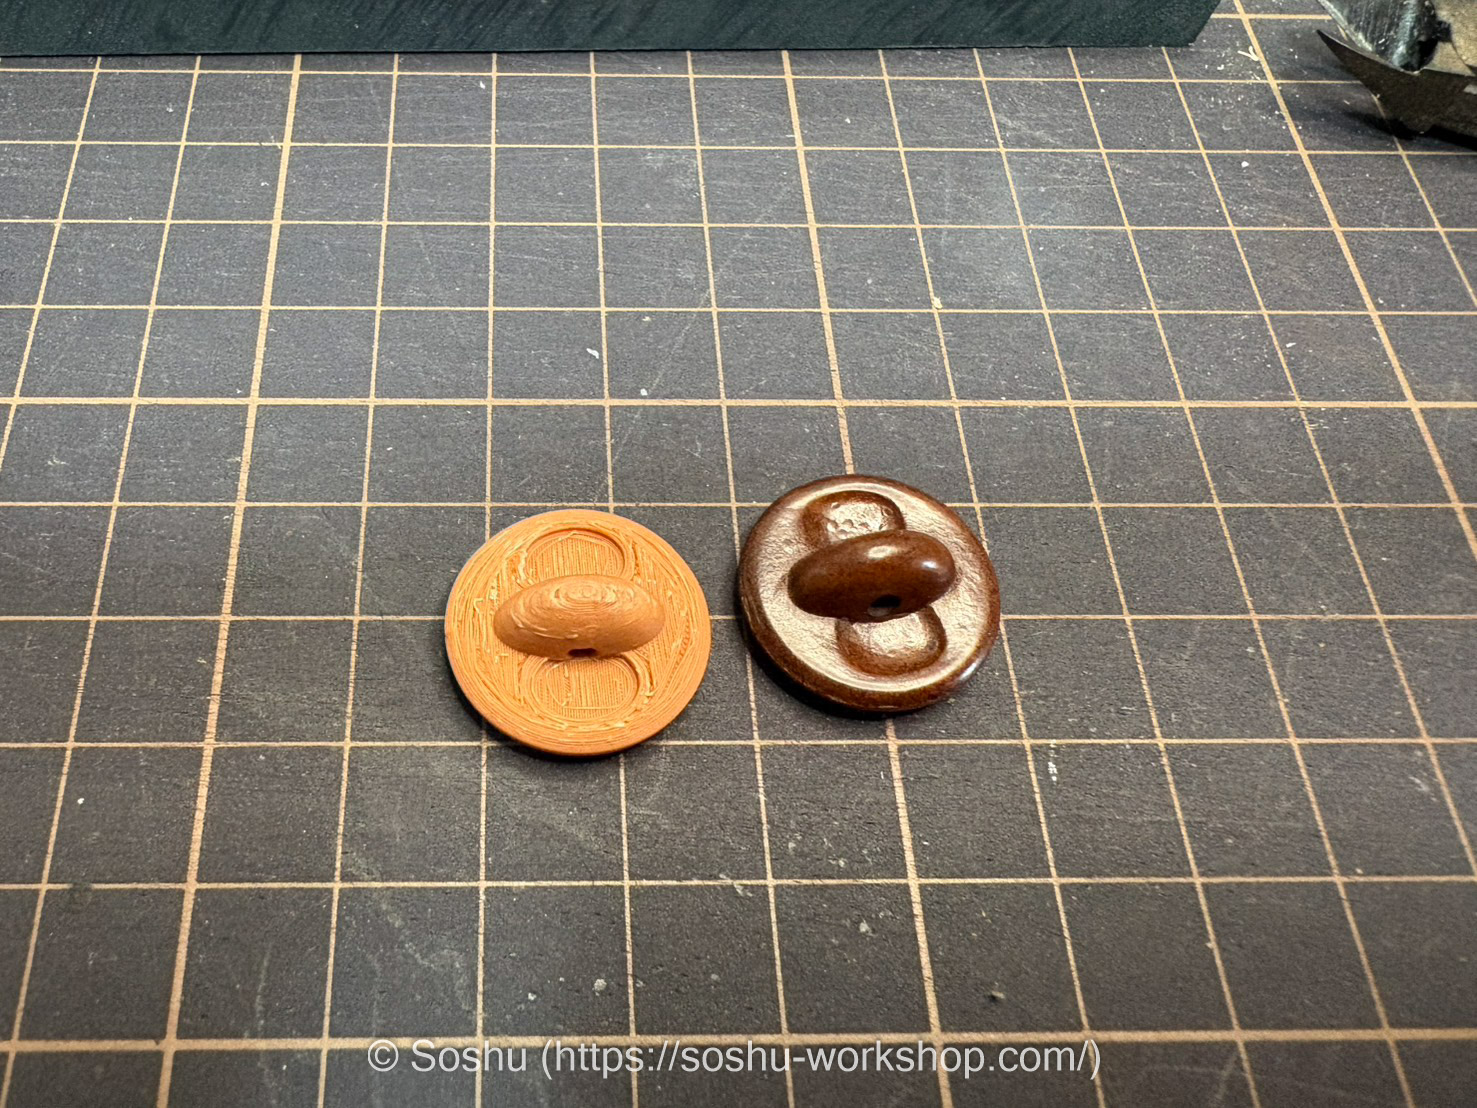
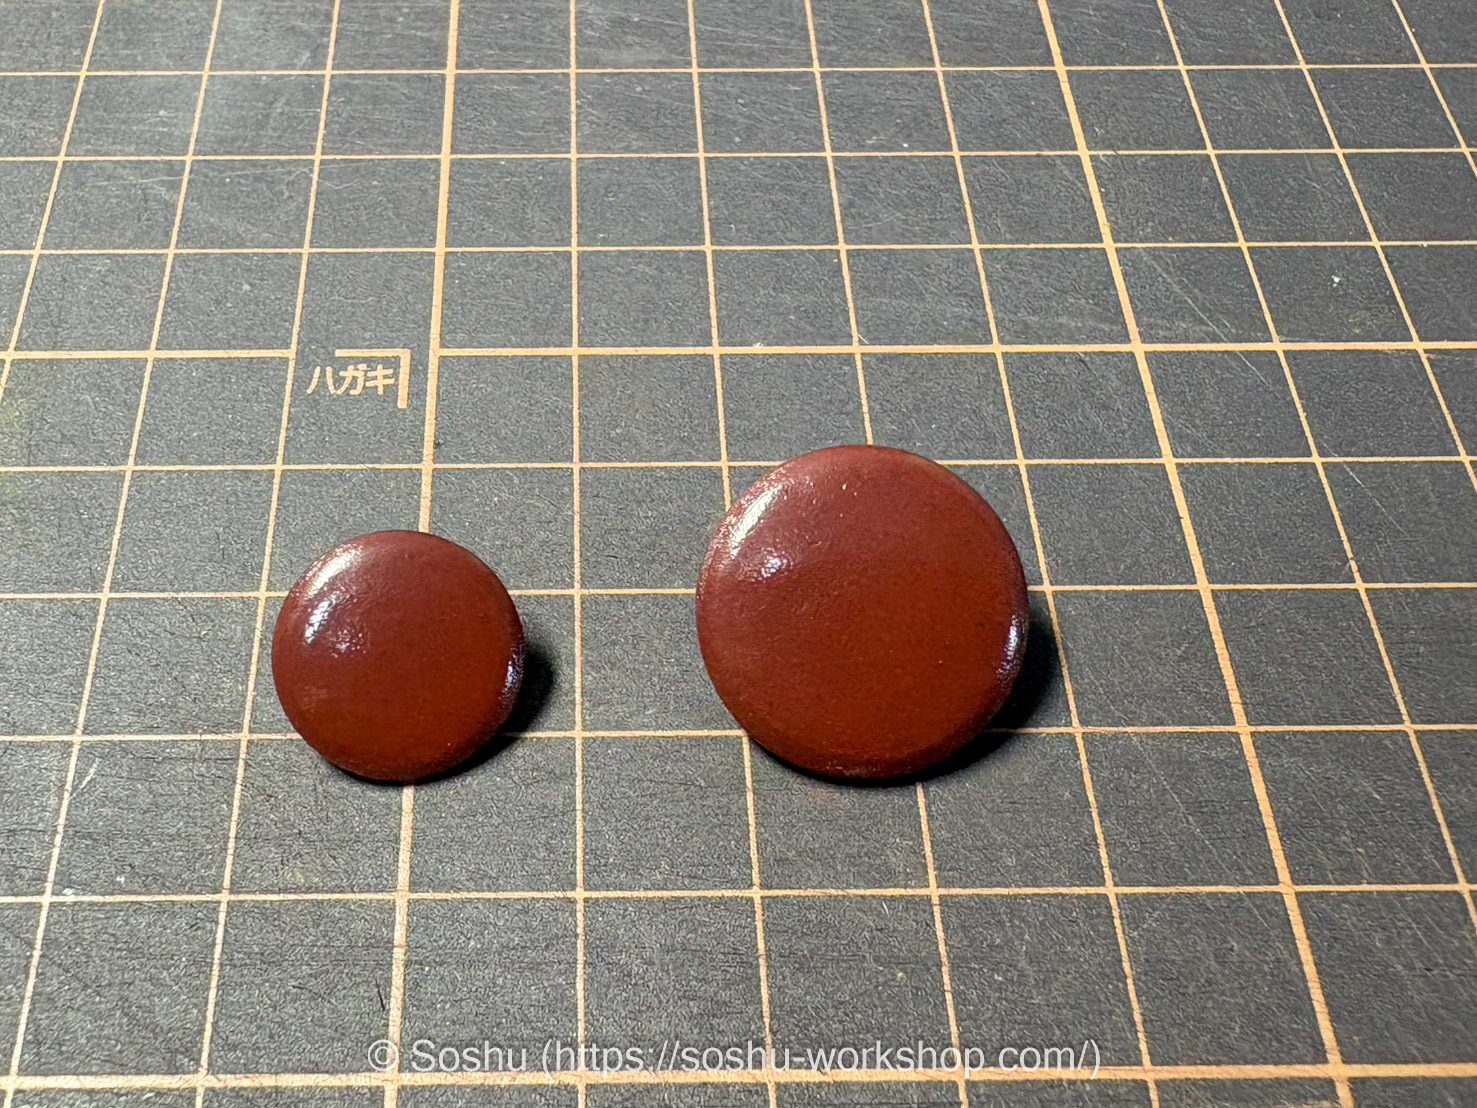
The two pieces are shown side by side as a before-and-after comparison, and with this level of finish, it appears to be acceptable.
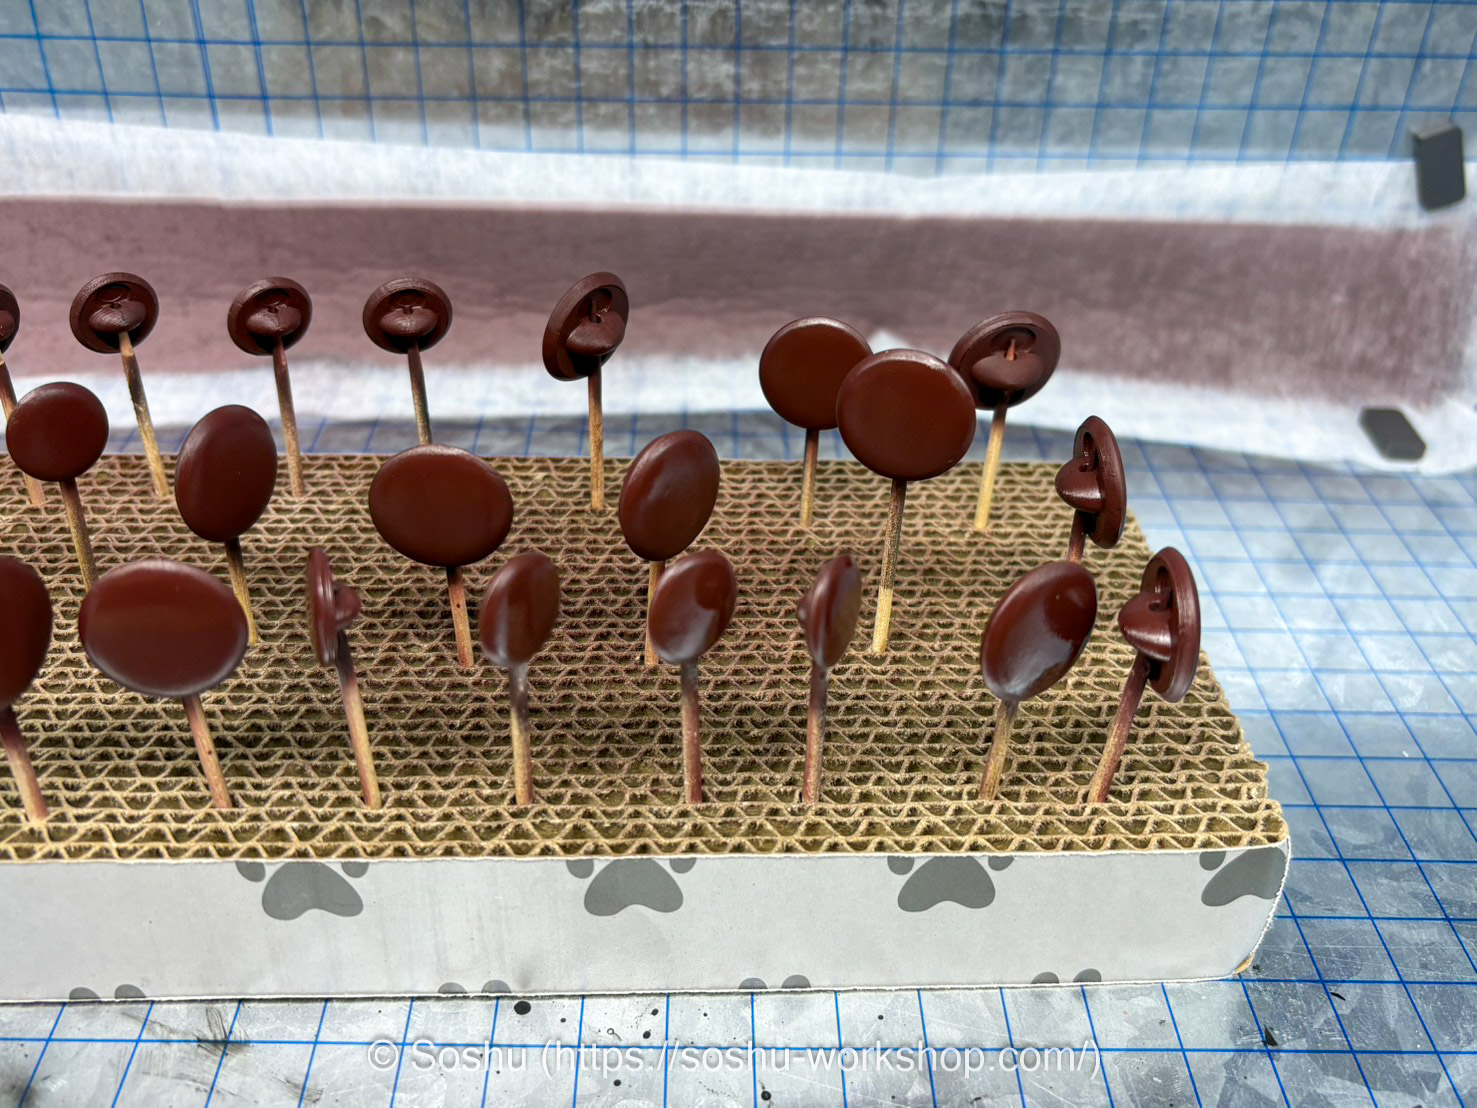
They were painted in a reddish-brown color.
Since the authentic buttons have a glossy finish, a clear coat will be applied next to bring out the shine.
After applying a gloss clear coat, I further polished the surface with compound.
However, the difference was not very noticeable in the photos. In practice as well, it seemed that building up additional layers of clear coat was more effective than polishing with compound.
The reverse sides, which are not visible from the outside, are left unfinished. Polishing every surface to a high gloss and producing dozens of them would be impractical—my apologies.
Since the layer lines on the back make it immediately recognizable as a replica, I think this approach works just fine.
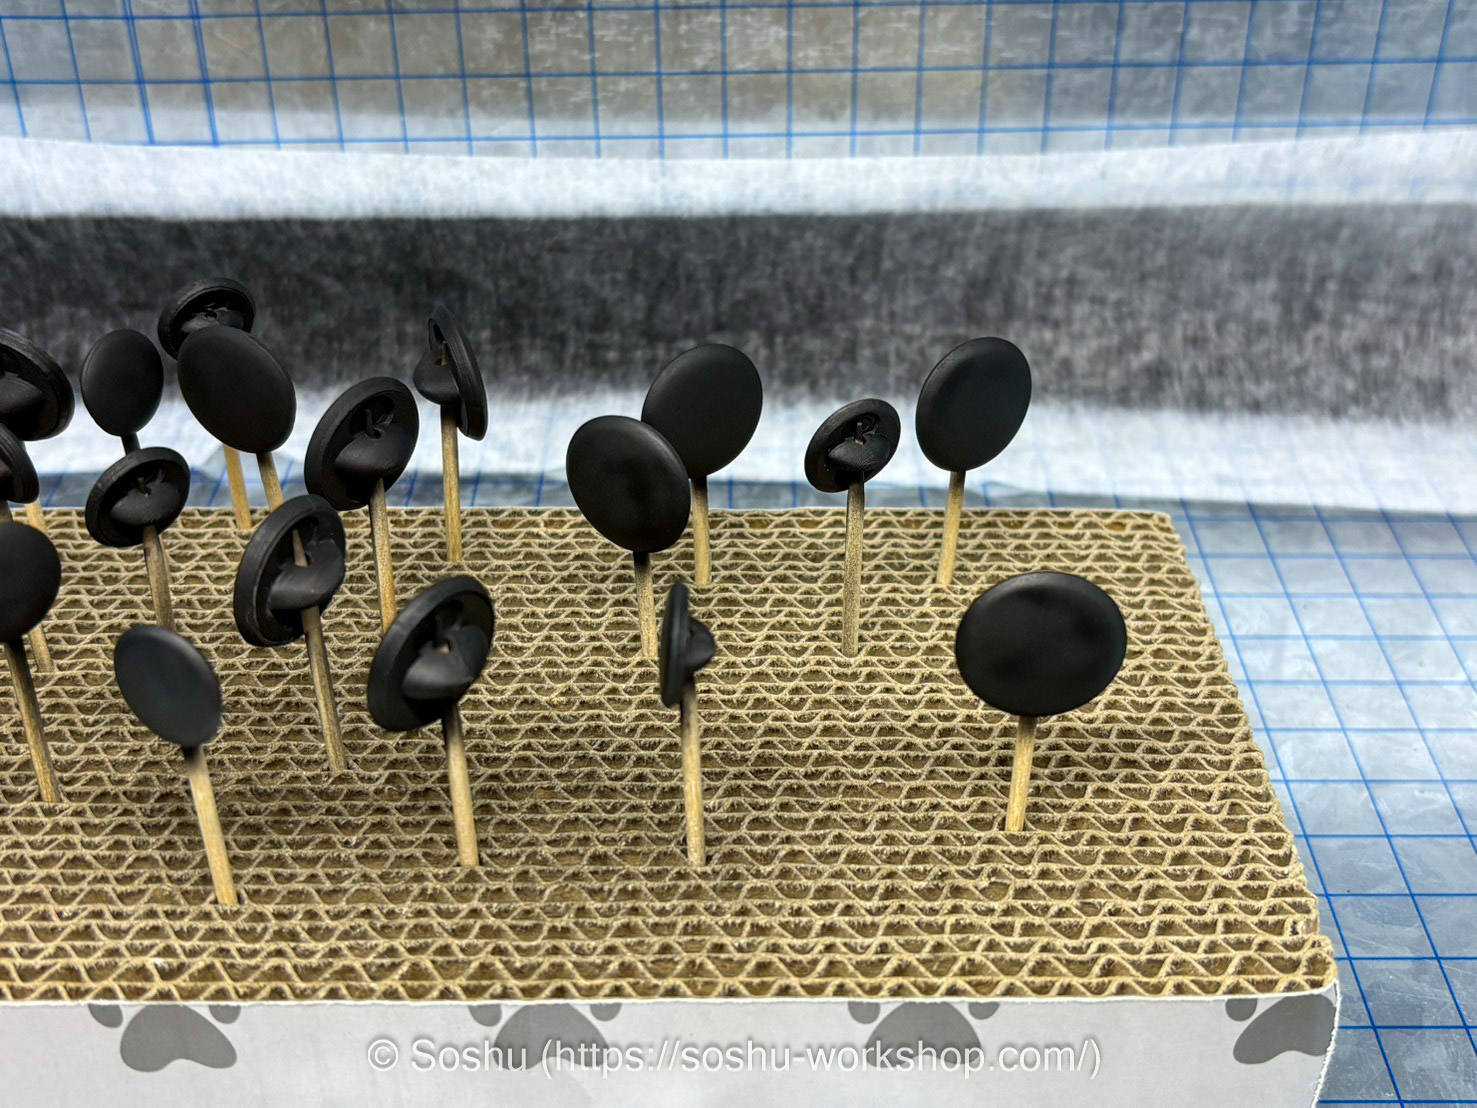
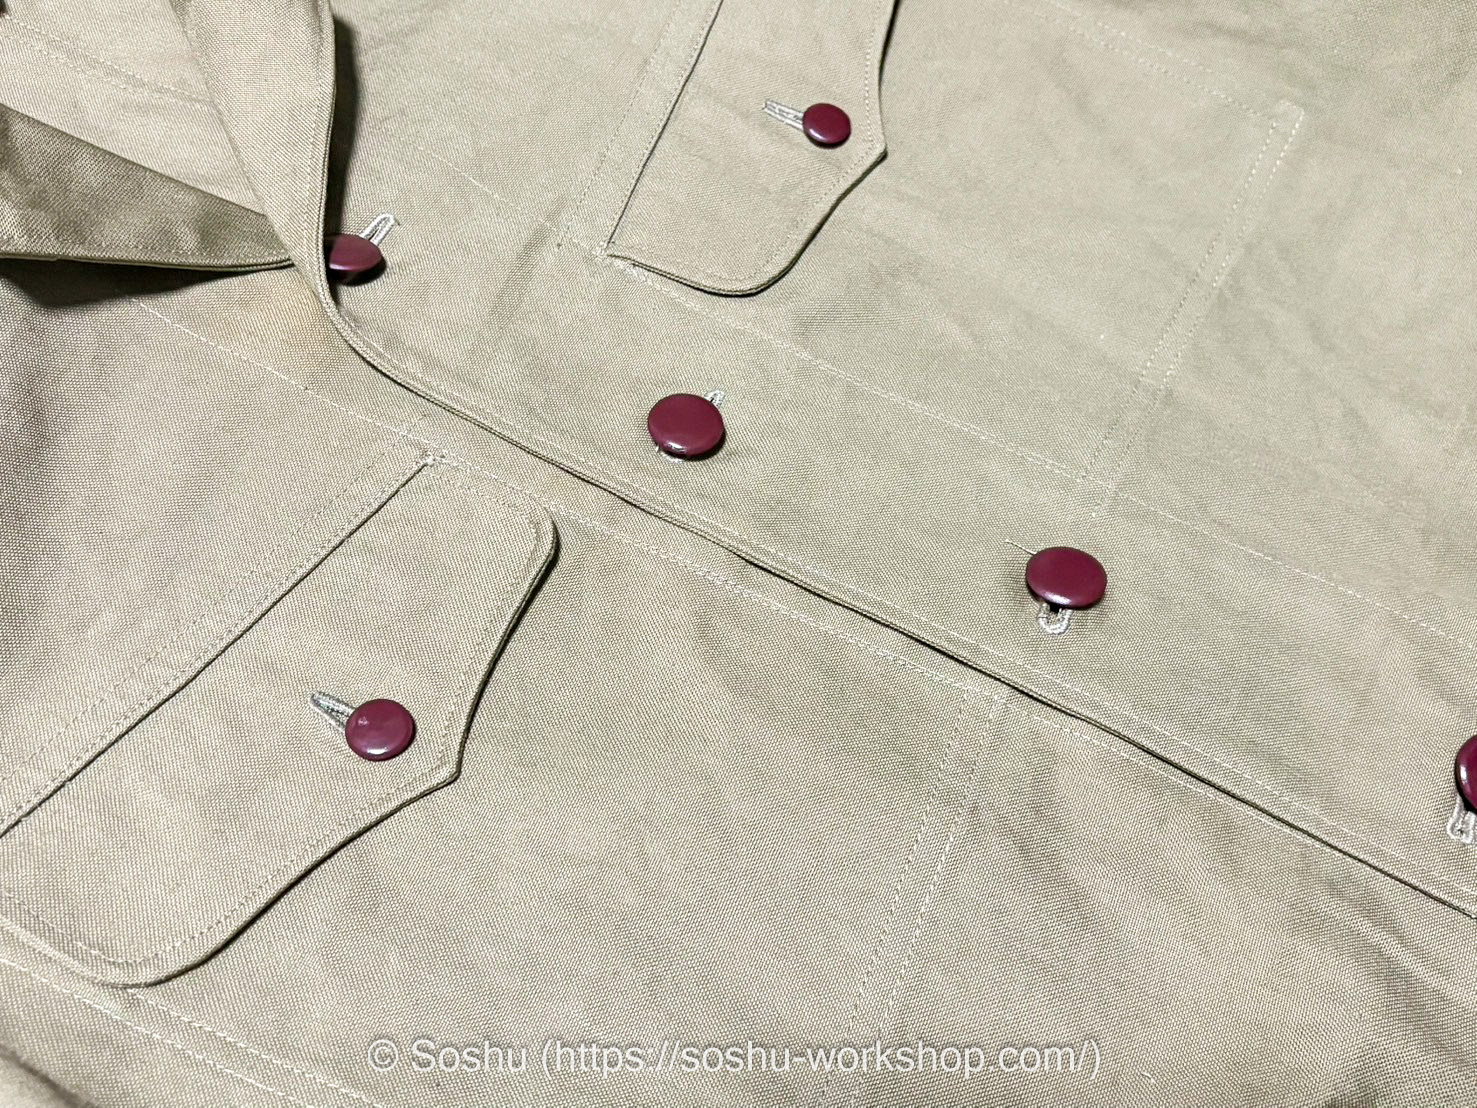
I attached the completed buttons to the Showa 13 (1938) pattern tropical uniform that my sister is currently making.
For now, I have committed to producing enough buttons for ten garments, so it is quite a substantial amount of work, but I will continue making steady progress.
The replica of this tropical uniform is also nearing completion, so I hope to introduce it here in the near future as well.
Footnotes
- “39. Survey Table of Ordnance Substitute Production Factories and Their Production Capacities, January 1941, Army Ordnance Headquarters.” JACAR (Japan Center for Asian Historical Records), Ref. C12121643200, Compilation on War Supply Mobilization, November 1939–May 1941 (National Institute for Defense Studies). ↩︎